Mastering the Thin Nail Art Brush: Techniques and Tips
Thin Nail Art Brushes are essential tools for achieving intricate and detailed nail designs. They allow for precise strokes, delicate lines, and intricate patterns that elevate your nail art to a professional level. From simple floral motifs to complex geometric shapes, a thin nail art brush opens up a world of creative possibilities. Check out our guide on nail art with thin brush for inspiration.
Understanding the Thin Nail Art Brush
Thin nail art brushes come in various sizes, shapes, and bristle types. Understanding these variations helps you select the right brush for your desired effect. Common types include stripers, liners, detailers, and fan brushes. Each serves a specific purpose, from creating ultra-fine lines to blending colors seamlessly. Choosing the right brush can be as important as the colors you choose for the perfect manicure.
Choosing the Right Thin Nail Art Brush
Selecting the appropriate thin nail art brush depends on the level of detail you’re aiming for. For intricate designs and fine lines, a brush with long, thin bristles is ideal. Shorter, stiffer bristles are better suited for creating bolder strokes and geometric patterns. Experimenting with different brush types will help you discover your preferences and develop your unique style. Remember to consider professional nail art tools to complement your thin brushes.
Looking for a compact solution? A mini art kit could be perfect for beginners or those on the go.
Techniques for Using a Thin Nail Art Brush
Mastering the thin nail art brush requires practice and patience. Start with simple strokes and gradually progress to more complex techniques. Consistent pressure and controlled movements are key to achieving clean lines and intricate details. Here are some essential techniques to practice:
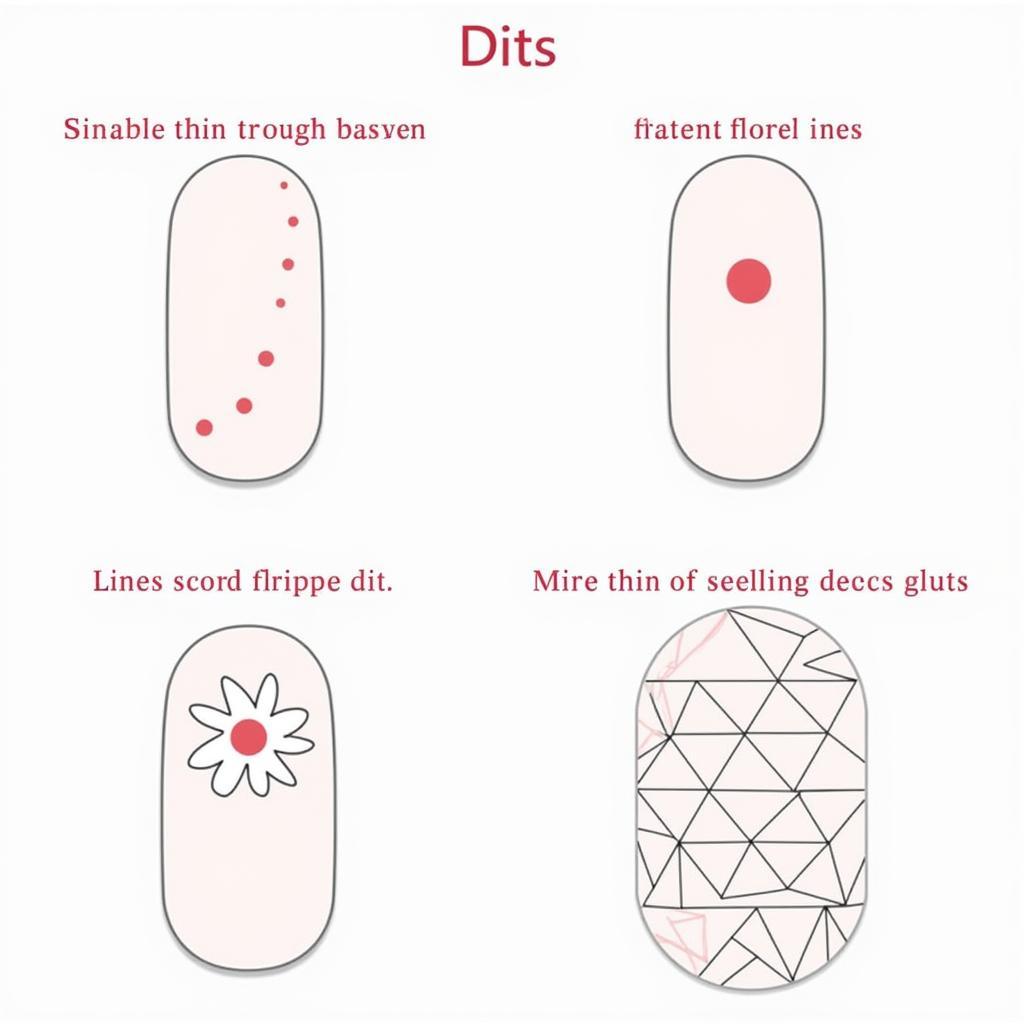
- Creating Fine Lines: Dip the tip of the brush lightly into your chosen polish and gently drag it across the nail surface in a smooth, continuous motion.
- Drawing Dots: Hold the brush perpendicular to the nail and lightly tap the tip to create perfectly round dots. Varying the pressure will create dots of different sizes.
- Painting Flowers: Use a combination of dots and lines to create delicate petals and leaves. Start with a center dot and surround it with smaller dots or curved lines to form the petals.
- Geometric Patterns: Use thin lines and precise angles to create geometric shapes like triangles, squares, and chevrons. A steady hand and a good eye for detail are crucial for these designs.
 Thin Nail Art Brush Techniques: Lines, Dots, Flowers, Geometric Patterns
Practice makes perfect! Don’t be afraid to experiment with different techniques and designs.
“A thin nail art brush is like a magic wand for your nails,” says renowned nail artist, Anya Petrova. “It allows you to transform a simple manicure into a work of art.”
Caring for Your Thin Nail Art Brush
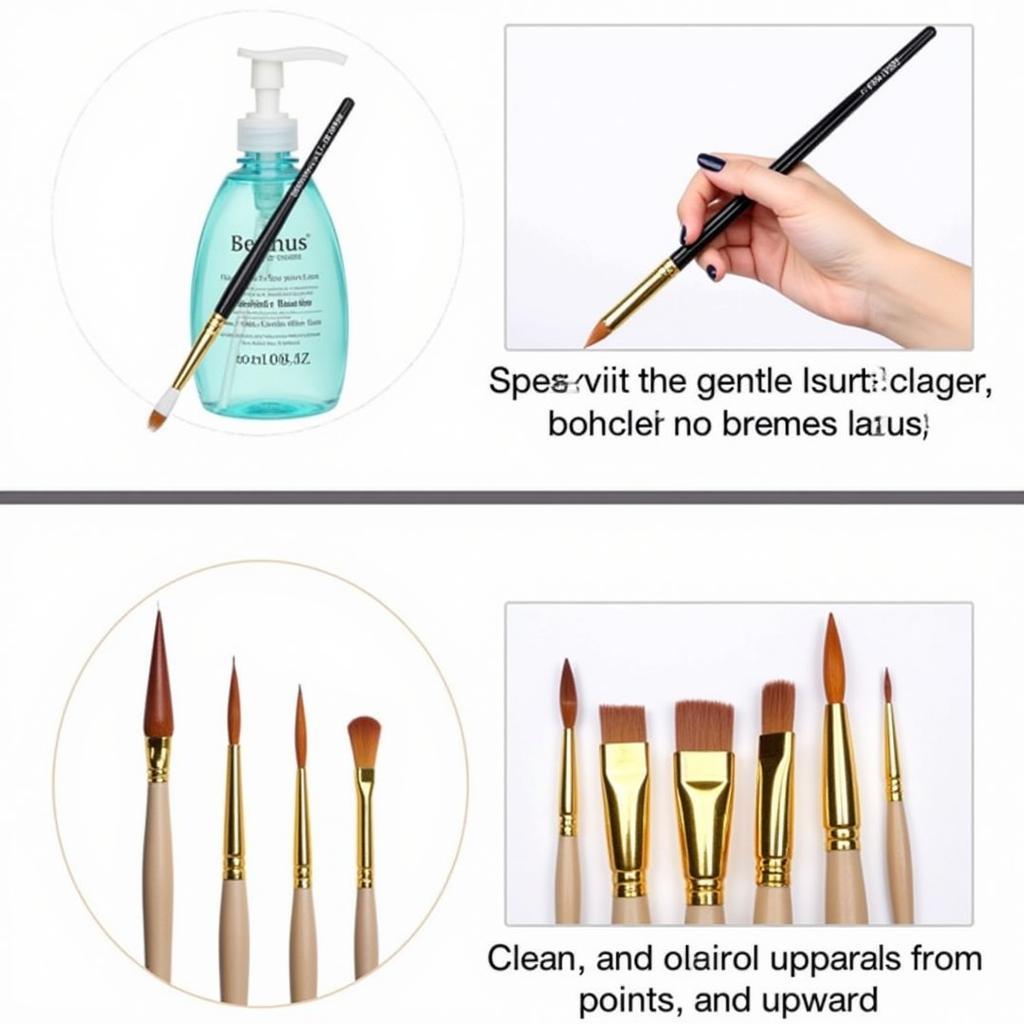
Proper care and maintenance will extend the life of your thin nail art brushes. Always clean your brushes thoroughly after each use with a suitable brush cleaner. Avoid using harsh chemicals that can damage the bristles. Store your brushes horizontally or vertically with the bristles pointing upwards to prevent them from bending or losing their shape. Investing in quality brushes and caring for them properly will ensure they remain your trusted tools for years to come.
Cleaning and Storing Your Brushes
- Cleaning: Use a gentle brush cleaner specifically designed for nail art brushes.
- Storing: Store brushes horizontally or vertically with bristles up.
 Cleaning and Storing Thin Nail Art Brushes Properly
Looking for a complete set? Check out the best nail art sets available online.
Conclusion
The thin nail art brush is a powerful tool for expressing creativity and achieving stunning nail designs. With practice and patience, you can master various techniques and create intricate works of art on your fingertips. Remember to invest in quality brushes, care for them properly, and let your imagination run wild! The possibilities are endless with a thin nail art brush in your hand.
FAQ
- What is the best type of thin nail art brush for beginners?
- How do I clean my thin nail art brushes?
- What is the difference between a striper brush and a liner brush?
- How can I prevent my thin nail art brushes from fraying?
- Where can I buy high-quality thin nail art brushes?
- What are some easy nail art designs for beginners using a thin brush?
- How do I store my thin nail art brushes properly?
“Don’t be intimidated by the thin nail art brush,” advises celebrity manicurist, Jean-Pierre Boudreau. “Start with simple designs and gradually build your skills. You’ll be amazed at what you can create!”
Nail Art Brush Price Guide
| Brush Type | Price Range |
|---|---|
| Striper Brush | $3 – $10 |
| Liner Brush | $2 – $8 |
| Detailer Brush | $4 – $12 |
| Fan Brush | $5 – $15 |
Common Scenarios and Questions
- Scenario: My lines are shaky. Solution: Practice applying even pressure and steady strokes. Try anchoring your elbow on a stable surface.
- Scenario: My brush is fraying. Solution: Avoid using harsh chemicals and clean your brushes gently. Store them properly to prevent damage.
- Scenario: I’m having trouble creating detailed designs. Solution: Start with simpler designs and gradually work your way up to more complex patterns. Watch tutorials and practice regularly.
Related Articles and Resources
When you need assistance, contact us via Phone: 02462573573, Email: danteum@gmail.com or visit our address: Savico Megamall, 7-9 Đ. Nguyễn Văn Linh, Gia Thụy, Long Biên, Hà Nội 10000, Việt Nam. We have a 24/7 customer service team.


