Create Stunning String Art Name Designs
String Art Name creations offer a unique blend of art and personalization. Whether you’re looking to add a touch of rustic charm to your home decor or searching for a personalized gift, string art names provide a captivating way to express creativity and individuality. This guide explores the fascinating world of string art names, covering everything from basic techniques to advanced designs. Dive in and discover how to transform simple strings and nails into beautiful works of art. See how you can create personalized personalized word art using string art.
Understanding the Basics of String Art Names
String art, at its core, involves wrapping colorful threads around strategically placed nails to form patterns, designs, or even words like names. The magic lies in the interplay of lines and the gradual emergence of a cohesive image from seemingly random string arrangements. Crafting a string art name requires planning, patience, and a keen eye for detail. First, choose a name or word. Simple names work best for beginners, while more complex names can be a challenge for experienced string artists. Next, select a suitable base material, such as wood, corkboard, or even foam board. The size of the base depends on the length of the name and the desired scale of the artwork.
Choosing Your Materials and Tools
Creating string art names is surprisingly affordable and accessible. Gather essential materials like nails (brads or panel pins work well), embroidery floss in various colors, a hammer, scissors, and your chosen base material. For intricate designs, you might consider a template, either printed or hand-drawn. A stencil can be especially helpful for beginners to ensure accurate letter formation. Don’t forget a ruler or measuring tape for precise nail placement.
Step-by-Step Guide to Creating Your Own String Art Name
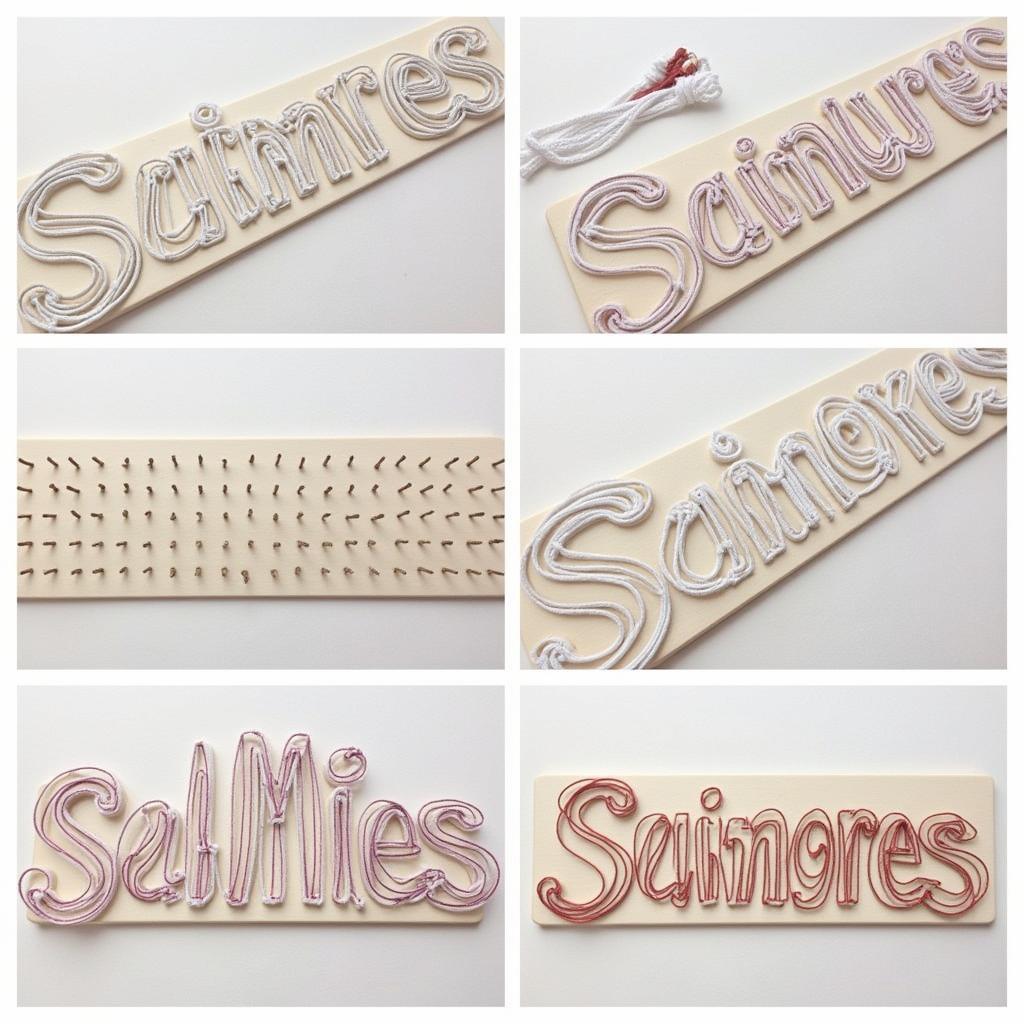
- Prepare your template: Print or draw the desired name onto paper. Securely attach the template to your base material using tape or pins.
- Place the nails: Carefully hammer nails along the outline of the name, maintaining even spacing between them. The closer the nails, the denser the string pattern will be.
- Remove the template: Once all nails are in place, carefully remove the paper template, revealing the nail outline of your name.
- Begin stringing: Tie the end of your chosen embroidery floss to the first nail. Now, begin wrapping the string around the nails, creating a web of lines that gradually fill the outline of the name.
- Experiment with patterns: Don’t be afraid to experiment with different stringing patterns. You can create a simple outline, or a more intricate filled design.
 Step-by-Step String Art Name Creation Process
Exploring Advanced Techniques and Designs
Once you’ve mastered the basic technique, explore advanced string art methods to add depth and complexity to your name designs. Layering different colored strings can create a gradient effect or highlight specific parts of the name. Incorporating curves and embellishments, such as hearts or stars, can further enhance the design. Consider using different types of string, like metallic thread or yarn, for added texture and visual interest. You could even consider creating tree string art as a more complex project.
Troubleshooting and Tips for Success
- Nails bending: Use a small piece of cardboard to hold the nail in place while hammering, preventing bending.
- Uneven string tension: Maintain consistent tension while wrapping the string to create a smooth, uniform appearance.
- Running out of string: Tie a new piece of string discreetly to a nail and continue wrapping.
“String art requires precision and patience,” says renowned string artist Amelia Hart, “but the result is a truly unique and personalized piece of art.”
Finding Inspiration and Resources
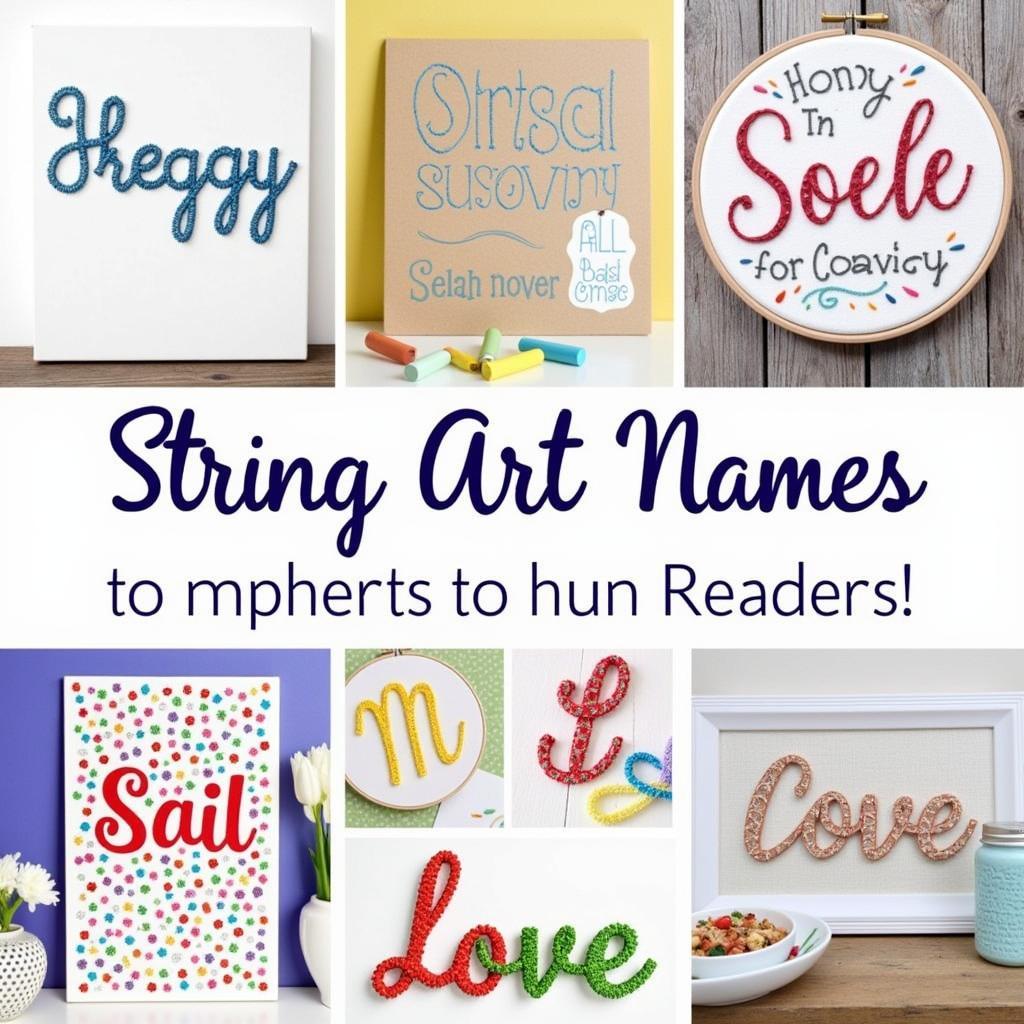
Numerous online resources, including Pinterest and Instagram, offer endless inspiration for string art name designs. Explore various fonts, color palettes, and patterns to spark your creativity. You can also find pre-made kits and templates for purchase if you prefer a more guided approach. Perhaps even explore more string art for sale to get some inspiration.
 Inspiring String Art Name Designs
Conclusion
Creating string art names is a rewarding experience that combines artistic expression with personalized touch. Whether you’re crafting a gift for a loved one or adding a unique piece to your home decor, the possibilities are endless. So gather your materials, let your creativity flow, and enjoy the process of transforming simple strings and nails into a stunning string art name masterpiece. For a more rustic touch, consider exploring farmhouse christmas wall art.
FAQ
-
What type of string is best for string art?
Embroidery floss is commonly used due to its vibrant colors and durability. -
What can I use as a base for my string art?
Wood, corkboard, and foam board are popular choices. -
How do I transfer my design onto the base?
Print or draw your design onto paper and use it as a template. -
How do I prevent the nails from bending?
Use a small piece of cardboard to hold the nail in place while hammering. -
What if I run out of string mid-project?
Tie a new piece of string discreetly to a nail and continue wrapping. -
Where can I find string art inspiration?
Online platforms like Pinterest and Instagram are great resources. -
What other types of string art could I explore?
Perhaps try something unique and outdoorsy like cool yard art.
String Art Name Pricing Guide
| String Art Size | Price Range |
|---|---|
| Small (Under 12 inches) | $20 – $40 |
| Medium (12-18 inches) | $40 – $60 |
| Large (Over 18 inches) | $60+ |
Common String Art Name Scenarios
- Birthdays: Personalized string art names make thoughtful and unique birthday gifts.
- Weddings: Create a string art piece featuring the couple’s last name for a personalized wedding gift or decor.
- Home Decor: String art names add a touch of rustic charm and personalization to any room.
- Nursery Decor: Create a string art name for a baby’s nursery, using pastel colors and whimsical fonts.
Further Exploration
- Learn about different string art patterns and techniques.
- Explore other string art projects beyond names, such as creating shapes, animals, or landscapes.
For assistance with your string art projects, please contact us at Phone Number: 02462573573, Email: danteum@gmail.com, or visit us at Savico Megamall, 7-9 Đ. Nguyễn Văn Linh, Gia Thụy, Long Biên, Hà Nội 10000, Việt Nam. Our customer service team is available 24/7.


