Rhinestones Nail Art: Sparkle and Shine on Your Fingertips
Rhinestones Nail Art is taking the world by storm, offering a dazzling way to elevate your manicure from simple to stunning. Whether you’re a seasoned nail artist or a beginner looking to add some bling to your nails, this guide will provide you with everything you need to know to master the art of rhinestone embellishment. From choosing the right rhinestones to creating intricate designs, we’ll explore the fascinating world of rhinestone nail art and help you achieve a manicure that truly shines.
Choosing the Right Rhinestones for Your Nail Art
The first step in creating mesmerizing rhinestone nail art is selecting the perfect rhinestones. A wide variety of shapes, sizes, and colors are available, allowing for endless creative possibilities. Consider the overall design you envision. Smaller rhinestones are ideal for intricate details and delicate patterns, while larger gems can create a bold statement. Don’t be afraid to experiment with different colors and finishes to achieve a unique and personalized look. Clear rhinestones offer a classic, versatile sparkle, while colored rhinestones can add a pop of personality and match any outfit. For a truly luxurious touch, explore options like Swarovski crystals, renowned for their exceptional brilliance and clarity.
Applying Rhinestones Like a Pro: Tools and Techniques
Once you’ve gathered your dazzling array of rhinestones, you’ll need the right tools to apply them flawlessly. A good quality nail glue, a wax pencil or rhinestone picker, and a fine-tipped tweezer are essential for precise placement. A small dotting tool can also be helpful for applying the glue. Before you begin, ensure your base nail polish is completely dry to prevent smudging. Apply a small amount of glue to the nail where you want to place the rhinestone, then carefully pick up the rhinestone with your tool and gently press it onto the glue. Hold it in place for a few seconds to ensure a secure bond. For larger rhinestones, you may need to use a bit more glue.
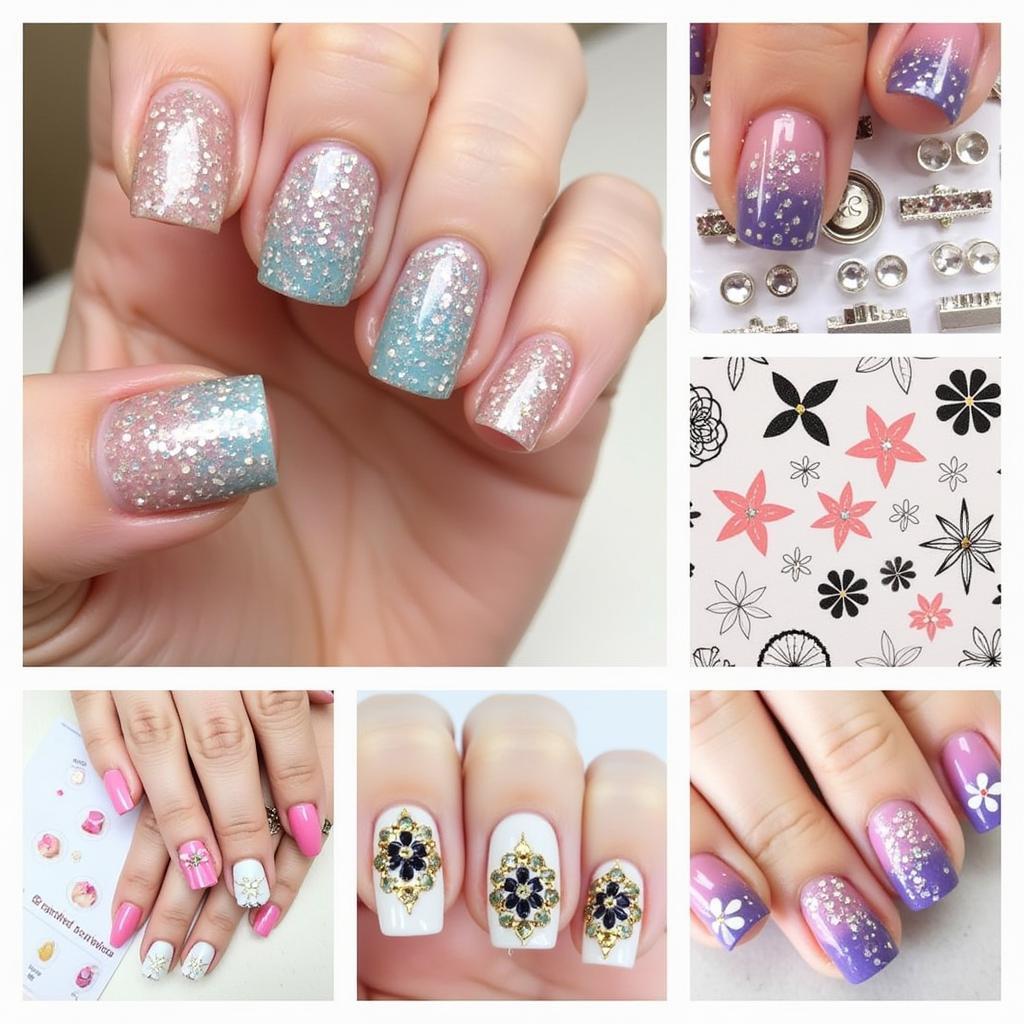
nail art with glitter and rhinestones
Creating Stunning Rhinestone Nail Art Designs
The possibilities for rhinestone nail art designs are truly limitless. From simple accents to elaborate patterns, you can unleash your creativity and express your unique style. Consider creating a glamorous French manicure with a row of rhinestones along the tip, or add a touch of sparkle to a solid color manicure by placing a single rhinestone at the base of each nail. For more intricate designs, you can create geometric patterns, floral motifs, or even recreate your favorite characters using different sized and colored rhinestones.
What are some popular rhinestone nail art designs? Some popular choices include ombre rhinestone fades, accent nails with clustered rhinestones, and minimalist designs with strategically placed single stones. Don’t be afraid to think outside the box and experiment with different placements and combinations.
Ensuring Your Rhinestones Stay Put: Tips for Longevity
To ensure your dazzling rhinestone nail art lasts, apply a top coat over your design. This will help seal the rhinestones in place and protect them from chipping or falling off. Be sure to choose a top coat that is compatible with both your nail polish and the glue you used. Avoid applying the top coat directly over the rhinestones, as this can dull their sparkle. Instead, carefully apply the top coat around the edges of the rhinestones, creating a smooth and even surface. With proper application and care, your rhinestone nail art can last for several days or even weeks.
Rhinestones and Other Nail Art Embellishments: A Perfect Match
Rhinestones can also be combined with other nail art embellishments to create even more intricate and eye-catching designs. Pair them with glitter, nail stickers, or even hand-painted designs to add depth and dimension to your manicure. For example, you could create a gradient glitter effect and then embellish it with strategically placed rhinestones for a truly dazzling look. The key is to balance the different elements and create a cohesive design that complements your personal style.
 Rhinestone Nail Art Combinations with Other Embellishments
Conclusion: Let Your Nails Sparkle with Rhinestone Nail Art
Rhinestones nail art offers a fantastic way to express your creativity and add a touch of glamour to your fingertips. With a little practice and the right techniques, you can create stunning designs that will turn heads and spark conversations. So gather your supplies, unleash your inner artist, and let your nails shine!
Expert Insights:
- Amelia Stone, Celebrity Nail Artist: “Rhinestones are a staple in my kit. They instantly elevate any manicure and offer endless creative possibilities.”
- Gemma Gloss, Nail Art Educator: “Proper application is key for long-lasting rhinestone nail art. A good quality glue and a steady hand are essential.”
- Crystal Clear, Nail Product Developer: “Experiment with different rhinestone sizes, shapes, and colors to create unique and personalized designs.”
FAQ:
- How do I remove rhinestones from my nails? Soak a cotton ball in acetone and place it on the nail for a few minutes to loosen the glue.
- Can I reuse rhinestones? Yes, you can! Carefully remove them with tweezers and clean them with acetone before reusing.
- What kind of glue is best for rhinestones nail art? A strong nail glue specifically designed for rhinestones is recommended.
- How can I prevent rhinestones from falling off? Apply a good quality top coat around the edges of the rhinestones.
- Where can I buy rhinestones for nail art? Beauty supply stores, online retailers, and craft stores often carry a variety of rhinestones.
For further assistance, please contact us at Phone Number: 02462573573, Email: danteum@gmail.com or visit us at Savico Megamall, 7-9 Đ. Nguyễn Văn Linh, Gia Thụy, Long Biên, Hà Nội 10000, Việt Nam. We have a 24/7 customer service team ready to help.
