Mastering Plate Stamping Nail Art: A Comprehensive Guide
Plate Stamping Nail Art offers a simple yet effective way to achieve intricate and stunning nail designs. Whether you’re a beginner or a seasoned nail artist, this technique opens up a world of creative possibilities, allowing you to effortlessly transfer complex patterns and images onto your nails. From delicate florals to geometric shapes, plate stamping empowers you to create salon-worthy manicures in the comfort of your own home.
 Essential Plate Stamping Nail Art Supplies
What is Plate Stamping Nail Art?
Plate stamping nail art involves transferring pre-designed images from metal plates onto your nails using a stamper and special nail polish. It’s a quick and easy way to achieve professional-looking results, even for beginners. Think of it like a sophisticated form of temporary tattoos for your nails! Interested in nail art with stamping plates? Check out our guide!
Essential Tools for Plate Stamping
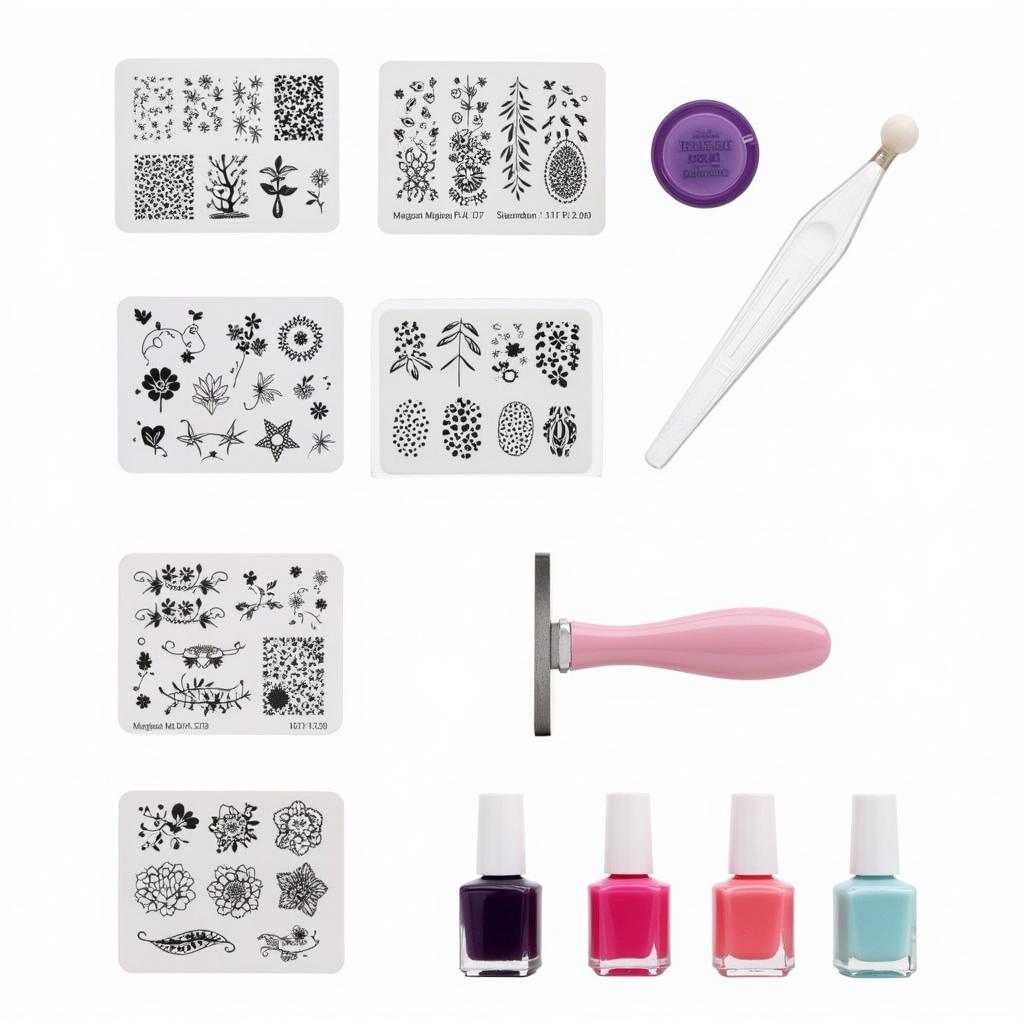
Getting started with plate stamping requires a few key tools. These include stamping plates for nail art, a scraper, a stamper, and special stamping polishes. Don’t feel overwhelmed—these tools are readily available online and at nail art supply stores, often bundled together in convenient nail art kits for beginners.
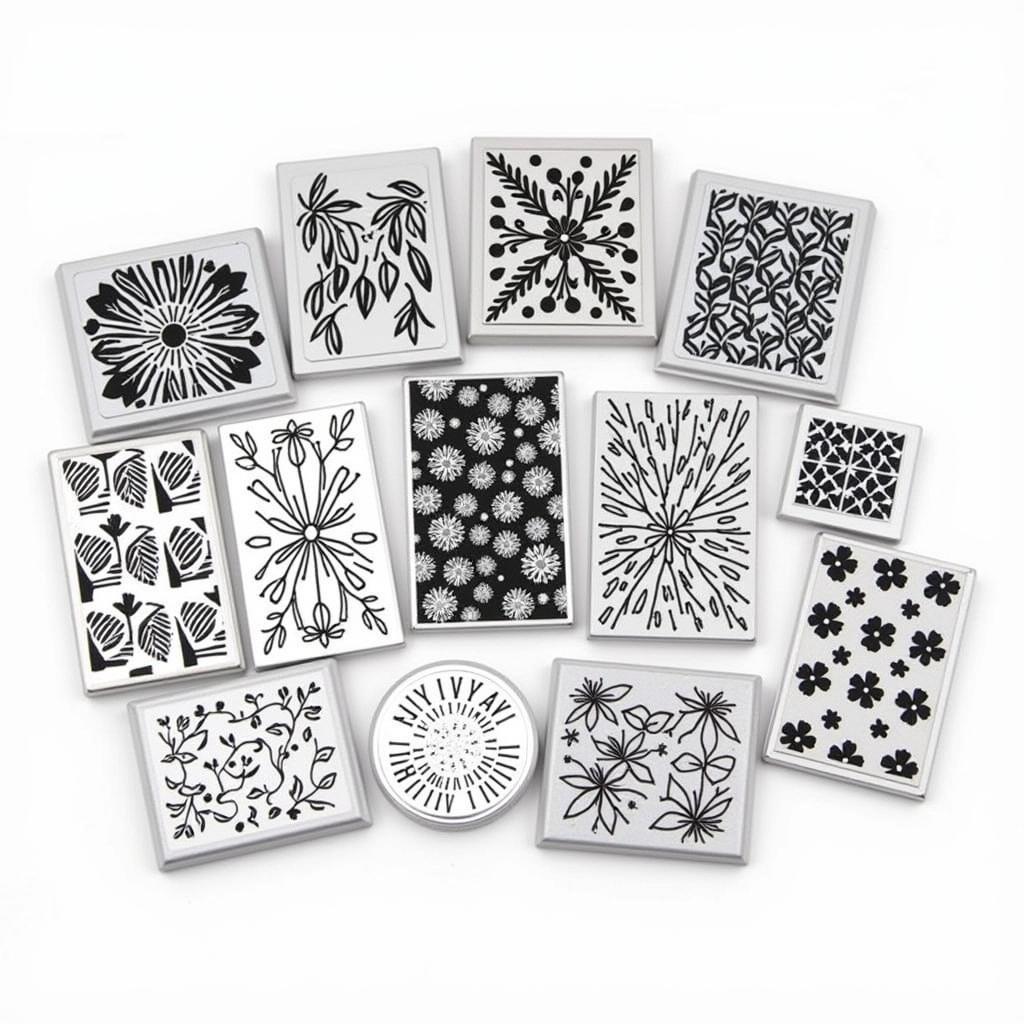
 Various Types of Stamping Plates for Nail Art
Choosing the Right Stamping Polish
Standard nail polish is often too thin for stamping. Opt for specially formulated stamping polishes that are thicker and more opaque, ensuring a crisp, clean transfer. Experimenting with different brands can help you find your favorites.
How to Create Plate Stamping Nail Art: A Step-by-Step Guide
-
Prep your nails: Start with clean, dry nails. Apply a base coat to protect your nails and provide a smooth surface for the stamping.
-
Apply polish to the plate: Choose your desired design on the stamping plate and apply a generous amount of stamping polish over it.
-
Scrape off excess polish: Using the scraper, firmly scrape across the plate at a 45-degree angle to remove any excess polish, leaving only the design in the etched grooves.
-
Pick up the design: Roll the stamper over the design on the plate, ensuring you pick up the entire image.
-
Transfer the design: Gently roll the stamper onto your nail, transferring the design. Work quickly to prevent the polish from drying on the stamper.
-
Clean up: Use a cotton swab dipped in nail polish remover to clean up any smudges around your nails.
-
Seal with top coat: Apply a top coat to protect your design and add shine.
Troubleshooting Common Plate Stamping Issues
Sometimes, the stamping process doesn’t go as planned. Common issues include blurry images or the design not transferring completely. This often happens due to using the wrong type of polish or not scraping the plate properly. “Practice makes perfect,” says renowned nail artist, Sarah Miller. “Don’t be discouraged if your first few attempts aren’t flawless. Keep experimenting and you’ll soon be creating stunning nail art.”
Elevating Your Plate Stamping Nail Art
Once you’ve mastered the basics, you can explore advanced techniques like reverse stamping and layering different designs. For a truly professional setup, consider investing in a professional nail art kit. “The possibilities are endless,” adds Emily Carter, another leading nail art expert. “Plate stamping allows you to express your creativity and personalize your manicures in countless ways.”
Plate stamping nail art is a fantastic way to achieve intricate and beautiful nail designs with ease. With a little practice and the right tools, you can transform your nails into miniature works of art.
FAQ
- What kind of polish should I use for plate stamping?
- Where can I buy stamping plates?
- How do I clean my stamping plates?
- My designs are blurry, what am I doing wrong?
- Can I use regular nail polish for stamping?
- How do I prevent the polish from drying on the stamper?
- What is reverse stamping?
Common Scenarios and Questions
Scenario: A beginner struggles to pick up the design with the stamper.
Solution: Ensure the stamper is made of a suitable material (e.g., clear jelly stamper) and that the polish is thick enough.
Scenario: The design smudges when transferring to the nail.
Solution: Work quickly and ensure the polish on the plate isn’t drying out.
Further Exploration
For more inspiration and tutorials, explore our other articles on nail art with stamping plates.
For any assistance, please contact us at Phone Number: 02462573573, Email: danteum@gmail.com or visit us at Savico Megamall, 7-9 Đ. Nguyễn Văn Linh, Gia Thụy, Long Biên, Hà Nội 10000, Việt Nam. We have a 24/7 customer service team.

