Mastering Nail Art with a Thin Brush: A Beginner’s Guide
Nail art with a thin brush might seem daunting at first, but with a little practice and the right guidance, you can achieve stunning results. This comprehensive guide will walk you through everything you need to know, from choosing the right tools to mastering basic techniques. Soon, you’ll be creating intricate designs and unleashing your inner nail artist.
Choosing the Right Thin Brush for Nail Art
 Different Types of Thin Nail Art Brushes
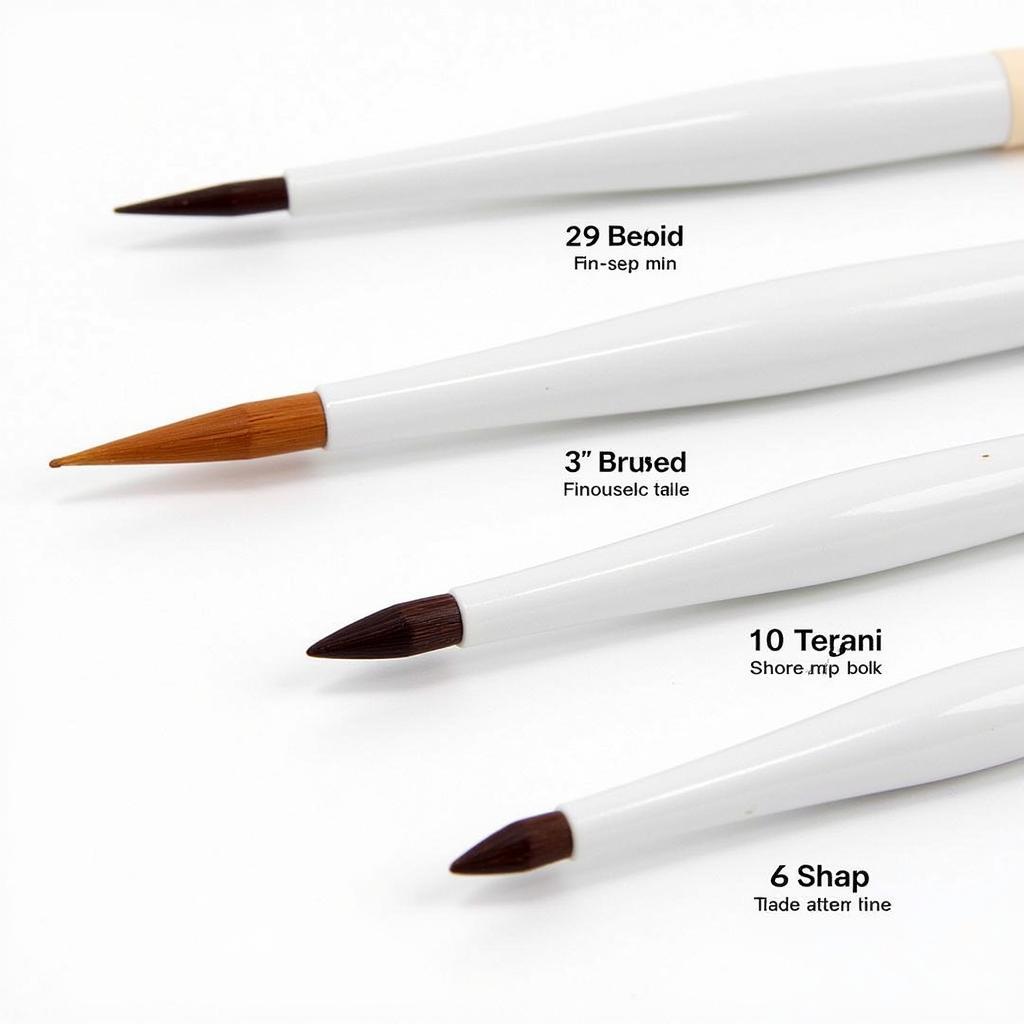
Before diving into the world of nail art with a thin brush, it’s crucial to have the right tools. Here’s a breakdown of the most common thin brush types and their uses:
- Striper Brush: This brush boasts a long, thin bristle length and a pointed tip, making it ideal for creating straight lines, delicate swirls, and intricate details.
- Detailer Brush: Featuring a shorter and slightly thicker bristle length than a striper, the detailer brush excels at filling in small areas and achieving precise strokes.
- Angled Brush: This versatile brush has bristles cut at an angle, making it perfect for creating sharp lines, geometric shapes, and even French manicures.
- Dotting Tool: While not technically a brush, this tool with a rounded metal tip is indispensable for creating dots, pearls, and other small circular details.
Essential Techniques for Nail Art with a Thin Brush
 Essential Techniques for Using a Thin Brush for Nail Art
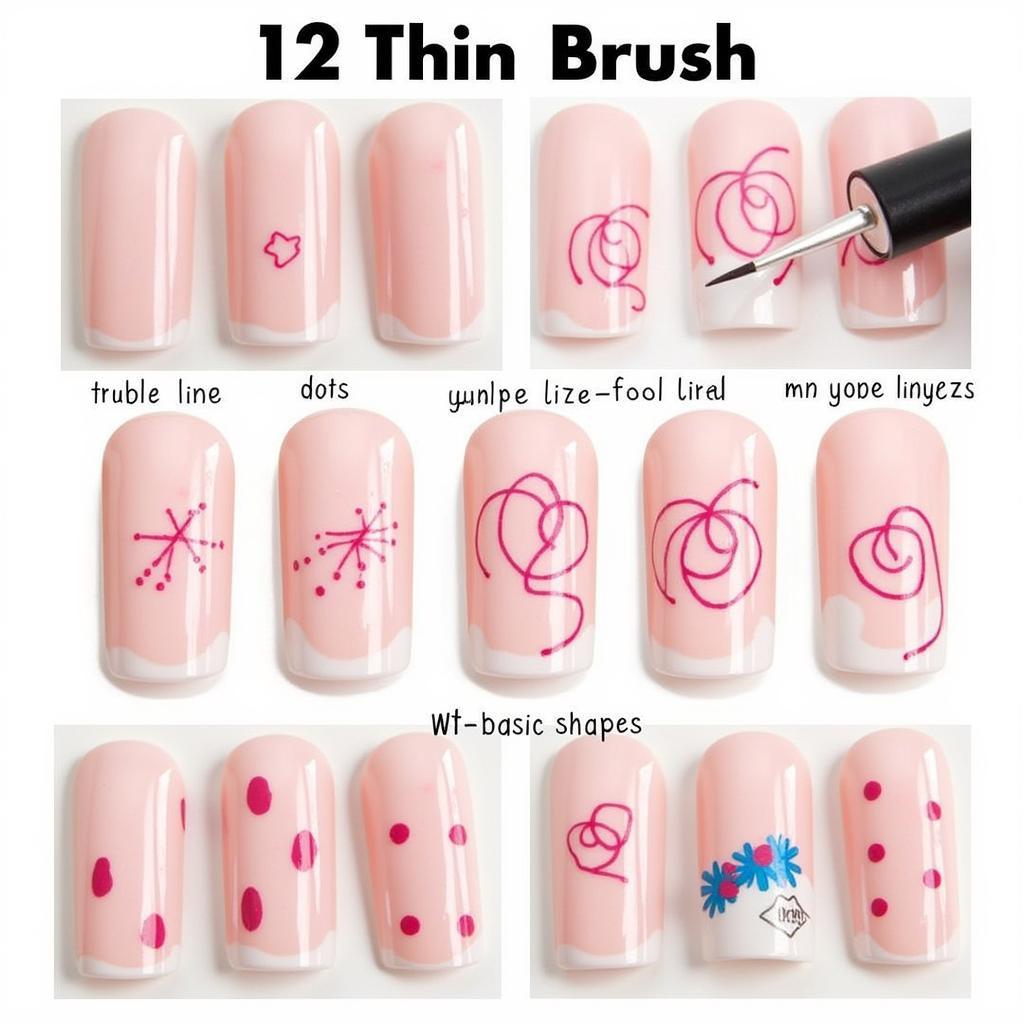
Once you’ve assembled your arsenal of thin brushes, it’s time to explore the fundamental techniques that will form the building blocks of your nail art journey:
1. Mastering Lines and Stripes
- Start with a steady hand: Rest your working hand on a flat surface to minimize shaking.
- Load the brush properly: Dip the tip of the brush lightly into your chosen polish, ensuring not too much product is on the brush.
- Use light pressure: Gently drag the brush across your nail, following the natural curve of your nail bed for smooth, even lines.
2. Creating Perfect Dots
- Choose the right dotting tool size: Smaller tips create tiny dots, while larger tips produce bolder dots.
- Dip and dot: Lightly dip the tip of the dotting tool into your polish, then gently touch it onto your nail to create a perfect dot.
3. Mastering Swirls and Curves
- Start with a thin line: Use a striper brush to create a thin, curved line as the base of your swirl.
- Add thickness gradually: Slowly add more polish to your brush and continue the swirl, making it progressively thicker.
- Practice makes perfect: Don’t be afraid to experiment and find what feels most comfortable for you.
4. Achieving Precise Geometric Shapes
- Use tape as a guide: Apply thin strips of tape to your nails to create clean lines and geometric patterns. Paint between the tape, then remove it carefully while the polish is still wet.
- Practice basic shapes: Start with simple shapes like triangles, squares, and diamonds before moving onto more complex designs.
Elevating Your Nail Art with Thin Brush Designs
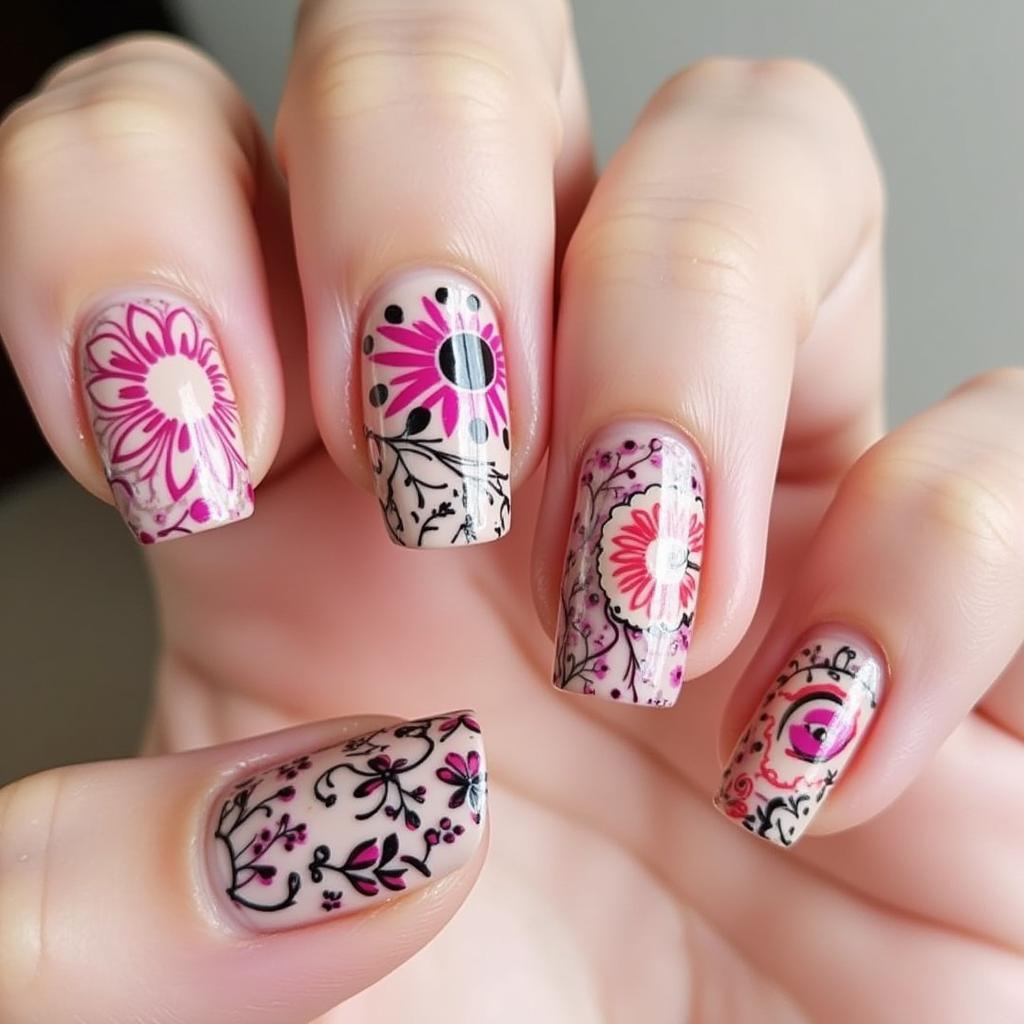 Intricate Nail Art Designs Created with a Thin Brush
With a strong foundation in basic techniques, the possibilities are endless. Here are some creative ideas to inspire your nail art journey:
- Floral Designs: Create delicate petals and leaves using a combination of thin lines, dots, and swirls.
- Animal Prints: Experiment with different brushstrokes to mimic the patterns of your favorite animals, from leopard spots to zebra stripes.
- Abstract Art: Let your creativity run wild with abstract designs using bold colors, geometric shapes, and free-flowing lines.
- Minimalist Details: Sometimes less is more. Add a touch of elegance to your nails with minimalist details like tiny dots, delicate lines, or subtle geometric accents.
Tips for Success and Troubleshooting
- Always start with a base coat: This will protect your natural nails and create a smooth surface for your nail art.
- Use thin coats of polish: Thick coats are more prone to smudging and take longer to dry.
- Clean your brushes thoroughly: After each use, clean your brushes with nail polish remover to prevent the bristles from hardening.
- Don’t be afraid to make mistakes: Nail art is all about experimentation and having fun. If you make a mistake, simply clean it up with a bit of nail polish remover and try again.
Conclusion
Mastering nail art with a thin brush is a journey of creativity, patience, and practice. By following these tips and techniques, you’ll be well on your way to creating stunning and intricate designs that showcase your personal style. Remember, the most important thing is to have fun and let your imagination run wild!
Frequently Asked Questions
What type of nail polish works best with a thin brush?
Thinner formulas tend to work best with thin brushes, allowing for greater control and precision. Look for nail polishes specifically designed for nail art or those with a more fluid consistency.
How do I prevent my nail art from smudging?
Always apply a quality top coat to seal in your design and prevent smudging. Additionally, ensure each layer of polish is completely dry before applying the next.
My lines are always shaky. How can I achieve steadier strokes?
Rest your working hand on a stable surface and try to use your whole arm to move the brush instead of just your wrist. Practice will also help improve your hand stability over time.
What are some other tools I can use for nail art with a thin brush?
Apart from the essential thin brushes mentioned, consider adding tools like a striping tape, dotting tools of varying sizes, and even toothpicks to your collection for even more creative possibilities.
Where can I find inspiration for new nail art designs?
Explore online platforms like Pinterest, Instagram, and YouTube for endless nail art inspiration. Don’t hesitate to recreate designs you love or put your own unique spin on them.
For additional inspiration and resources, check out these related articles:
Need help with your next nail art masterpiece? Contact us at 02462573573, email us at danteum@gmail.com, or visit us at Savico Megamall, 7-9 Đ. Nguyễn Văn Linh, Gia Thụy, Long Biên, Hà Nội 10000, Việt Nam. Our dedicated customer service team is available 24/7 to assist you!
