Nail Art Stencil Stickers: The Easy Way to Achieve Salon-Worthy Designs
Nail Art Stencil Stickers are revolutionizing the way we decorate our nails. These adhesive wonders provide a simple and affordable way to achieve intricate and eye-catching nail designs, even for those of us who aren’t exactly artists. Whether you’re a seasoned nail enthusiast or a complete beginner, nail art stencils offer a world of creative possibilities, allowing you to express your unique style with ease.
Unleashing Your Inner Artist with Nail Stencils
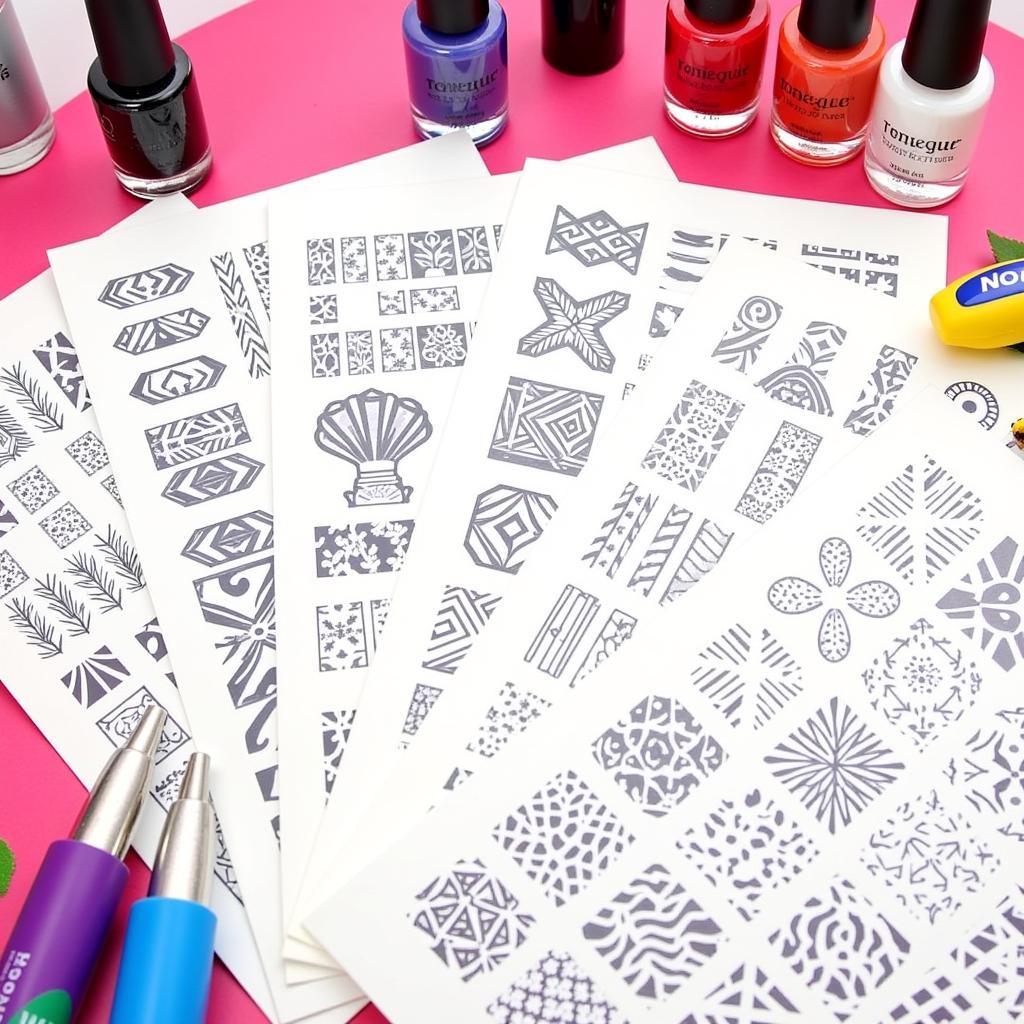
Nail art, once confined to the salon, has become an increasingly popular way to showcase individuality and creativity. However, freehanding intricate designs can be challenging and time-consuming. This is where nail art stencil stickers come in. These thin, self-adhesive stencils act as a guide, allowing you to apply nail polish with precision and achieve flawless results. From simple geometric shapes to elaborate floral patterns, the possibilities are endless.
 Nail Art Stencil Designs
How to Use Nail Art Stencil Stickers: A Step-by-Step Guide
Ready to elevate your nail game? Here’s a step-by-step guide on how to use nail art stencil stickers like a pro:
- Prep Your Nails: Start with clean, dry nails. Apply a base coat to protect your natural nails and create a smooth surface for the polish.
- Choose Your Design: Select the nail stencil stickers that best suit your desired design. From minimalist lines to intricate mandalas, there’s a stencil for every style.
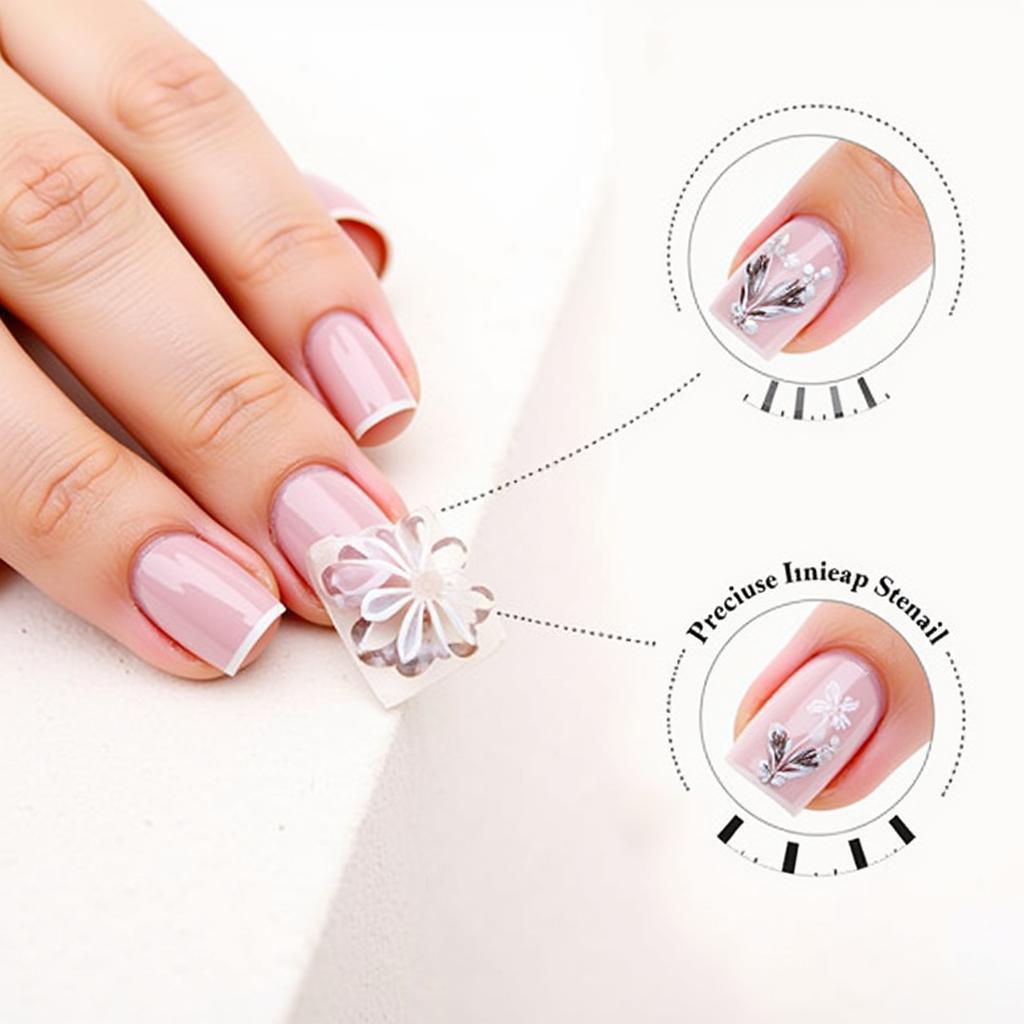
- Apply the Stencil: Carefully peel off the stencil from the sheet using tweezers. Align the sticker on your nail, ensuring it’s smooth and free of any air bubbles.
- Apply Nail Polish: Apply a thin coat of nail polish over the stencil. It’s crucial to use a thin coat to prevent the polish from bleeding under the edges.
- Peel and Reveal: While the polish is still wet, carefully peel off the stencil sticker to reveal the design.
- Seal the Deal: Once the design is dry, apply a top coat to seal in the design and add shine.
Tips for Flawless Stencil Application
- Opt for high-quality stencils that adhere well and have clean, crisp edges.
- Use tweezers to handle the stencils for precise placement.
- Ensure the stencil is pressed down firmly to prevent bleeding.
- Work quickly and peel off the stencil while the polish is still wet to avoid smudging.
- Clean any excess polish around the edges with a small brush dipped in acetone.
 Applying Nail Art Stencils
Beyond the Basics: Exploring Creative Stencil Techniques
Nail art stencils are incredibly versatile. Here are a few creative techniques to experiment with:
- Negative Space Designs: Apply the stencil to a section of your nail, leaving the rest bare for a modern, minimalist look.
- Gradient Effects: Use different shades of polish with the same stencil to create a stunning gradient effect.
- Layering Stencils: Layer different stencils over each other to create unique and intricate designs.
“Don’t be afraid to experiment and think outside the box,” advises renowned nail artist, Sophia Nguyen. “Nail art stencils are a tool for creativity, and the only limit is your imagination.”
Where to Find Your Perfect Nail Art Stencil Stickers
Nail art stencil stickers are widely available at beauty supply stores, online retailers, and even some drugstores. Explore different brands and designs to find stencils that inspire you. Looking for inspiration? Check out these stunning fingernail stamp art ideas.
Conclusion: Embrace the World of Nail Art Stencil Stickers
Nail art stencil stickers have made it easier than ever to achieve salon-worthy designs at home. With their ease of use, affordability, and endless creative possibilities, it’s no wonder they’ve become a staple in many nail enthusiasts’ kits. So, unleash your inner artist and experiment with the world of nail art stencil stickers – you might be surprised at the stunning creations you can achieve.
FAQs about Nail Art Stencil Stickers
1. Can I use any nail polish with nail art stencils?
Yes, you can use regular nail polish, gel polish, or even acrylic paint with nail art stencils. Just ensure the polish is not too thick to prevent bleeding.
2. How do I clean nail art stencils?
For reusable stencils, gently peel them off after use and clean them with a cotton pad soaked in nail polish remover.
3. What are the best stencils for beginners?
Simple geometric shapes, stripes, and floral patterns are great starting points for beginners.
4. Can I reuse nail art stencils?
Yes, many nail art stencils are reusable. However, their lifespan depends on the quality of the stencil and how well they are cleaned and stored.
5. Can I use nail art stencils on my toes?
Absolutely! Nail art stencils work just as well on toenails. Choose smaller stencils for more intricate designs.
6. How long do nail art stencil designs last?
With a good quality top coat, your nail art stencil design should last as long as a regular manicure – about one to two weeks.
For those who prefer a more rustic aesthetic, consider exploring cow prints art as an alternative design inspiration.
If you’re interested in taking your nail art skills to the next level, search for nail art classes near me to find local workshops and courses. Enhance your skills and dive deeper into the world of nail art with professional guidance. And remember, the world of nail art is vast and ever-evolving. Don’t hesitate to explore different techniques and styles, and let your creativity shine through!
Need further assistance with nail art or other artistic endeavors? Our dedicated customer support team is available 24/7 to assist you. Contact us at Phone Number: 02462573573, Email: danteum@gmail.com or visit us at Savico Megamall, 7-9 Đ. Nguyễn Văn Linh, Gia Thụy, Long Biên, Hà Nội 10000, Việt Nam. Let us help you unlock your artistic potential and bring your creative visions to life.
