How to Hang Metal Wall Art: A Step-by-Step Guide
Hanging metal wall art can instantly elevate your space, adding a touch of modern elegance and sophistication. Whether you’re a seasoned decorator or just starting, this comprehensive guide will equip you with the knowledge and techniques to confidently display your metal masterpieces. From understanding wall types and choosing the right hanging hardware to mastering various installation methods, we’ll cover everything you need to know to create a stunning and secure display.
Assessing Your Wall Type and Artwork
Before embarking on your hanging endeavor, it’s crucial to consider both the weight and size of your metal wall art, as well as the type of wall you’ll be working with.
Understanding Wall Types
Different wall types require specific hanging approaches to ensure both stability and safety:
- Drywall: The most common wall type, drywall, typically requires anchors for heavier pieces to provide additional support.
- Plaster: Older homes often feature plaster walls, which can be more brittle. Using specialized plaster anchors is recommended for secure installation.
- Concrete: Hanging on concrete walls necessitates drilling holes and using concrete screws or heavy-duty anchors.
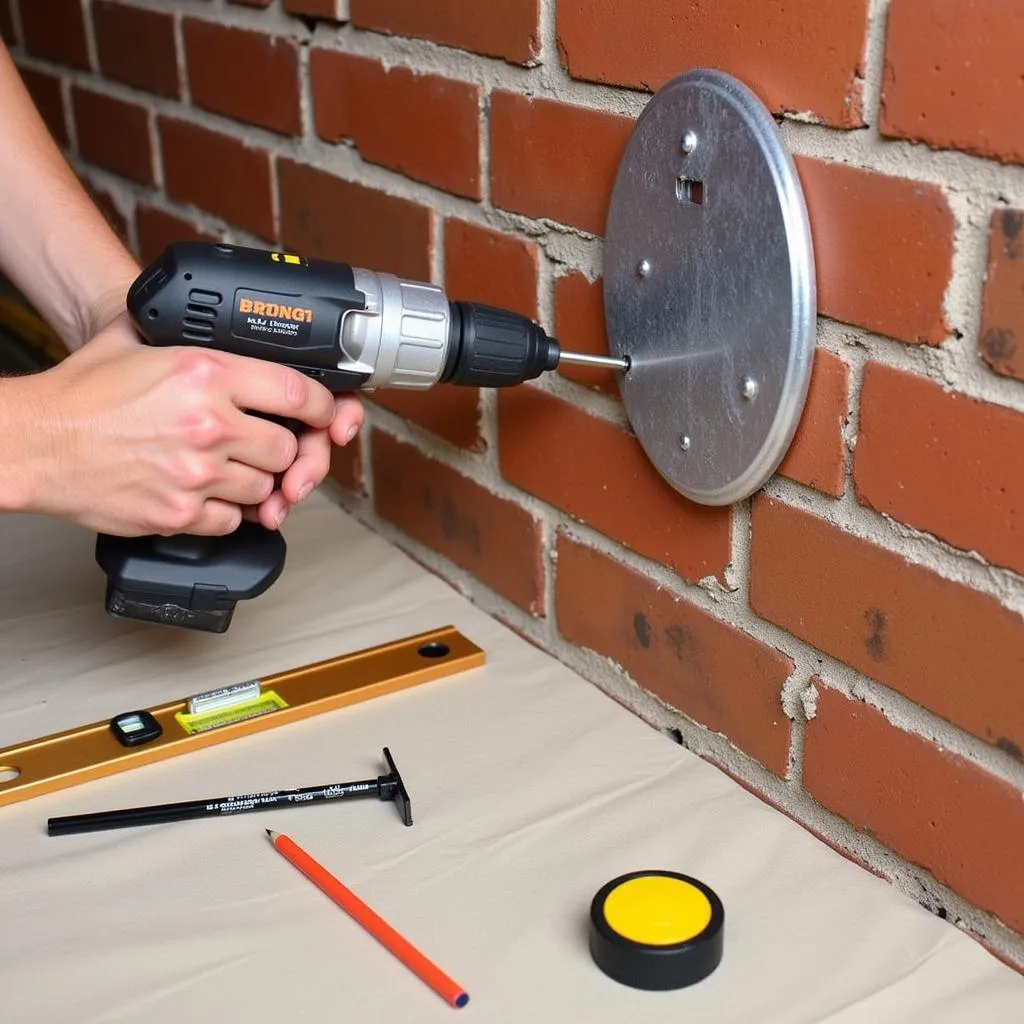
- Brick: Similar to concrete, brick walls demand drilling and the use of appropriate anchors and screws.
Evaluating Your Metal Wall Art
- Weight: Determine the weight of your artwork. Lighter pieces might be suitable for simple nails or hooks, while heavier ones will demand more robust hanging solutions.
- Size: Consider the dimensions of your artwork. Larger pieces might require multiple hanging points for optimal support and balance.
- Hanging Mechanism: Examine the back of your artwork for existing hanging mechanisms, such as D-rings, wire, or sawtooth hangers.
 Hanging metal wall art on a brick wall
Choosing the Right Hanging Hardware
Selecting the appropriate hanging hardware is paramount to ensure the secure and aesthetically pleasing display of your metal wall art.
Picture Hooks:
Ideal for lighter pieces on drywall, picture hooks come in various weight capacities. Look for hooks specifically designed for drywall or plaster.
Heavy-Duty Hooks:
For heavier artwork or when hanging on harder surfaces like plaster or concrete, opt for heavy-duty hooks with higher weight limits.
D-Rings and Wire:
Many metal wall art pieces come equipped with D-rings and wire on the back. This versatile hanging method allows for adjustable height and balance.
Sawtooth Hangers:
Commonly found on lighter artwork, sawtooth hangers are simple to install and work well with nails or hooks.
Wall Anchors:
Essential for heavier artwork on drywall, wall anchors provide additional support by distributing the weight into the wall cavity.
Screws and Nails:
The type of screws or nails you’ll need depends on your wall type and the weight of the artwork. Consult with a hardware specialist if you’re unsure about the appropriate size and type.
Mastering Installation Techniques
Now that you’ve assessed your wall type, artwork, and gathered the necessary hanging hardware, let’s delve into the step-by-step installation process.
1. Measure and Mark:
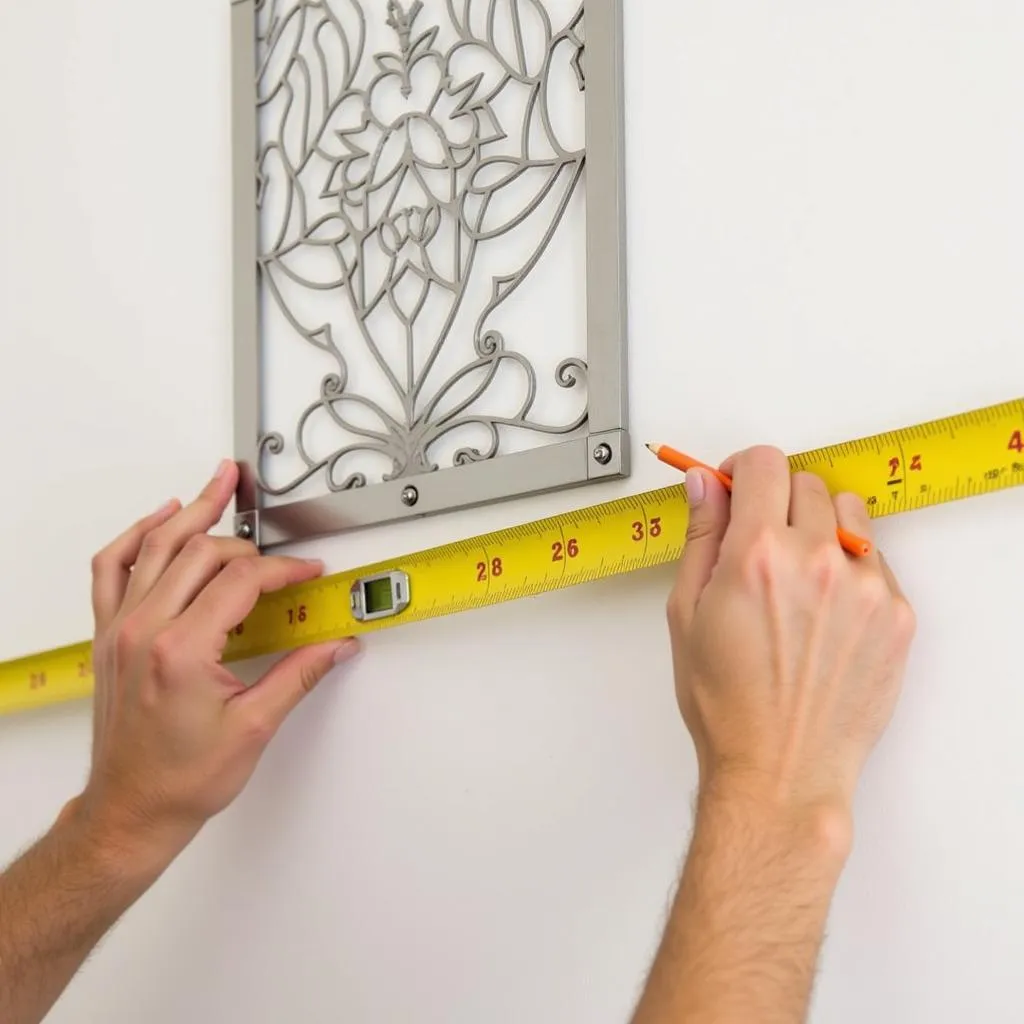
- Determine the desired height for your artwork. A common rule of thumb is to hang it at eye level, approximately 60 inches from the center of the artwork to the floor.
- Use a level to mark the desired position on the wall with a pencil.
 Marking the position for hanging metal wall art
2. Pre-Drill (If Necessary):
- If you’re working with hard walls like concrete or brick, pre-drilling a hole slightly smaller than your screw size is essential.
- For drywall, pre-drilling can be helpful when using anchors.
3. Install Anchors (If Necessary):
- If your artwork requires anchors, gently tap them into the pre-drilled holes until they’re flush with the wall surface.
4. Attach Hanging Hardware:
- Depending on your chosen hanging method, attach the picture hook, heavy-duty hook, D-ring with wire, or sawtooth hanger to the wall.
- Ensure the hanging hardware is securely attached and can support the weight of your artwork.
5. Hang Your Artwork:
- Carefully align your artwork with the installed hanging hardware and gently hang it.
- Double-check the stability and ensure your artwork is hanging straight using a level.
Tips for a Professional Finish
- Use two hooks for larger pieces to distribute weight evenly and prevent tilting.
- Consider using felt pads on the back of your artwork to protect both the wall and the piece itself.
- Experiment with different hanging heights and arrangements to find the perfect look for your space.
Conclusion
Hanging metal wall art doesn’t have to be a daunting task. By following these step-by-step instructions and considering the specific requirements of your artwork and wall type, you can confidently display your cherished pieces and transform your space.


