How to Grout Mosaic Art: A Step-by-Step Guide
Grouting is an essential step in creating beautiful and long-lasting mosaic art. It involves filling the spaces between the mosaic tiles with a paste-like material, which then hardens to create a durable and cohesive surface. Not only does grouting provide structural integrity, but it also enhances the overall aesthetic appeal of your artwork by highlighting the colors and patterns of the tiles.
nguoi-dan-ong-dang-tra-ron-cho-tac-pham-nghe-thuat-kham-da|Man grouting a mosaic art piece|A man carefully applies grout to a colorful mosaic artwork. He is using a rubber grout float to spread the grout evenly across the surface, ensuring all the spaces between the tiles are filled. The grout is a contrasting color to the tiles, which will help to accentuate the mosaic pattern.>
Understanding Grout and Its Importance
Grout serves as a binder, holding your mosaic tiles together and preventing them from shifting or falling out over time. It also acts as a barrier against moisture, dirt, and other elements that can damage your artwork. By filling in the gaps, grout creates a smooth and even surface, making your mosaic easier to clean and maintain.
Choosing the right type of grout is crucial, as it can significantly impact the final look and durability of your mosaic. Factors to consider include the type of tiles used, the location of the mosaic (indoor or outdoor), and the desired aesthetic effect.
Types of Grout for Mosaic Art
1. Cementitious Grout
This is the most common type of grout, made from a mixture of cement, sand, and pigments. It is known for its affordability, durability, and availability in a wide range of colors. Cementitious grout is suitable for both indoor and outdoor mosaics.
2. Epoxy Grout
Epoxy grout is a more expensive option, but it offers superior stain resistance, durability, and water resistance. It is ideal for areas exposed to moisture, such as bathrooms and kitchens, or for outdoor mosaics.
3. Furan Grout
This type of grout is highly resistant to chemicals and stains, making it suitable for industrial applications or areas with heavy traffic. However, it is less commonly used for mosaic art due to its limited color options and strong odor during application.
cac-loai-keo-tra-ron-cho-nghe-thuat-kham-da|Types of grout for mosaic art|Different types of grout are displayed in a colorful arrangement. Each type is labeled with its name, allowing viewers to easily identify cementitious grout, epoxy grout, and furan grout.>
Gathering Your Materials for Grouting Mosaic Art
Before you start grouting, ensure you have all the necessary materials on hand:
- Grout: Choose the appropriate type and color based on your project requirements.
- Grout Float: This tool helps spread and press the grout into the spaces between the tiles.
- Rubber Gloves: Protect your hands from the abrasive nature of grout.
- Bucket: Use a clean bucket for mixing the grout.
- Sponge: A large sponge is essential for cleaning up excess grout.
- Clean Water: Have plenty of clean water on hand for rinsing your sponge.
- Grout Sealer (optional): Applying a grout sealer after the grout has cured can help protect it from stains and moisture.
How to Grout Mosaic Art: Step by Step
Follow these steps to grout your mosaic art like a pro:
-
Prepare the Grout: Mix the grout according to the manufacturer’s instructions. The consistency should be similar to peanut butter – not too runny or too thick.
-
Apply the Grout: Hold the grout float at a 45-degree angle and spread the grout diagonally across the mosaic surface. Press firmly to ensure the grout fills all the spaces between the tiles.
-
Remove Excess Grout: After applying the grout to a small section, use a damp sponge to remove the excess from the tile surface. Rinse the sponge frequently in clean water and wring it out well to avoid adding too much water to the grout.
-
Clean the Tiles: Once the grout has started to harden (usually after 15-30 minutes), use a clean, damp sponge to wipe away any remaining grout haze from the tiles. Use circular motions and rinse the sponge often.
-
Allow the Grout to Cure: Let the grout cure completely according to the manufacturer’s instructions. This usually takes 24-72 hours.
-
Seal the Grout (optional): Once the grout has cured, you can apply a grout sealer to protect it from stains and moisture, especially for mosaics in high-traffic areas or exposed to water.
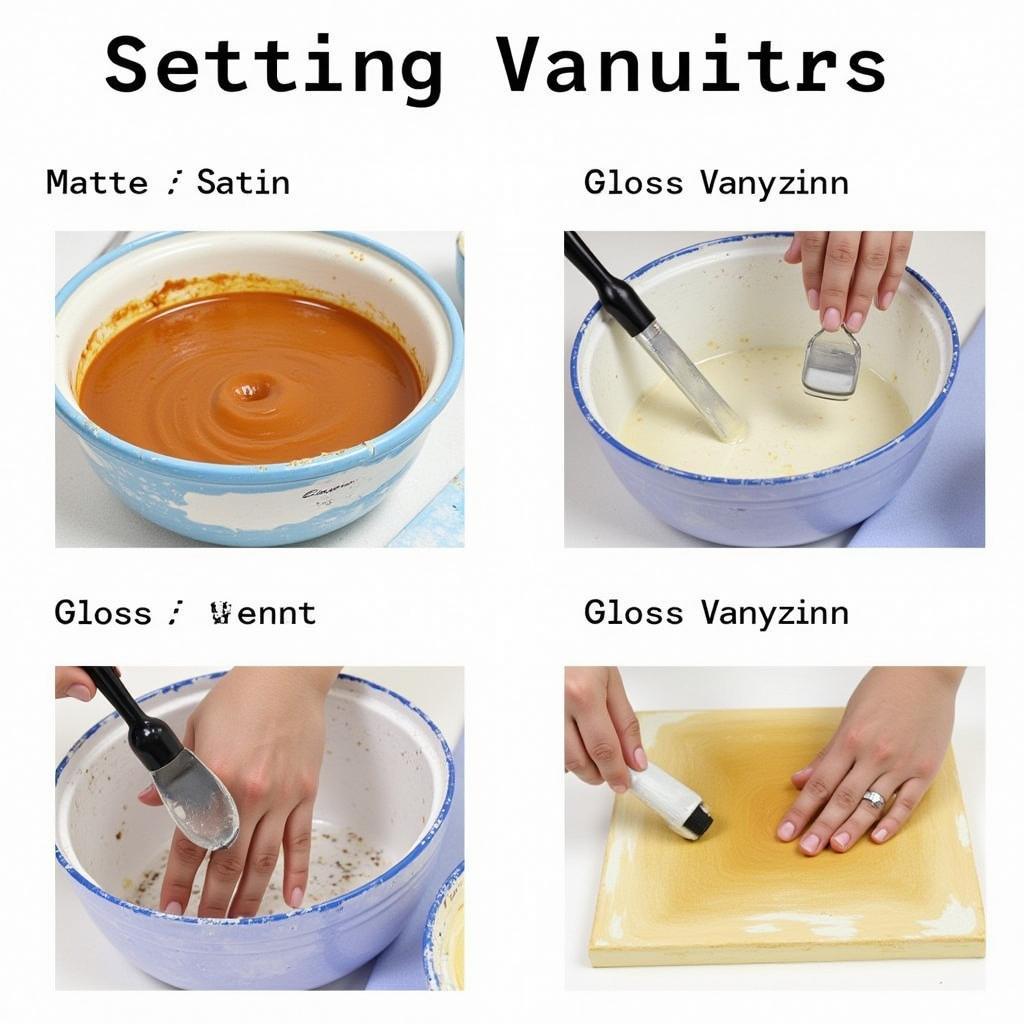
cac-buoc-thuc-hien-de-tra-ron-cho-tac-pham-nghe-thuat-kham-da|Steps to grout a mosaic art piece|A step-by-step illustration showcasing the process of grouting mosaic art. Each step is clearly labeled and visually represented, guiding the viewer through the process from preparing the grout to applying the sealer.>
Tips for a Flawless Grout Finish
- Work in Small Sections: Applying grout in small sections (about 2-3 square feet at a time) will prevent it from drying out too quickly and make it easier to remove the excess.
- Keep Your Sponge Clean: Rinse your sponge frequently in clean water to avoid smearing grout across the tile surface.
- Don’t Use Too Much Water: Using too much water can weaken the grout and lead to cracking.
- Protect Your Work Area: Cover your work surface with a drop cloth or plastic sheeting to prevent grout stains.
- Be Patient: Grouting takes time and patience. Don’t rush the process, and take your time to achieve a smooth and even finish.
Conclusion
Learning How To Grout Mosaic Art is an essential skill for any mosaic artist. By following these steps and tips, you can achieve professional-looking results and ensure the longevity of your beautiful creations. Remember, practice makes perfect, so don’t be afraid to experiment and have fun!


