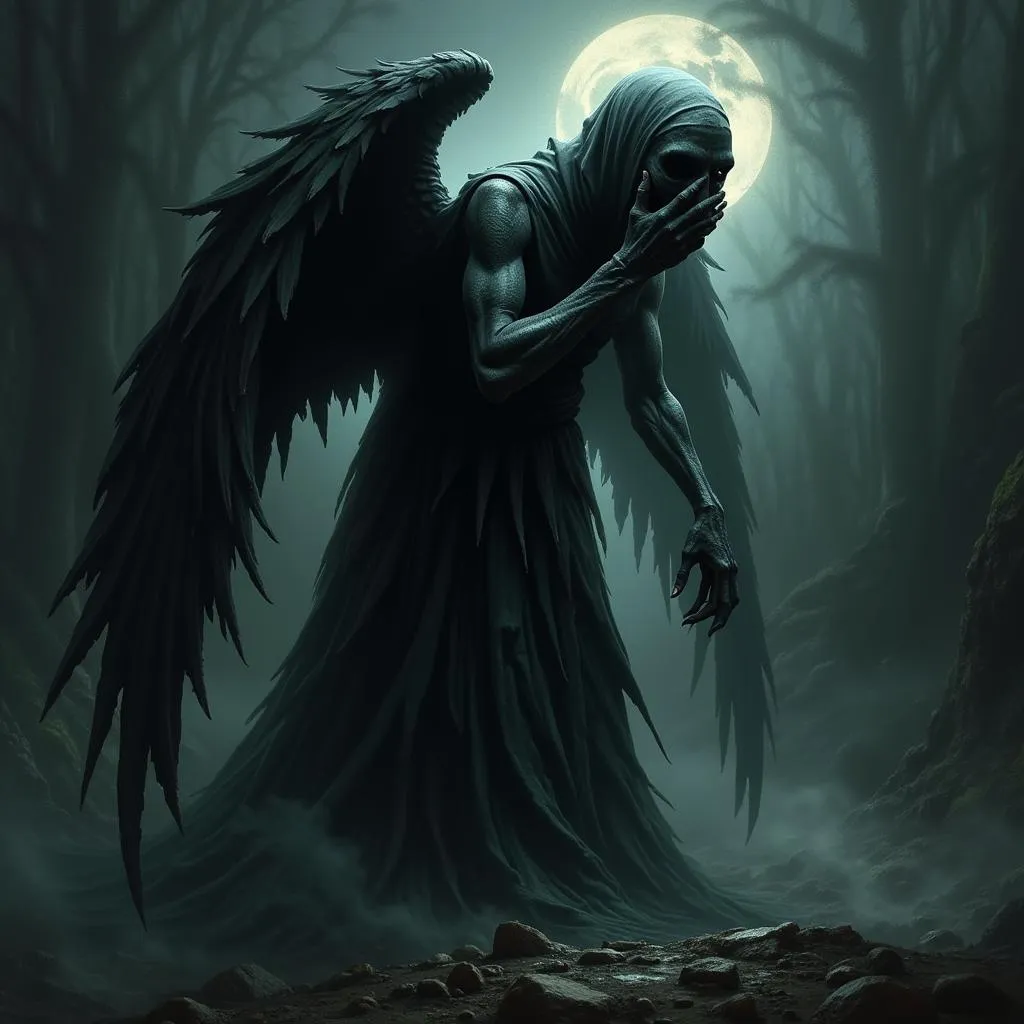
Halloween Village Art: Conjuring Spooky Charm with Your Creativity
Halloween Village Art offers a captivating blend of spooky and whimsical, allowing you to build your own miniature world of Halloween enchantment. This article delves into the enchanting world of creating your own Halloween village art, providing inspiration, techniques, and tips to help you craft a spooktacular display.
Unleashing Your Inner Halloween Architect: Choosing a Theme
Before diving into your Halloween village art project, selecting a theme will provide a cohesive and enchanting aesthetic.
- Classic Horror: Embrace the iconic elements of classic horror films with haunted houses, spooky cemeteries, and lurking creatures of the night.
- Whimsical Halloween: Opt for a lighter, more playful theme featuring cute ghosts, grinning pumpkins, and charming witches.
- Gothic Village: Capture the elegance and mystery of the Gothic aesthetic with wrought iron gates, cobweb-draped buildings, and an air of eerie sophistication.
Building the Foundation: Essential Materials
Creating your Halloween village art requires a few essential materials to bring your vision to life:
- Base: A sturdy base like plywood, foam board, or even a large tray will serve as the foundation for your village.
- Buildings: Pre-made ceramic houses are a popular choice, but you can also repurpose cardboard boxes, craft foam, or even recycled materials to construct your own unique structures.
- Paint: Acrylic paint is ideal for its versatility and ability to adhere to various surfaces.
- Decorative Elements: Unleash your creativity with miniature trees, figurines, LED lights, spooky fabric scraps, and other embellishments to enhance the atmosphere.
Constructing Your Spooky Structures: Tips and Techniques
This section will guide you through the process of building the charmingly eerie structures that will populate your Halloween village:
- Plan Your Layout: Sketch a rough layout of your village on paper, considering the placement of roads, buildings, and focal points.
- Prepare Your Buildings: If using pre-made houses, consider adding personal touches with paint, glitter, or small embellishments. For DIY structures, cut and assemble your chosen materials according to your desired designs.
- Paint Your Creations: Apply base coats of paint to your buildings, allowing each layer to dry thoroughly before adding details. Experiment with different shades and techniques to achieve desired textures like weathered wood or aged stone.
- Add Spooky Accents: Enhance your structures with eerie details such as cobwebs (use cotton balls or hot glue), flickering lights inside windows (LED tea lights work well), and miniature signs with spooky messages.
Bringing Your Village to Life: Inhabitants and Atmosphere
A Halloween village wouldn’t be complete without its inhabitants and an immersive atmosphere:
- Populate Your Village: Introduce miniature figurines of witches, ghosts, zombies, or other Halloween characters to add life and a touch of spooky charm.
- Set the Mood with Lighting: Incorporate LED string lights, candles, or lanterns to cast an eerie glow over your village. Experiment with different colors like green, purple, or orange to create a spooky ambiance.
- Embrace the Sounds of Halloween: Enhance the sensory experience with spooky sound effects like howling wind, creaking doors, or eerie music playing softly in the background.
Showcasing Your Halloween Village Art
Once you’ve completed your masterpiece, it’s time to find the perfect spot to display it:
- Create a Dedicated Display Area: Designate a table, shelf, or even an entire room to showcase your Halloween village.
- Use Levels and Dimensions: Incorporate varying heights by using cake stands, books, or upside-down bowls to create visual interest and add depth to your display.
- Share Your Creation: Capture the magic of your Halloween village art by taking photos or videos to share with friends, family, or on social media.
Halloween Village Art FAQs: Your Questions Answered
1. What’s the best material to use for the base of my Halloween village?
Plywood, foam board, or even a large tray are all excellent options for a sturdy base.
2. Where can I find miniature Halloween figurines?
Craft stores, online retailers, and even some toy stores carry a wide variety of miniature Halloween figures.
3. Can I use real candles for lighting?
For safety reasons, it’s best to use LED candles or lights to illuminate your Halloween village.
4. How can I create a fog effect?
A small, cool-mist humidifier placed discreetly behind your village can create an eerie fog effect.
5. What are some creative ways to use recycled materials?
Cardboard boxes can be transformed into buildings, egg cartons can become cobblestone streets, and toilet paper rolls can be used to make spooky trees.
Need Help with Your Halloween Village Art?
If you have any questions or need assistance with your Halloween village art project, our team is here to help! Contact us at:
Phone Number: 02462573573
Email: [email protected]
Or visit us at:
Savico Megamall, 7-9 Đ. Nguyễn Văn Linh, Gia Thụy, Long Biên, Hà Nội 10000, Việt Nam.
We have a 24/7 customer service team ready to assist you.
