Unleash Your Inner Artist: Mastering Halloween Stencil Art
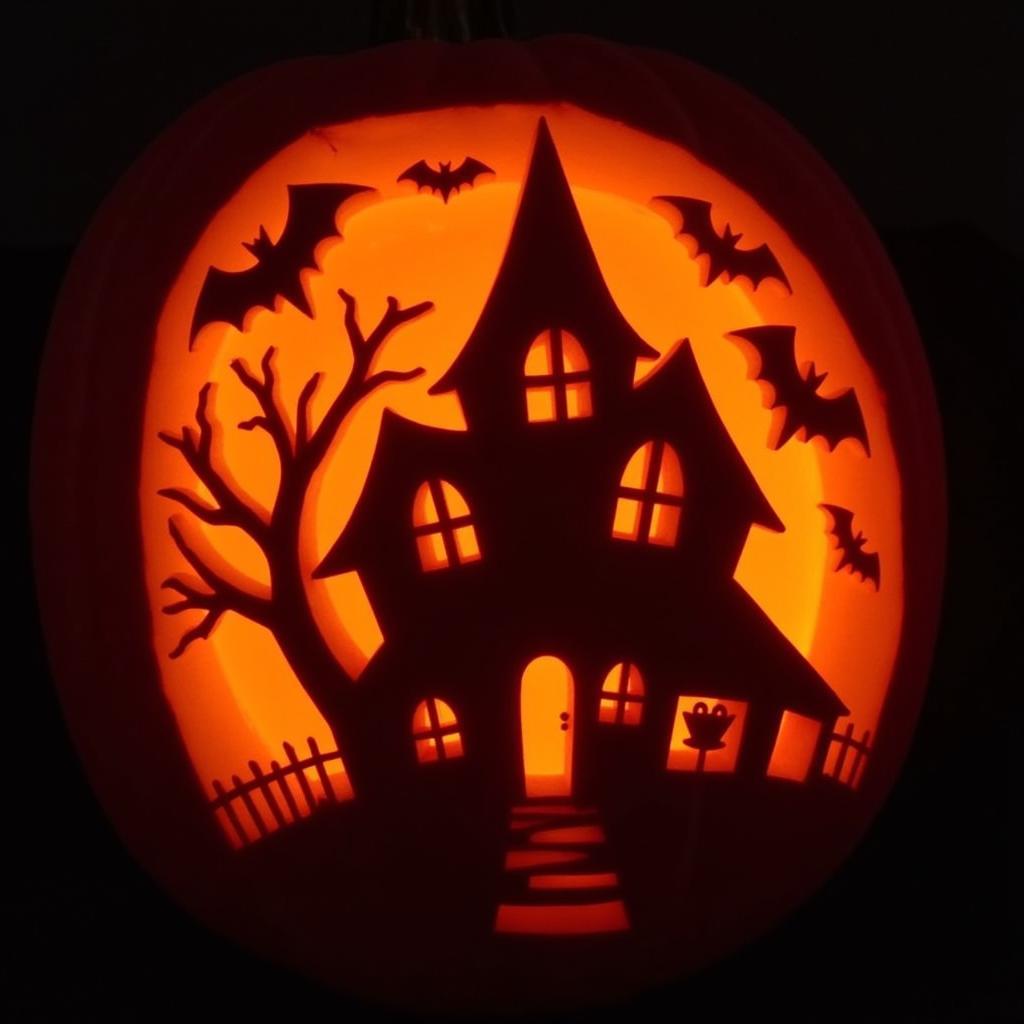
Halloween Stencil Art offers a fantastic way to elevate your spooky decor, whether you’re a seasoned artist or just starting out. From eerie window silhouettes to intricate pumpkin carvings, stencil art provides a simple yet effective method for achieving professional-looking results.  Intricate pumpkin carving using a Halloween stencil.
Why Choose Halloween Stencil Art?
Stencil art, especially for Halloween, allows you to achieve impressive results without requiring advanced artistic skills. It’s a versatile technique applicable to various surfaces like pumpkins, windows, fabric, and even wood. Plus, it’s a fun and engaging activity for all ages! You can create unique and personalized Halloween decorations with minimal effort.
From classic spooky icons like witches and ghosts to more intricate designs, the possibilities with Halloween stencil art are endless. You can even incorporate glow-in-the-dark elements to create a truly mesmerizing effect. Speaking of glow-in-the-dark art, you might find inspiration in our guide on glow in the dark nail art.
Getting Started with Halloween Stencils
So, what do you need to dive into the world of Halloween stencil art? The essentials are surprisingly simple: stencils (either store-bought or DIY), your chosen surface, paint, brushes or sponges, and a bit of creativity.
- Stencils: You can find pre-made Halloween stencils at most craft stores or online. Alternatively, create your own using cardstock or acetate sheets.
- Surface: Pumpkins, windows, wood, fabric – the choice is yours! Prepare your surface by ensuring it’s clean and dry.
- Paint: Acrylic paints work well for most surfaces. For fabric, consider fabric paint. If you’re creating outdoor decorations, choose weather-resistant paint.
- Brushes/Sponges: Use a stencil brush or sponge for applying the paint. Sponges provide a more even coat and minimize bleeding under the stencil.
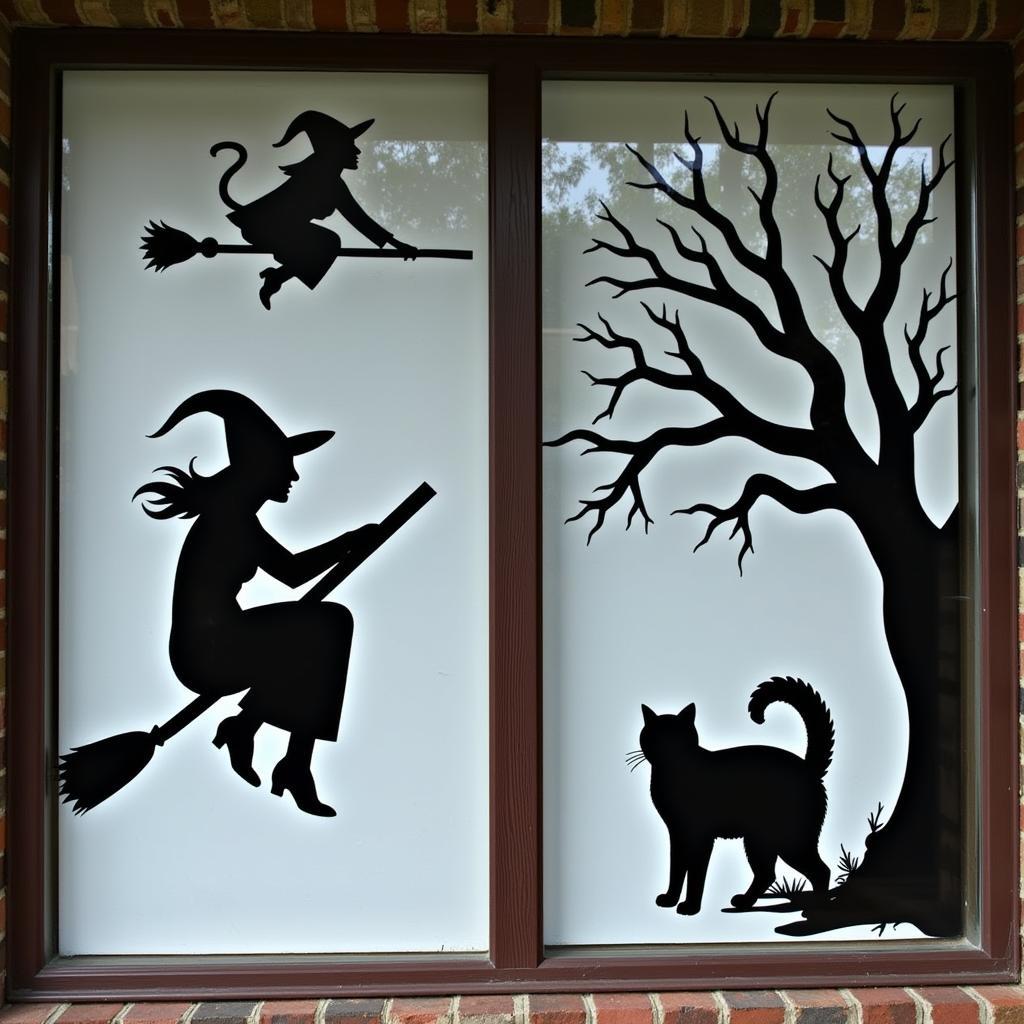
 Spooky window decorations created with Halloween stencils.
Tips and Tricks for Stunning Halloween Stencil Art
Achieving professional-looking results with Halloween stencils involves a few key techniques:
- Secure the Stencil: Use painter’s tape or repositionable adhesive to secure the stencil firmly to your surface. This prevents the stencil from shifting and ensures crisp lines.
- Apply Paint Evenly: Dab the paint onto the surface using a stencil brush or sponge, applying even pressure to avoid bleeding.
- Remove the Stencil Carefully: Once the paint is dry to the touch, peel the stencil off slowly and carefully to reveal your masterpiece.
Rebecca Miller, a renowned art educator, emphasizes the importance of patience in stencil art. “Taking your time with each step, from securing the stencil to removing it, is crucial for achieving clean and professional results,” she advises.
Creating Your Own Halloween Stencils
Designing your own stencils allows for truly unique Halloween decorations. Simply draw or print your desired design onto cardstock or acetate sheets, then carefully cut out the design using a craft knife. For intricate designs, consider using a cutting mat to protect your work surface. Remember, precision is key to a successful stencil.
Exploring Different Halloween Stencil Art Styles
Beyond the traditional spooky imagery, there’s a wealth of Halloween stencil art styles to explore. From whimsical characters to intricate gothic designs, let your creativity run wild! Experiment with different color palettes and techniques to create personalized decorations that reflect your unique style. Thinking outside the box can lead to truly stunning results. For example, combining stencil art with face paint can create a dramatic Halloween look. Check out our guide on art factory face paint for inspiration.
Halloween Stencil Art: Beyond the Basics
Once you’ve mastered the basics, consider incorporating advanced techniques like layering stencils, using multiple colors, and adding embellishments like glitter or rhinestones. Layering stencils creates depth and dimension, while using multiple colors adds visual interest. For inspiration, explore Halloween chalkboard art ideas to see how different elements can be combined effectively. You can find some great ideas on our page about halloween chalkboard art ideas.
David Carter, a professional stencil artist, encourages experimentation. “Don’t be afraid to push the boundaries and try new techniques,” he suggests. “The beauty of stencil art lies in its versatility and the endless possibilities for creative expression.” For those intrigued by the captivating world of nocturnal art, our article on halloween night art offers a fascinating exploration.
Conclusion
Halloween stencil art is a fun and accessible way to create stunning decorations for the spooky season. With a little practice and creativity, you can transform ordinary surfaces into works of art. So, gather your supplies, unleash your inner artist, and get ready to spook up your space with Halloween stencil art! Interested in other forms of creative expression? Explore our guide on nail sticker art for a different artistic outlet.
FAQ
- What type of paint is best for Halloween stencil art?
- Can I use stencils on fabric?
- Where can I find Halloween stencils?
- How do I prevent paint bleeding under the stencil?
- What are some advanced stenciling techniques?
- Can I create my own stencils?
- Where can I find inspiration for Halloween stencil designs?
Need assistance with your Halloween stencil art projects? Contact us at Phone: 02462573573, Email: danteum@gmail.com, or visit us at Savico Megamall, 7-9 Đ. Nguyễn Văn Linh, Gia Thụy, Long Biên, Hà Nội 10000, Việt Nam. Our customer service team is available 24/7.


