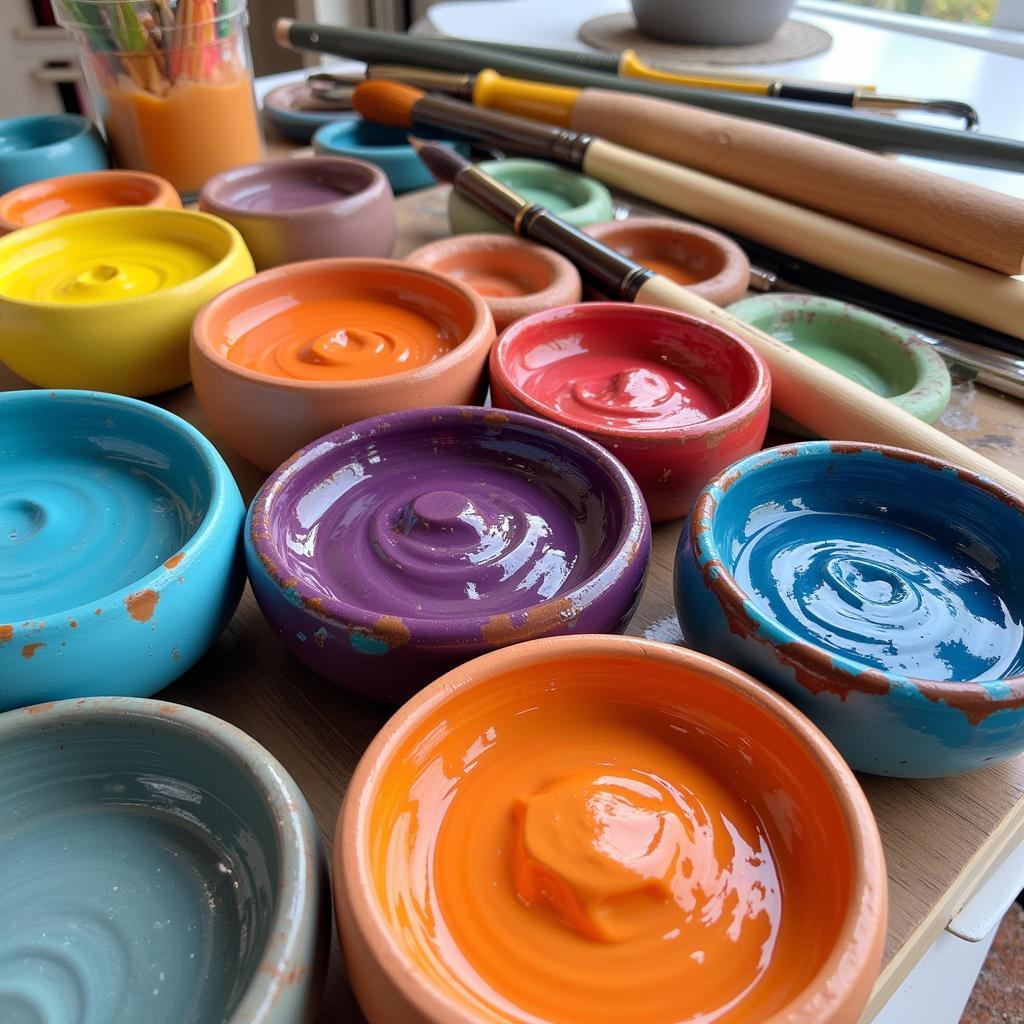
Creating Unique Clay Art Salt and Pepper Shakers
Clay art salt and pepper shakers are a delightful addition to any kitchen, bringing a touch of handmade charm and personality to your dining table. Whether you’re a seasoned potter or a curious beginner, crafting your own salt and pepper shakers is a fun and rewarding experience. This article guides you through the process of creating one-of-a-kind clay art salt and pepper shakers, from choosing the right clay to adding those finishing touches.
Choosing the Right Clay for Your Salt and Pepper Shakers
Selecting the right clay is the foundation for durable and food-safe salt and pepper shakers. Opt for a stoneware or earthenware clay, as these are known for their strength and ability to withstand daily use.
- Stoneware: Fired at high temperatures, stoneware clay results in a non-porous surface, making it ideal for holding salt and pepper without any worries about absorption or staining.
- Earthenware: Earthenware clay, fired at lower temperatures, offers a more rustic and earthy aesthetic. While it’s slightly more porous than stoneware, a food-safe glaze can easily seal the surface, making it suitable for your shakers.
Shaping Your Salt and Pepper Shakers: Unleash Your Creativity
The beauty of handmade pottery lies in its ability to reflect your personal style. Embrace your creativity and explore various shapes for your salt and pepper shakers. From classic round shakers to whimsical animal forms, the possibilities are endless.
- Classic Shapes: Simple cylindrical or square shapes offer a timeless look and are perfect for beginners.
- Organic Forms: Embrace the natural world and experiment with shapes inspired by fruits, vegetables, or animals.
- Geometric Designs: For a modern touch, consider geometric shapes like cubes, pyramids, or even abstract forms.
Adding Details and Personal Touches
Once you’ve shaped your salt and pepper shakers, it’s time to add those charming details that make them truly unique.
- Carving: Use carving tools to create intricate patterns, textures, or even small illustrations on the surface of your shakers.
- Stamping: Press textured objects like leaves, lace, or even buttons into the clay to create interesting patterns and reliefs.
- Adding Clay Embellishments: Roll out small pieces of clay and shape them into leaves, flowers, or any other decorative element you want to add to your shakers. Attach them securely with a bit of slip (clay and water mixture).
The Art of Glazing: Adding Color and Durability
Glazing not only enhances the visual appeal of your salt and pepper shakers but also makes them food-safe and water-resistant. Choose from a wide array of vibrant colors and finishes to complement your design.
- Food-Safe Glazes: Always opt for food-safe glazes specifically designed for functional pottery. These glazes are lead-free and safe for contact with food.
- Applying Glaze: You can apply glaze by dipping, brushing, or pouring, depending on your desired effect. Experiment with different techniques to achieve unique textures and finishes.
 Glazing your salt and pepper shakers
Firing Your Salt and Pepper Shakers: The Final Transformation
Once your shakers are glazed, they need to be fired in a kiln to harden the clay and create a durable finish. Follow the firing instructions provided with your chosen clay and glaze.
Creating Unique Clay Art Salt and Pepper Shakers: A Rewarding Experience
Creating your own clay art salt and pepper shakers is a fulfilling experience that allows you to combine your creativity with practical skills. With a little patience and imagination, you can craft a set of unique and functional art pieces that will enhance your dining experience for years to come.


