Create Stunning Christmas Decor with Christmas Light Chalk Art
Christmas Light Chalk Art is a fun and festive way to add a touch of magic to your holiday decor. This unique art form uses simple materials like chalk and string lights to create stunning illuminated displays that are sure to impress your guests. Whether you’re a seasoned artist or just starting out, this guide will provide you with everything you need to know to create your own dazzling Christmas light chalk art.
What is Christmas Light Chalk Art and Why is it so Popular?
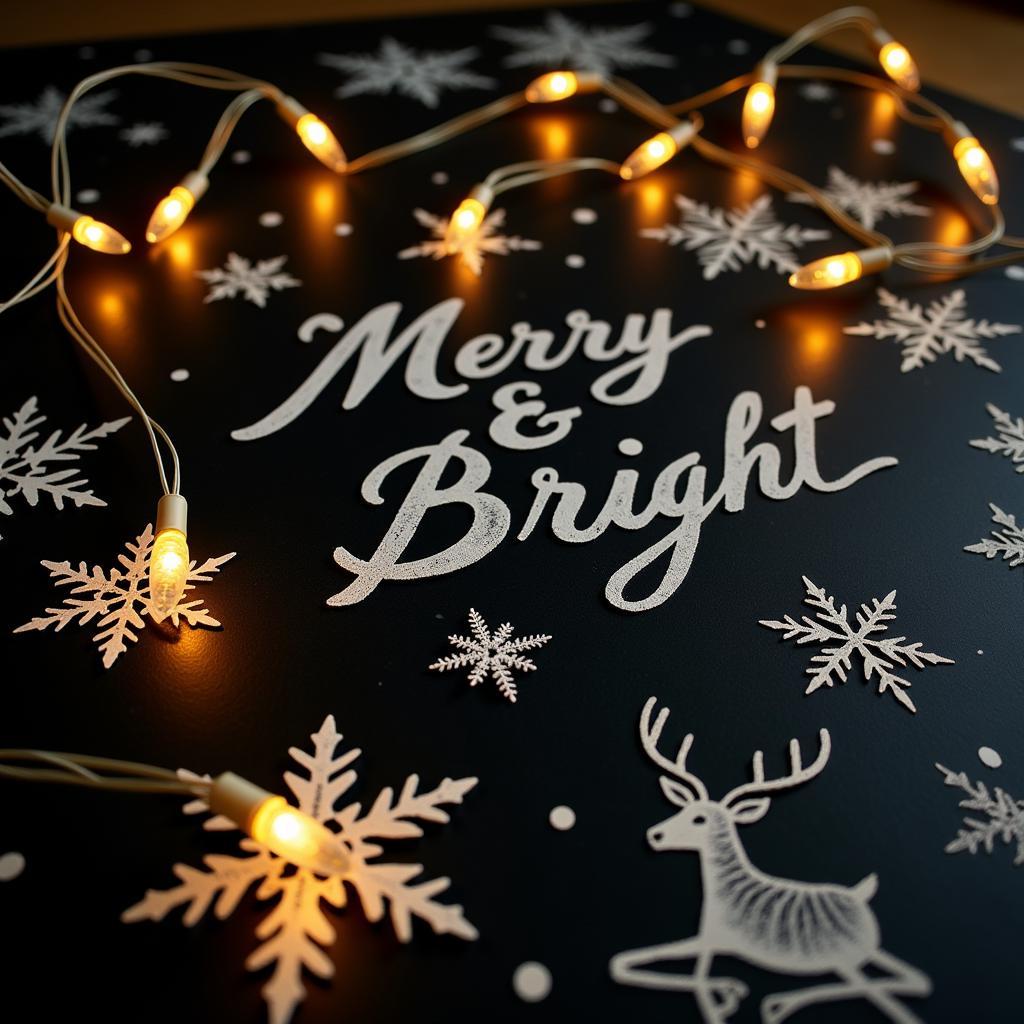 Christmas light chalk art on a blackboard
Christmas light chalk art involves drawing designs on a dark surface like a chalkboard, then outlining those designs with string lights. This technique creates a glowing effect that’s both whimsical and elegant, perfectly capturing the spirit of the holiday season. Its popularity stems from its versatility, affordability, and the fact that it can be easily customized to fit any theme or style.
Essential Supplies for Christmas Light Chalk Art
Before you begin your Christmas light chalk art project, gather the following essential supplies:
- Chalkboard or dark-colored poster board: Choose a surface that will provide good contrast for your chalk lines and make the lights pop.
- White chalk: Use white chalk to create the outlines of your designs.
- Colored chalk (optional): Add a touch of color to your artwork with colored chalk.
- String lights: Opt for LED string lights with a warm white or cool white glow, depending on your preference. Battery-operated lights are ideal for easy placement.
- Tape or adhesive putty: Secure the string lights to your chosen surface using tape or adhesive putty.
- Pencil and eraser: Sketch your design lightly with a pencil before outlining with chalk.
- Ruler or straight edge (optional): Use a ruler or straight edge to create straight lines and geometric shapes.
- Reference images (optional): Gather reference images for inspiration and guidance as you create your design.
How to Create Your Own Christmas Light Chalk Art: A Step-by-Step Guide
Creating your own Christmas light chalk art is easier than you might think. Follow these simple steps to get started:
- Choose your design: Select a Christmas-themed design that you love. Popular choices include snowflakes, reindeer, Christmas trees, stars, ornaments, and festive messages.
- Prepare your surface: Clean your chalkboard or poster board to ensure a smooth drawing surface.
- Sketch your design: Lightly sketch your chosen design onto the surface using a pencil. Don’t worry about perfection at this stage, as you can erase and adjust as needed.
- Outline with chalk: Once you’re happy with your sketch, carefully outline the design with white chalk. Apply firm pressure to create bold lines that will stand out against the dark background.
- Add color (optional): If desired, add pops of color to your design using colored chalk. You can fill in entire sections or add subtle accents.
- Attach the string lights: Carefully attach the string lights along the chalk outlines of your design. Use tape or adhesive putty to secure the lights in place.
- Plug in and enjoy: Once the lights are securely attached, plug them in or turn them on if using battery-operated lights. Stand back and admire your stunning Christmas light chalk art!
Tips and Tricks for Stunning Christmas Light Chalk Art
Here are a few tips and tricks to help you create stunning Christmas light chalk art:
- Start simple: If you’re new to chalk art, start with a simple design and gradually work your way up to more complex creations.
- Use high-quality chalk: Invest in high-quality chalk that will produce vibrant colors and smooth lines.
- Blend colors carefully: When blending colored chalk, use a light touch and blend in small circular motions to avoid smudging.
- Experiment with different light colors: Try using different colored string lights to create different moods and effects.
- Consider the placement: Think about where you’ll be displaying your Christmas light chalk art and choose a design that complements the surrounding decor.
Frequently Asked Questions
Q: What type of surface is best for Christmas light chalk art?
A: Chalkboards and dark-colored poster boards are both excellent choices for Christmas light chalk art.
Q: Can I use regular string lights for this project?
A: While you can use regular string lights, LED string lights are recommended for their energy efficiency and cooler temperature, reducing the risk of burns or damage to your artwork.
Q: How do I clean up chalk dust?
A: Use a soft cloth or duster to gently wipe away chalk dust. For stubborn marks, slightly dampen the cloth.
Q: Where can I find inspiration for Christmas light chalk art designs?
A: Online platforms like Pinterest, Instagram, and craft blogs offer a plethora of inspirational ideas for Christmas light chalk art designs.
Q: Can I reuse my chalkboard or poster board for other occasions?
A: Yes! Simply wipe away the chalk art with a damp cloth and let it dry completely before creating new designs.
Need More Inspiration?
Explore these related articles on our website:
- “Festive Chalkboard Art Ideas for the Holidays”
- “DIY Holiday Decor: Creative Lighting Solutions”
- “Budget-Friendly Ways to Decorate Your Home for Christmas”
Contact us:
For any inquiries or assistance, feel free to reach out to our dedicated customer support team:
Phone: 02462573573
Email: danteum@gmail.com
Address: Savico Megamall, 7-9 Đ. Nguyễn Văn Linh, Gia Thụy, Long Biên, Hà Nội 10000, Việt Nam
We’re available 24/7 to assist you with your creative endeavors.
