Create Your Own Art Drying Rack DIY
Drying your latest masterpiece shouldn’t be a hassle. With a DIY art drying rack, you can provide a dedicated space for your paintings to dry evenly and safely, all while keeping your creative corner organized. Whether you’re working with acrylics, watercolors, or venturing into the world of brush markers art, a well-designed drying rack is an essential tool for any artist. This guide will walk you through simple yet effective ways to build your own art drying rack, customized to your needs and space.
Why You Need an Art Drying Rack
While laying your artwork flat might seem like the easiest solution, it can lead to uneven drying, dust accumulation, and even the risk of smudging. A dedicated drying rack elevates your work, allowing for proper air circulation and preventing accidental contact.
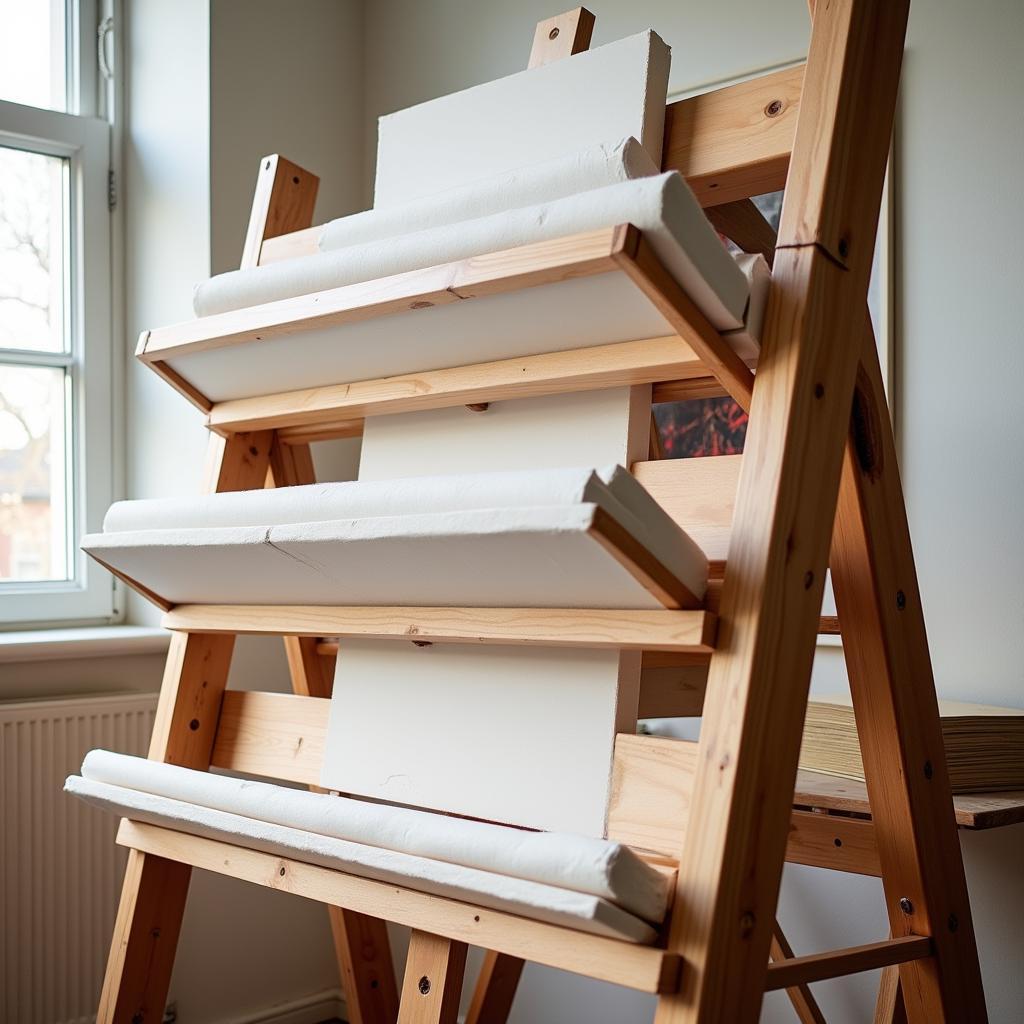 DIY art drying rack with shelves
Choosing the Right Materials
Building your own art drying rack allows you to choose materials that suit your budget and aesthetic preferences. Here’s a breakdown of common options:
- Wood: A classic choice, wood is sturdy, readily available, and can be easily customized with paint or stain. Pine and fir are affordable and lightweight options.
- PVC Pipes: For a more budget-friendly and modern approach, PVC pipes are surprisingly versatile. They’re lightweight, easy to assemble, and resistant to moisture.
- Metal Grids: Wire shelving units or metal grids offer a sleek, industrial look and are perfect for smaller artworks or prints.
Art Drying Rack DIY Ideas
1. The Simple Wall-Mounted Rack
Perfect for small spaces, this wall-mounted rack is easy to build and can be customized to fit any number of canvases.
Materials:
- Wooden planks (length depends on your desired rack size)
- Dowels (length should be slightly wider than your canvases)
- Screws
- Wall anchors (if necessary)
Instructions:
- Cut the wooden planks to your desired length for the rack’s base and sides.
- Attach the side planks to the base plank, creating a U-shape.
- Measure and mark equal distances along the side planks for dowel placement.
- Drill holes slightly smaller than the dowel diameter at the marked points.
- Insert the dowels into the holes, ensuring they’re secure.
- Mount the rack to the wall using screws and wall anchors.
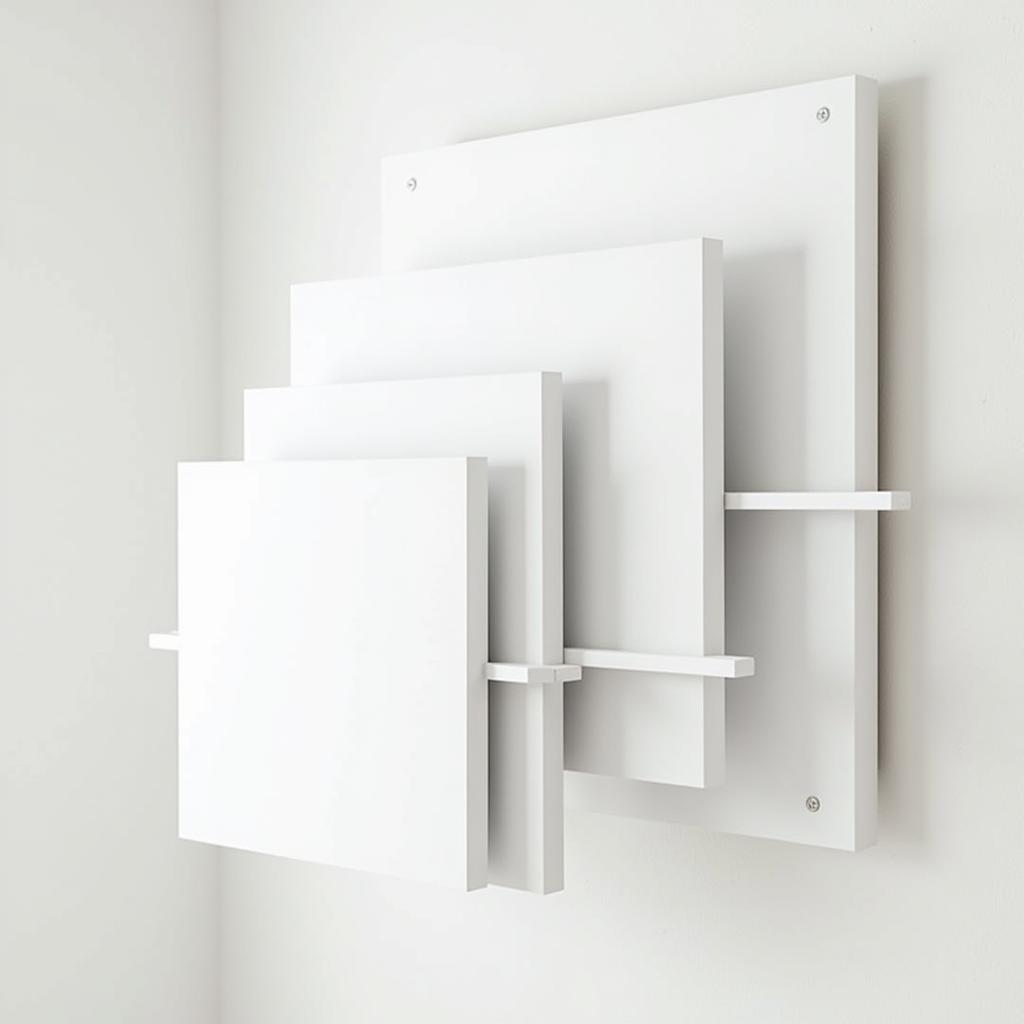 Wall-mounted art drying rack with dowels
2. The Collapsible Drying Rack
This portable rack is ideal for artists on the go or those who need a flexible drying solution.
Materials:
- PVC pipes (cut to desired lengths for the frame and legs)
- PVC pipe connectors (elbows, tees, and caps)
- Mesh fabric or plastic canvas
Instructions:
- Assemble the PVC pipes and connectors to create a rectangular frame.
- Cut the mesh fabric or plastic canvas to fit within the frame.
- Secure the fabric or canvas to the frame using zip ties or strong glue.
- Attach legs to the frame using PVC connectors for added stability.
3. The Multi-Level Drying Rack
Maximize your drying space with a multi-level rack that accommodates various artwork sizes.
Materials:
- Wooden boards or plywood
- Wooden dowels or metal rods
- Wood glue
- Screws
Instructions:
- Cut the wooden boards or plywood to create shelves of decreasing sizes.
- Drill holes along the sides of each shelf for the dowels or rods to pass through.
- Assemble the shelves by inserting the dowels or rods through the holes, creating a tiered structure.
- Secure the shelves in place with wood glue and screws.
Tips for Using Your DIY Art Drying Rack
- Placement is Key: Choose a well-ventilated area away from direct sunlight or heat sources.
- Cleanliness Matters: Regularly dust your drying rack to prevent particles from settling on wet paint.
- Protect Your Work: Consider covering your drying rack with a clean sheet or cloth to further shield your artwork from dust.
Conclusion
Building your own art drying rack is a rewarding project that enhances your creative process while protecting your artwork. By following these simple DIY ideas, you can create a functional and stylish drying solution tailored to your individual needs. So gather your materials and get ready to elevate your art game! And remember, if you ever need inspiration or guidance, our team at Online Art workshops is always here to help. Contact us at 02462573573, email us at danteum@gmail.com, or visit our website to explore more creative solutions for your art journey.
