Alloy Art Swing Arm Bushings Install: A Step-by-Step Guide
Upgrading your motorcycle’s swing arm bushings with Alloy Art components can significantly enhance your bike’s handling and overall performance. While the process may seem daunting at first, this comprehensive guide will provide a clear, step-by-step approach to installing Alloy Art swing arm bushings with confidence.
Why Upgrade to Alloy Art Swing Arm Bushings?
Before diving into the installation, let’s explore why upgrading to Alloy Art swing arm bushings is a worthwhile investment for motorcycle enthusiasts.
-
Enhanced Handling: Alloy Art bushings are crafted from superior materials like bronze or Delrin, designed to reduce friction and provide smoother suspension movement. This translates to improved responsiveness and a more predictable ride, particularly when cornering or navigating challenging road conditions.
-
Increased Durability: Unlike OEM rubber bushings that are prone to wear and tear over time, Alloy Art bushings offer exceptional durability and longevity. This ensures consistent performance and reduces the need for frequent replacements.
-
Reduced Maintenance: The self-lubricating properties of materials like Delrin minimize maintenance requirements, eliminating the need for frequent greasing and ensuring long-lasting performance with minimal upkeep.
Tools and Materials You’ll Need
Gathering the necessary tools and materials beforehand will streamline the installation process. Here’s a checklist:
- Alloy Art swing arm bushing kit specific to your motorcycle model
- Torque wrench
- Socket set
- Hex keys
- Hammer
- Punch
- Grease (if using bronze bushings)
- Shop towels
Step-by-Step Installation Guide
Follow these steps meticulously to ensure a successful Alloy Art swing arm bushing installation:
-
Prepare Your Workspace: Find a clean, well-lit area to work and secure your motorcycle on a rear stand or lift to elevate the rear wheel off the ground.
-
Remove the Rear Wheel: Loosen the axle nut and remove the rear wheel assembly.
-
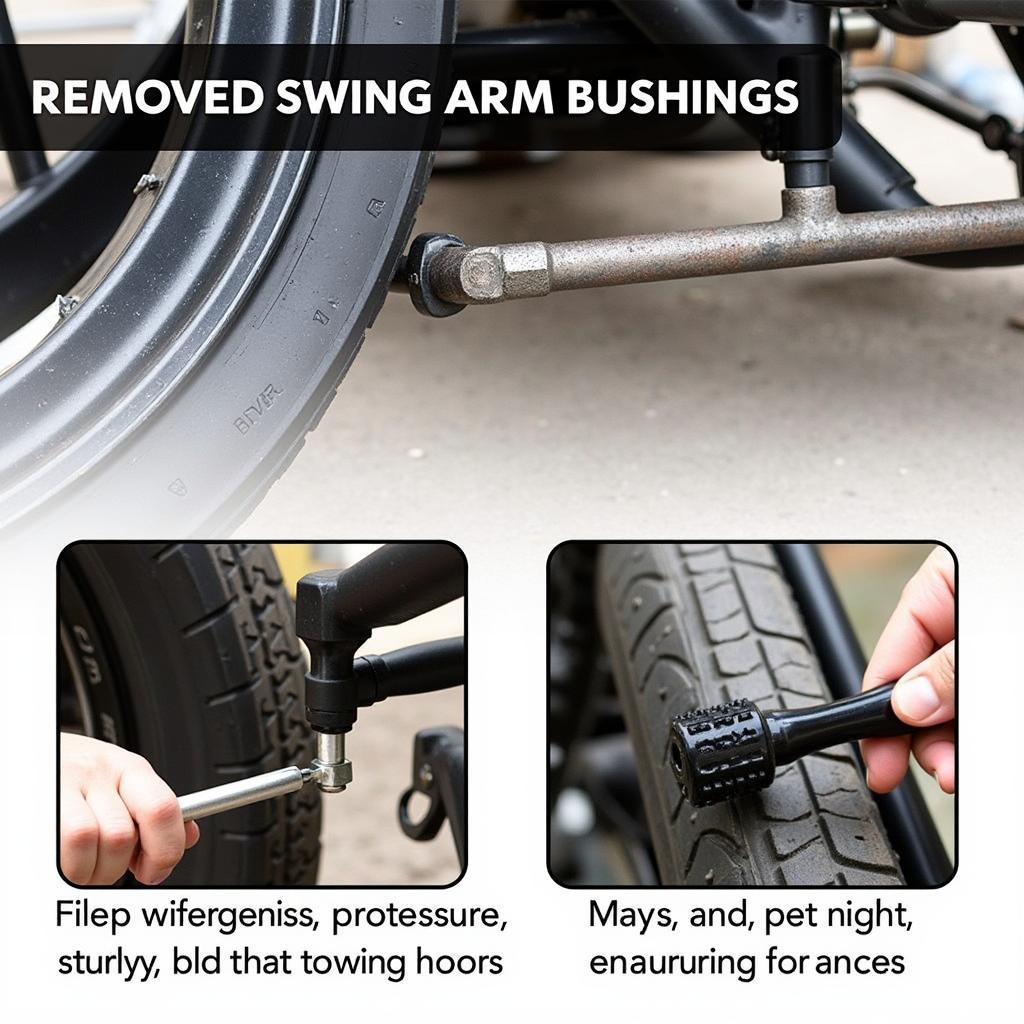
Extract the Old Bushings: Using a punch and hammer, carefully drive out the existing swing arm bushings from the swing arm and linkage. Take note of the orientation of any spacers or washers for reassembly.
 Extracting Old Swing Arm Bushings
-
Clean and Inspect: Thoroughly clean the swing arm and linkage areas where the bushings were seated, removing any dirt, debris, or remnants of the old bushings. Inspect these surfaces for any damage or wear that might require attention before proceeding.
-
Grease the New Bushings (If Applicable): If you’ve opted for bronze Alloy Art bushings, apply a thin layer of grease to their outer surfaces before installation. Delrin bushings, on the other hand, are self-lubricating and don’t require additional grease.
-
Install the New Bushings: Carefully align and press the new Alloy Art bushings into the swing arm and linkage, ensuring they are seated squarely and flush with the surrounding surfaces. Use a press or a socket that matches the bushing’s outer diameter for even pressure distribution.
-
Reassemble and Torque: Reinstall the rear wheel assembly, spacers, and any hardware removed during disassembly. Tighten all bolts and nuts to the manufacturer’s specified torque specifications using a torque wrench.
-
Double-Check Your Work: Once everything is reassembled, double-check that all bolts and nuts are properly tightened and that the rear wheel spins freely without any binding or resistance.
Expert Insights
“Upgrading to Alloy Art swing arm bushings is one of the most cost-effective modifications you can make to enhance your motorcycle’s handling,” says Mark Johnson, a veteran motorcycle mechanic with over 20 years of experience. “The improvement in responsiveness and overall ride quality is immediately noticeable, making it a worthwhile investment for riders of all skill levels.”
Conclusion
Investing in Alloy Art swing arm bushings is a testament to your commitment to optimizing your motorcycle’s performance. By following this step-by-step installation guide and adhering to the manufacturer’s recommendations, you can confidently upgrade your bike’s handling, durability, and enjoy a more refined riding experience.


