Create a Starry Night Glass Art Masterpiece
Starry Night Glass Art has captured the imagination of art enthusiasts and DIYers alike. This mesmerizing craft allows you to bring the cosmic beauty of a starlit sky into your home, transforming ordinary glass into stunning, luminous pieces. Whether you’re a seasoned artist or a curious beginner, this guide will equip you with the knowledge and inspiration to create your own starry night glass art.
Unveiling the Magic of Starry Night Glass Art
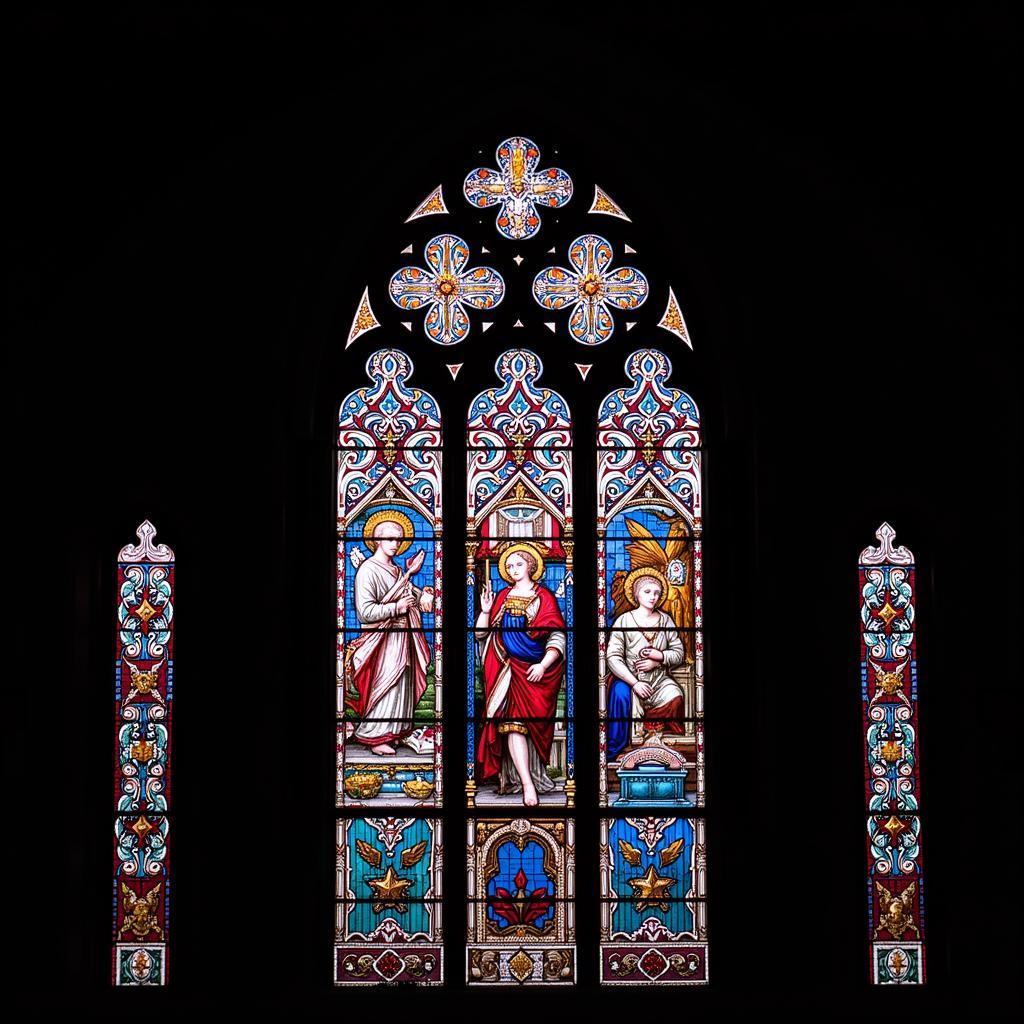
Creating starry night glass art involves a fascinating interplay of glass, paint, and light. The process typically involves applying layers of specialized glass paints onto a glass surface, mimicking the swirling nebulae and twinkling stars of the night sky. By layering different shades of blues, purples, and shimmering metallics, you can achieve a depth and luminosity that truly captures the essence of a starry night. Think of it as painting with light, where each brushstroke contributes to the overall cosmic tapestry.
What makes starry night glass art so appealing is its versatility. You can apply these techniques to various glass objects, from simple window panes to decorative plates and bowls. You can even incorporate other elements like glitter or dichroic glass to add extra sparkle and dimension to your creations. Check out these impressive Gemini wall art pieces for more inspiration.
Essential Materials for Your Starry Night Creation
Before embarking on your starry night glass art journey, gather these essential supplies:
- Glass surface: Choose a clean, clear glass object suitable for your project.
- Glass paints: Opt for high-quality, transparent glass paints in various shades of blue, purple, white, and metallics like gold or silver.
- Brushes: A selection of fine-tipped brushes will allow for detailed work, while broader brushes are useful for creating larger swaths of color.
- Glitter and other embellishments (optional): Add extra shimmer with fine glitter or dichroic glass flakes.
- Sealer (optional): Protect your finished artwork with a clear glass sealant.
Step-by-Step Guide to Crafting Your Starry Night
Creating starry night glass art is a rewarding process, and these steps will help you achieve stunning results:
- Prepare your glass surface: Thoroughly clean your glass surface with a glass cleaner to remove any dust or grease.
- Apply the base coat: Begin with a thin, even coat of your darkest blue or purple paint. This will serve as the backdrop for your starry night.
- Create the nebulae: Using lighter shades of blue and white, create swirling patterns to mimic the nebulae. Experiment with different brushstrokes to achieve the desired effect.
- Add the stars: Dip a fine-tipped brush in white or metallic paint and create small dots to represent stars. Vary the size and placement of the dots to create a realistic starry effect. You might find inspiration in some midnight art pieces.
- Add embellishments (optional): Sprinkle glitter or dichroic glass flakes onto the wet paint for added sparkle.
- Seal your artwork (optional): Once the paint is completely dry, apply a clear glass sealant to protect your creation.
Mastering the Art of Layering and Blending
The key to achieving a truly captivating starry night glass art piece lies in the art of layering and blending. By applying multiple thin layers of paint, you can create depth and dimension. Blending different shades of blue and purple will create a seamless transition between colors, mimicking the ethereal glow of a night sky. Don’t forget to explore good night art for calming color palettes and blending ideas.
“Layering and blending are essential techniques in glass painting,” says renowned glass artist, Amelia Glassworth. “They allow you to create a sense of depth and luminosity that truly brings your artwork to life.” By experimenting with these techniques, you can achieve unique and stunning effects. For example, holiday window art often utilizes layering to build intricate scenes.
Troubleshooting Common Issues
- Uneven paint application: Ensure your paint is thoroughly mixed and apply it in thin, even coats.
- Bubbles in the paint: Tap the glass gently to release any trapped air bubbles.
- Smudged paint: Allow each layer to dry completely before applying the next. Looking at Christmas chalkboard art ideas can provide alternative approaches to starry night themes if glass painting proves too challenging.
FAQs about Starry Night Glass Art
Q: What type of glass is best for this project?
A: Clear, smooth glass is ideal for starry night glass art.
Q: How long does the paint take to dry?
A: Glass paint drying times vary, so refer to the manufacturer’s instructions.
Conclusion: Embrace the Cosmic Artist Within
Starry night glass art offers a captivating way to express your creativity and bring the beauty of the cosmos into your home. By mastering the techniques of layering, blending, and adding embellishments, you can create truly unique and mesmerizing pieces. So gather your supplies, unleash your inner artist, and embark on a journey of creating your own starry night glass art masterpiece. Remember, the sky’s the limit!
If you need any assistance, please contact us. Phone: 02462573573, Email: [email protected] or visit our location: Savico Megamall, 7-9 Đ. Nguyễn Văn Linh, Gia Thụy, Long Biên, Hà Nội 10000, Việt Nam. We have a 24/7 customer support team.


