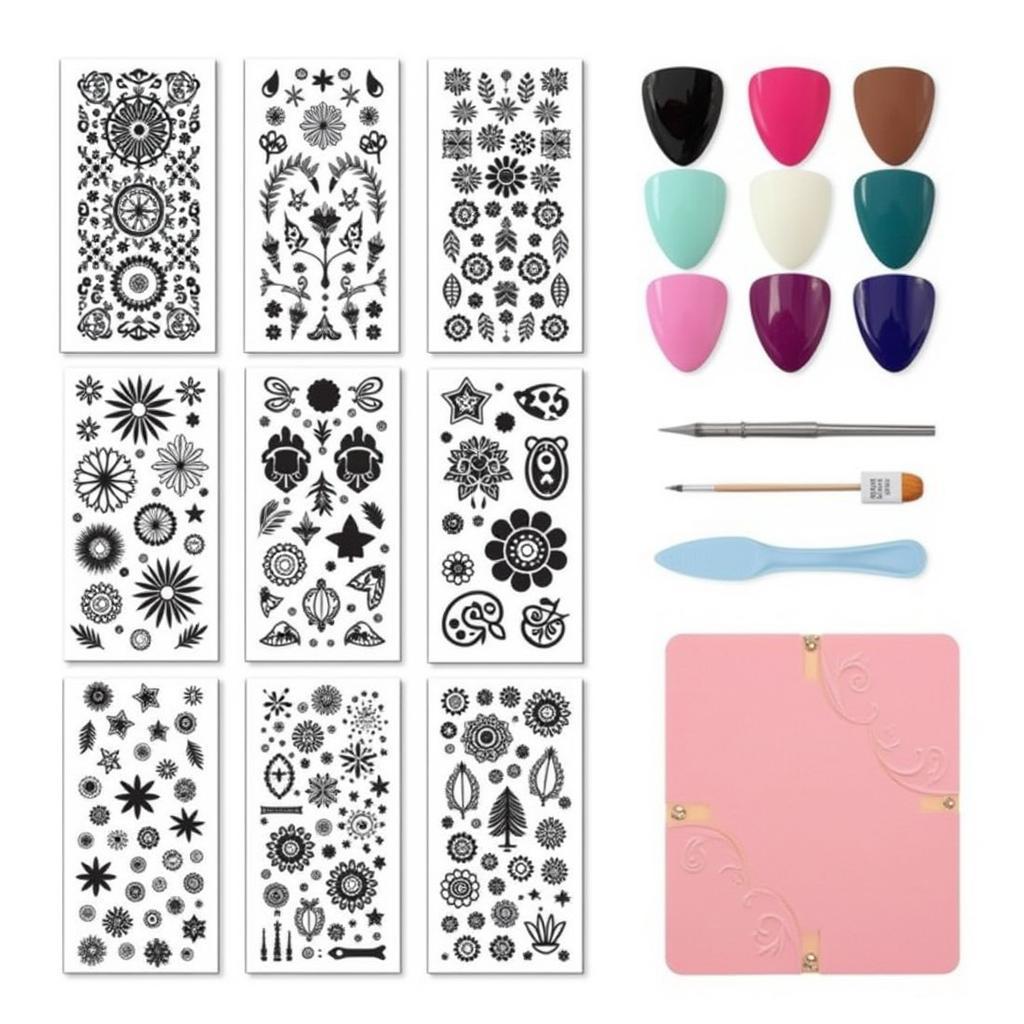
Unleash Your Inner Artist: Nail Art with Stamping Plates
Nail Art With Stamping Plates has revolutionized the way we approach manicure designs, offering an easy and affordable way to achieve intricate and stunning results. Whether you’re a seasoned nail artist or a complete beginner, stamping plates open up a world of creative possibilities, allowing you to express your personal style with ease and precision. This guide will delve into the fascinating world of nail art with stamping plates, exploring everything from the basics to advanced techniques, empowering you to create salon-worthy nails in the comfort of your own home. stamping plates for nail art
What are Nail Stamping Plates and How Do They Work?
Nail stamping plates are essentially thin metal plates etched with a variety of designs, from simple geometric patterns to intricate floral motifs and even themed images. These plates act as stencils, allowing you to transfer the design onto your nails using a special stamping polish and a scraper. The process is surprisingly simple yet incredibly effective, producing crisp, clean designs that would be difficult to achieve by hand.
 Various Nail Stamping Plates and Tools
Essential Tools for Nail Art with Stamping Plates
To get started with nail stamping, you’ll need a few essential tools: stamping plates, a stamper, a scraper, and stamping polish. Investing in high-quality tools, like a professional nail art kit, can significantly impact the quality of your results.
- Stamping Plates: The heart of the process, these plates come in countless designs.
- Stamper: A soft, squishy stamper is key to picking up the design cleanly.
- Scraper: Used to remove excess polish from the stamping plate.
- Stamping Polish: Thick and highly pigmented polishes designed specifically for stamping.
Step-by-Step Guide to Using Stamping Plates
Ready to create your own nail art masterpieces? Here’s a simple guide to get you started:
- Prep Your Nails: Start with clean, dry nails. Apply a base coat to protect your nails and help the design adhere better.
- Apply Stamping Polish: Apply a generous amount of stamping polish to the desired design on the stamping plate.
- Scrape Away Excess Polish: Using the scraper, quickly and firmly scrape off the excess polish, leaving only the design filled with color.
- Pick Up the Design: Gently roll the stamper over the design, ensuring you pick up the entire image.
- Transfer to Your Nail: Carefully roll the stamper onto your nail, transferring the design.
- Seal with Top Coat: Once the design is dry, apply a top coat to seal and protect your nail art.
How to Choose the Right Stamping Plates?
With so many stamping plates available, it can be overwhelming to choose. Consider your personal style and the types of designs you’re drawn to. nail art stamps are available in themes ranging from florals and geometrics to animals and even holiday motifs.
“A good starting point is a plate with a variety of simple designs, allowing you to experiment and get comfortable with the technique,” advises renowned nail artist, Amelia Reed. “As you gain confidence, you can explore more intricate and complex patterns.”
Common Nail Stamping Mistakes and How to Avoid Them
Even seasoned nail artists make mistakes. Here are some common pitfalls and how to avoid them:
- Using Regular Nail Polish: Regular polish is often too thin for stamping.
- Scraping Too Slowly: This can cause the polish to dry on the plate.
- Pressing Too Hard: Applying too much pressure can distort the design.
“Practice makes perfect,” encourages Ms. Reed. “Don’t get discouraged if your first attempts aren’t flawless. With a little patience and persistence, you’ll be creating stunning nail art in no time.”
Nail Art with Stamping Plates: Unlocking Endless Creativity
Nail art with stamping plates offers a world of creative possibilities. From simple accents to full-blown nail art masterpieces, the only limit is your imagination. Experiment with different colors, combine multiple designs, and explore techniques like reverse stamping to truly personalize your manicures. custom nail art designs can also be created with some creativity.
Nail Art Kits for Beginners
Starting your nail art journey? nail art kits for beginners offer a convenient way to get all the essential tools in one package. These kits often include a selection of stamping plates, a stamper, a scraper, and stamping polishes, giving you everything you need to get started.
In conclusion, nail art with stamping plates is a fun and accessible way to elevate your manicure game. With a little practice and the right tools, you can create stunning designs that express your unique style. So, grab your stamping plates and unleash your inner artist!
FAQ
-
What type of polish should I use for nail stamping? Use stamping polish, which is thicker and more pigmented than regular nail polish.
-
How do I clean my stamping plates? Use acetone or nail polish remover.
-
Why is my design not transferring completely? Ensure you’re using a good quality stamper and picking up the design quickly.
-
Can I use stamping plates with gel polish? Yes, but you’ll need to cure the gel base coat before stamping.
-
Where can I buy stamping plates? Stamping plates are available online and in beauty supply stores.
-
How can I make my nail stamping designs last longer? Apply a good quality top coat and avoid harsh chemicals.
-
Are there any specific techniques for cleaning a stamper? Use a lint roller or sticky tape to remove any debris.
Need help with your nail art journey? Contact us at Phone Number: 02462573573, Email: [email protected] or visit us at Savico Megamall, 7-9 Đ. Nguyễn Văn Linh, Gia Thụy, Long Biên, Hà Nội 10000, Việt Nam. We have a 24/7 customer service team ready to assist you.


