Festive DIY: Creating Stunning Xmas String Art
Xmas String Art is a fun and festive way to add a touch of handmade charm to your holiday decor. From simple snowflake designs to intricate holiday scenes, string art offers a versatile medium to express your creativity. Whether you’re a seasoned crafter or just starting out, this guide will provide you with everything you need to know to create beautiful and unique xmas string art pieces.
Why Choose Xmas String Art?
String art offers a unique blend of simplicity and sophistication. The materials are readily available and inexpensive, making it an accessible craft for everyone. Yet, the finished products can be surprisingly elegant and intricate, looking equally at home in a rustic farmhouse setting or a modern minimalist space. Plus, making xmas string art is a relaxing and meditative activity, perfect for unwinding during the busy holiday season. Why not gather your friends and family for a festive crafting session? You can create personalized ornaments, gifts, or even larger statement pieces to adorn your home.
Gathering Your Xmas String Art Supplies
Before you begin your xmas string art project, you’ll need to gather a few essential supplies. First, you’ll need a base. Wood planks, corkboards, and even foam boards work well. Next, small nails or pins will be used to create the outline of your design. Choose a string or yarn in colors that complement your holiday decor. Finally, don’t forget a hammer, scissors, a pencil, and a printed template of your chosen design.
Choosing Your Xmas String Art Design
The beauty of xmas string art lies in its versatility. From simple geometric shapes to complex holiday motifs, the possibilities are endless. For beginners, simple snowflake or star designs are a great starting point. More experienced crafters might try their hand at creating intricate reindeer, Santa Claus, or even a nativity scene. There are countless free templates available online, or you can create your own unique design. Consider the size and shape of your base when choosing your design.
Step-by-Step Guide to Creating Xmas String Art
Creating your own xmas string art is easier than you might think. Follow these simple steps to bring your festive vision to life:
- Prepare your base: Sand down any rough edges and paint or stain if desired.
- Transfer your design: Place your printed template on the base and secure it with tape.
- Hammer the nails: Carefully hammer the nails along the outline of your design, spacing them evenly.
- Remove the template: Once all the nails are in place, carefully remove the template.
- Start stringing: Tie the end of your string to one of the nails.
- Wrap and weave: Wrap the string around the nails, creating the desired pattern. Experiment with different wrapping techniques to add visual interest.
- Tie off the string: Once you’ve filled in your design, tie off the string securely.
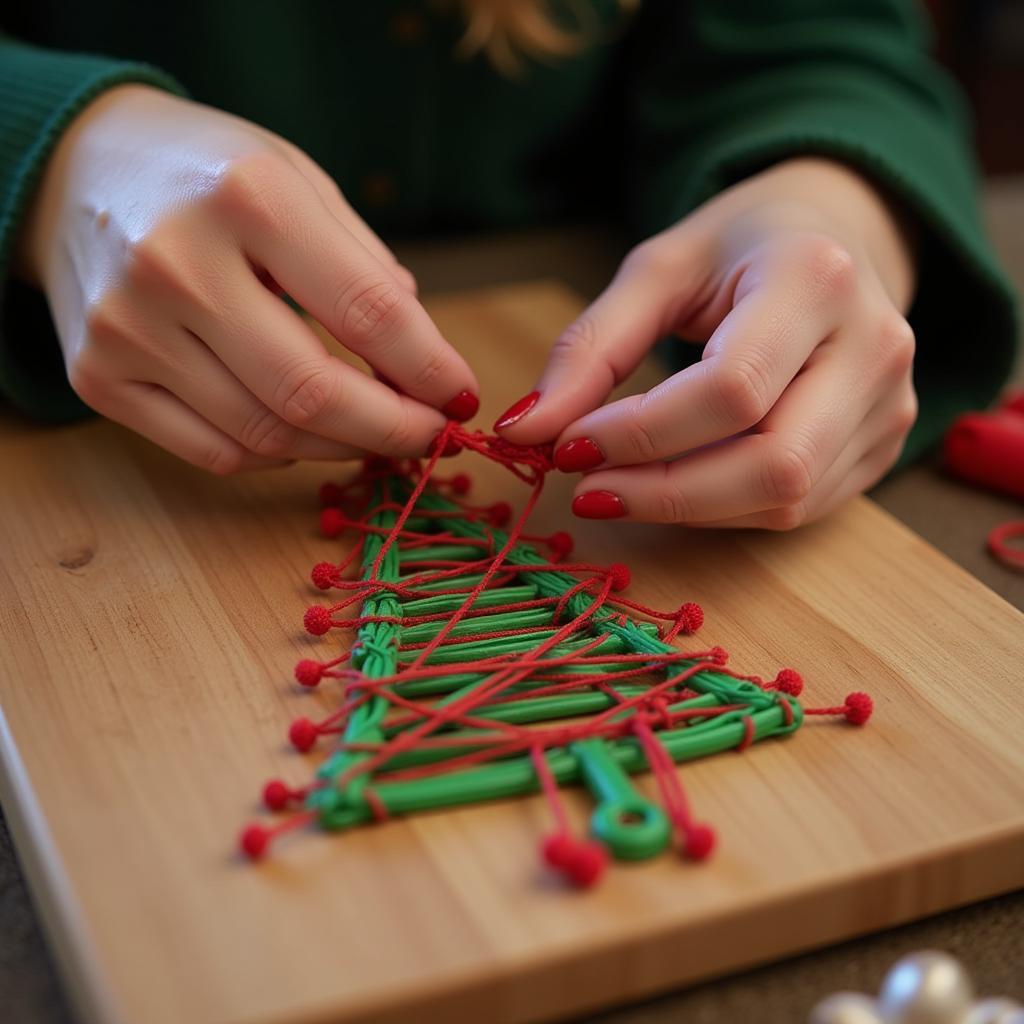
 Woman Wrapping String Around Nails on Wooden Board for Christmas String Art
Tips and Tricks for Stunning Xmas String Art
- Use high-quality string: This will ensure a smooth and even finish.
- Vary your string tension: This will add depth and dimension to your design.
- Experiment with different colors and textures: Get creative with metallic threads, variegated yarns, or even ribbons.
- Add embellishments: Consider adding beads, sequins, or small ornaments to enhance your design.
“Don’t be afraid to experiment and break the rules,” says renowned craft artist, Amelia Craftwell. “The beauty of string art lies in its organic and unpredictable nature. Embrace the imperfections and let your creativity flow.”
Taking Your Xmas String Art to the Next Level
Once you’ve mastered the basics, there are endless ways to elevate your xmas string art. Try layering different colors of string to create a gradient effect. Use varying nail heights to create a 3D effect. Incorporate lighting by wrapping string lights around the nails or placing LED strips behind the base.
“String art is a wonderful way to tell a story,” adds Ms. Craftwell. “Think about the emotions you want to evoke and let your design reflect that. Whether it’s the warmth of a cozy fireplace or the magic of a starry night, let your string art capture the spirit of the season.”
Conclusion
Xmas string art is a delightful and accessible craft that allows you to create personalized holiday decorations with a touch of handmade charm. Whether you’re a beginner or an experienced crafter, the possibilities are endless. So gather your supplies, unleash your creativity, and create stunning xmas string art pieces that will bring joy to your home this holiday season.
FAQ
-
What type of string is best for string art?
Embroidery floss, crochet thread, or baker’s twine work well. -
What can I use as a base for my string art?
Wood planks, corkboards, and foam boards are common choices. -
Where can I find string art templates?
Numerous free templates are available online, or you can create your own. -
How do I transfer my design to the base?
Use carbon paper or simply trace the design with a pencil. -
How do I prevent the string from slipping off the nails?
Tie knots at strategic points or use a dab of glue. -
Can I use different colors of string in one design?
Absolutely! Experiment with color combinations to create unique effects. -
How do I hang my finished string art?
Use picture hangers, adhesive strips, or simply lean it against a wall.
Need support? Contact us at Phone Number: 02462573573, Email: [email protected] or visit our address: Savico Megamall, 7-9 Đ. Nguyễn Văn Linh, Gia Thụy, Long Biên, Hà Nội 10000, Việt Nam. We have a 24/7 customer support team.


