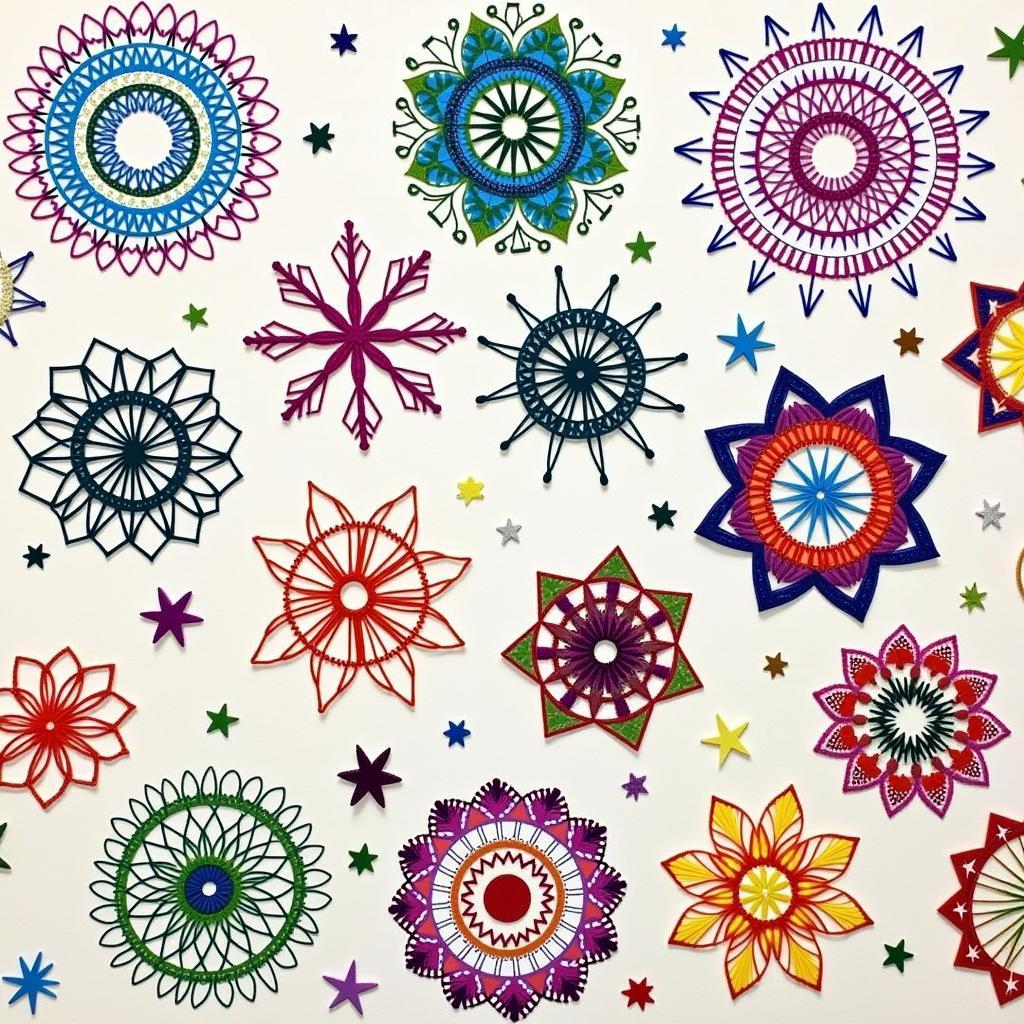
Unleash Your Creativity with Ringstring Art
Ringstring Art is a captivating and accessible art form that transforms simple materials like string, nails, and a wooden board into stunning geometric designs. It’s a perfect blend of craft and mathematics, allowing you to explore patterns and create unique pieces of art. Whether you’re a seasoned artist or just starting your creative journey, ringstring art offers a rewarding experience with mesmerizing results.
Dive into the World of Ringstring Art: Materials and Techniques
Creating ringstring art is surprisingly simple, requiring only a few basic materials. You’ll need a wooden board, small nails, string or yarn in your chosen colors, and a hammer. Optional materials include a template or pattern, a small ruler, and sandpaper to smooth the wood surface. The technique involves hammering nails into the wood, following a pattern or creating your own design, and then wrapping the string around the nails to form intricate patterns.
The process begins by lightly sanding your wooden board to ensure a smooth surface for both the nails and your final design. Next, you’ll need to either create your own template or use a pre-designed one. Secure your chosen design to the board and then, using the hammer, carefully tap the nails along the outline of the pattern, ensuring they are evenly spaced and at a consistent depth. Once all nails are in place, carefully remove the template. Now the fun begins! Tie your string to one nail and begin wrapping it around the others, following your chosen pattern or letting your creativity guide you.
Explore Different Ringstring Art Patterns: From Simple to Complex
From basic geometric shapes to intricate mandalas and portraits, the possibilities with ringstring art are endless. Simple designs like stars, hearts, and circles are perfect for beginners, allowing you to practice the basic technique and gain confidence. As you progress, you can explore more complex patterns, incorporating curves, angles, and layered designs. The beauty of ringstring art lies in the interplay of string and negative space, creating visually captivating pieces.
 Examples of Different Ringstring Art Patterns
One popular technique involves creating a circular pattern using concentric circles of nails. By wrapping the string around the nails in a specific sequence, you can achieve a mesmerizing spiral effect. Another approach is to use varying string tensions and colors to create depth and texture in your designs. Experimenting with different string types, such as embroidery floss, metallic thread, or even twine, can further enhance the visual appeal of your artwork.
Ringstring Art: Tips and Tricks for Success
While ringstring art is relatively easy to learn, a few tips and tricks can help you achieve professional-looking results. Ensure your nails are hammered in straight and at a uniform depth to avoid uneven string tension. Use a thin, strong string that won’t easily break or fray. Plan your design carefully before hammering the nails, especially for complex patterns.
“Patience is key in ringstring art,” advises renowned craft artist Emily Carter. “Take your time, focus on the process, and enjoy the meditative quality of wrapping the string. The result will be a truly unique and rewarding piece of art.”
Troubleshooting Common Ringstring Art Challenges
Sometimes, the string might slip or become tangled. If this happens, simply rewind the string to the point of the error and start again. If your nails are too loose, try adding a small drop of glue to secure them. Don’t be afraid to experiment and embrace imperfections, as they often add character and uniqueness to your artwork.
“Don’t be discouraged if your first attempt isn’t perfect,” adds Michael Davis, a seasoned ringstring artist. “Ringstring art is all about exploration and discovery. Embrace the learning process, and you’ll be amazed at the beautiful creations you can produce.”
Conclusion
Ringstring art is a captivating craft that combines simplicity and creativity. Whether you’re looking for a relaxing hobby or a way to create unique home décor, ringstring art offers a rewarding experience. So gather your materials, choose your design, and embark on a creative journey with the magic of string and nails.
FAQ
- What type of wood is best for ringstring art?
- Can I use different colored strings in one design?
- Where can I find ringstring art patterns?
- What type of nails should I use for ringstring art?
- How do I prevent the string from tangling?
- Can I create my own ringstring art patterns?
- What are some creative ways to display finished ringstring art?
Common Ringstring Art Scenarios
- Scenario 1: The string keeps slipping off the nails. Solution: Ensure the nails are hammered in securely and at a consistent depth. Try using a thicker string or adding a small drop of glue to the nail heads.
- Scenario 2: The string breaks while wrapping. Solution: Use a stronger string, avoid pulling too tightly, and ensure the nails are smooth and free of burrs.
- Scenario 3: The finished design looks uneven. Solution: Double-check the spacing of the nails and ensure they are hammered in straight. Practice wrapping the string with even tension.
Further Exploration
Explore other string art techniques like curve stitching and thread wrapping for more creative inspiration. Check out our other blog posts on DIY crafts and art projects for more creative ideas.
For any assistance, please contact us at Phone Number: 02462573573, Email: danteum@gmail.com or visit our address: Savico Megamall, 7-9 Đ. Nguyễn Văn Linh, Gia Thụy, Long Biên, Hà Nội 10000, Việt Nam. We have a 24/7 customer support team.


