Unleash Your Creativity with Drip Candle Art
Drip Candle Art, a mesmerizing blend of fire and wax, has taken the creative world by storm. Transforming ordinary candles into stunning works of art, this technique offers a unique and accessible way to express your artistic vision. Whether you’re a seasoned artist or a complete beginner, drip candle art provides a captivating journey of exploration and self-expression.
Exploring the Magic of Drip Candle Art
Drip candle art involves melting candles and strategically dripping the molten wax onto a canvas or other surface. This process allows you to create intricate patterns, textures, and designs, resulting in beautiful, three-dimensional artwork. The beauty of this art form lies in its simplicity and the endless possibilities it offers. From abstract swirls to intricate floral patterns, the only limit is your imagination. What makes drip candle art even more appealing is its accessibility; the materials are readily available and affordable, making it a perfect creative outlet for everyone.
Gathering Your Drip Candle Art Supplies
Before you embark on your drip candle art journey, you’ll need to gather a few essential supplies. These include candles in various colors, a heat source (such as a double boiler or a hot plate), a canvas or other surface to drip onto, and some tools for manipulating the wax, like skewers or palette knives. Choosing the right type of candle is crucial. While standard paraffin wax candles work well, you can also experiment with beeswax or soy candles for different effects.
Mastering the Drip Candle Technique: A Step-by-Step Guide
- Prepare your workspace: Cover your work area with a drop cloth or newspaper to protect it from wax spills. Ensure your heat source is stable and safe to use.
- Melt the candles: Carefully melt your chosen candles using your preferred heat source. Avoid overheating the wax, as this can create fumes.
- Begin dripping: Once the wax is melted, start dripping it onto your canvas. Experiment with different heights and angles to achieve various effects.
- Manipulate the wax: Use your tools to create patterns and textures in the dripping wax. You can swirl, spread, or lift the wax to achieve different designs.
- Layer and build: Allow each layer of wax to cool slightly before adding another. This will help prevent the colors from blending too much and create more depth in your artwork.
- Finishing touches: Once you are satisfied with your design, allow the wax to cool and harden completely. You can then add embellishments like glitter, dried flowers, or other decorative elements.
Elevating Your Drip Candle Art: Tips and Tricks
While the basic technique is straightforward, there are several tips and tricks that can elevate your drip candle art to the next level. Experiment with different candle colors and types to achieve unique effects. Try layering different colors to create depth and dimension. Consider using stencils or masking tape to create precise patterns. Don’t be afraid to experiment and let your creativity flow!
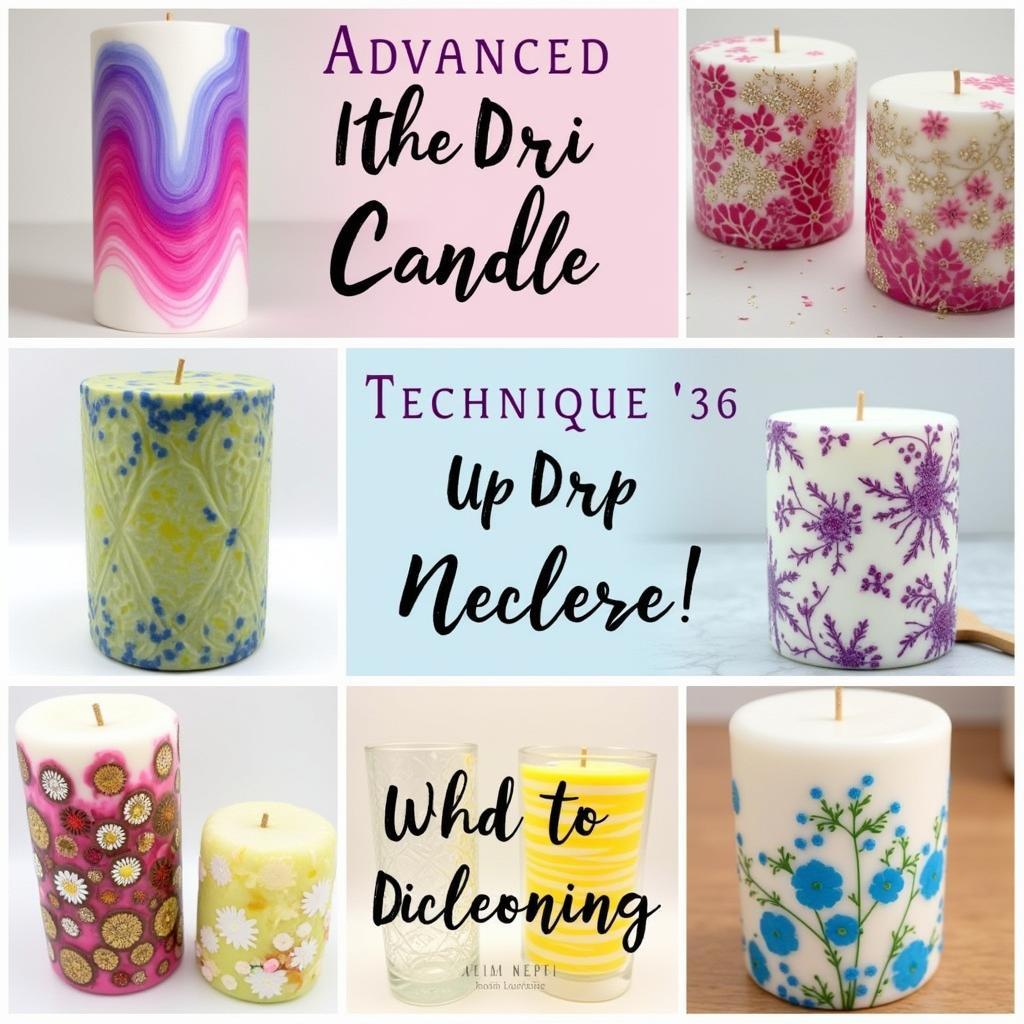 Advanced Drip Candle Art Techniques
Troubleshooting Common Drip Candle Art Challenges
One common challenge in drip candle art is controlling the flow of the melted wax. If the wax is too thin, it may drip too quickly and create a messy effect. If it’s too thick, it may be difficult to control the drips. Adjusting the temperature of the wax can help achieve the desired consistency.
“Controlling the temperature of your wax is paramount,” says renowned mixed-media artist, Amelia Hart. “It’s the key to achieving the desired flow and consistency for your artwork.”
Another common issue is achieving even layers of wax. To prevent unevenness, ensure that your canvas is level and that you are dripping the wax evenly across the surface.
Conclusion
Drip candle art offers a unique and rewarding way to explore your creativity. With its simple yet versatile technique, you can create stunning and personalized works of art. So, gather your supplies, unleash your imagination, and discover the magic of drip candle art.
FAQ
-
What type of candles are best for drip candle art?
Standard paraffin wax candles work well, but beeswax or soy candles offer different effects. -
What surface can I drip the wax onto?
Canvases are popular, but you can also use wood, metal, or even glass. -
How do I clean up wax spills?
Let the wax harden and then gently scrape it off. Heat can also help remove stubborn wax. -
Can I mix different candle colors?
Yes, mixing colors can create beautiful and unique effects. -
How long does it take for the wax to dry?
It depends on the thickness of the wax, but generally, it takes a few hours to harden completely. -
What other materials can I incorporate into my drip candle art?
Glitter, dried flowers, beads, and other embellishments can add texture and interest. -
Where can I find inspiration for drip candle art designs?
Online platforms like Pinterest and Instagram are great resources for inspiration.
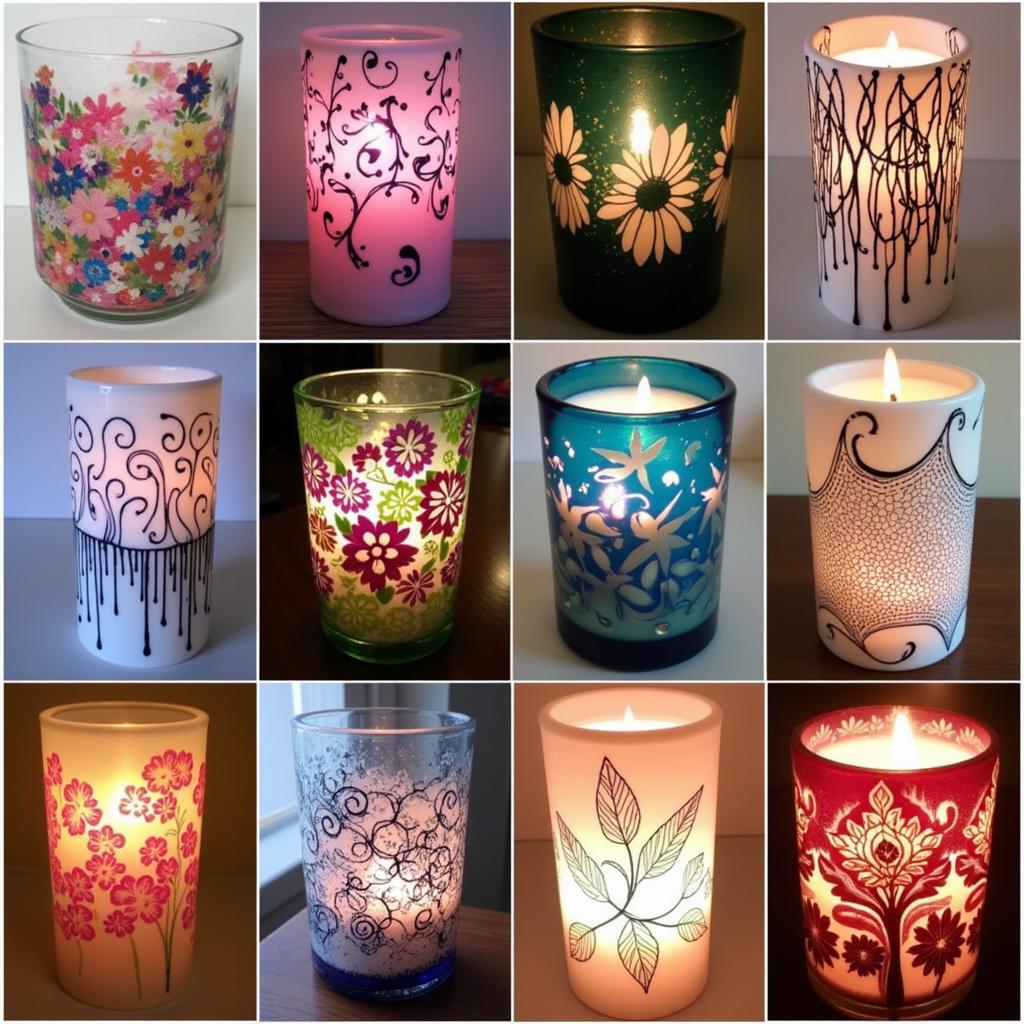 Inspiring Drip Candle Art Designs
Other helpful articles and questions:
- How to choose the right canvas for your drip candle art project?
- Exploring different color palettes for drip candle art.
- Creating textured effects with drip candle art.
Need help?
Contact us 24/7:
Phone: 02462573573
Email: danteum@gmail.com
Address: Savico Megamall, 7-9 Đ. Nguyễn Văn Linh, Gia Thụy, Long Biên, Hà Nội 10000, Việt Nam.
