Decorating your home with metal wall art is a fantastic way to inject personality and style into your living spaces. From sleek and modern sculptures to rustic and vintage pieces, metal wall art offers a diverse range of aesthetic options to complement any decor. However, knowing How To Hang Metal Wall Art correctly is crucial to ensuring both its visual impact and longevity on your walls.
Understanding Your Wall and Artwork
Before you even think about hammers and nails, take a moment to assess both your artwork and the wall you envision it gracing.
Assessing Your Metal Wall Art
- Weight: Heavier pieces require more robust hanging solutions. Check the manufacturer’s guidelines or consult with your local hardware store for recommendations based on weight.
- Hanging Mechanism: Examine the back of the artwork. Does it have a built-in wire, sawtooth hangers, D-rings, or something else entirely? Each type requires a slightly different approach.
- Material: Different metals might have varying weights and densities, impacting your choice of hanging hardware.
Analyzing Your Wall Type
- Drywall: The most common wall type, drywall needs specific anchors to support heavier artwork.
- Plaster: Older homes often feature plaster walls, which are denser than drywall but can still crack. Using anchors is generally a good practice.
- Brick or Concrete: These sturdy surfaces need special drill bits and screws.
Choosing the Right Hanging Hardware
The success of hanging your metal wall art hinges on using the right hardware. Here’s a breakdown to guide you:
For Lighter Pieces:
- Small Nails: Suitable for very lightweight pieces on drywall.
- Picture Hooks: These come in various weight limits and are ideal for sawtooth hangers or D-rings.
 Securing Metal Wall Art to Drywall
For Heavier Pieces:
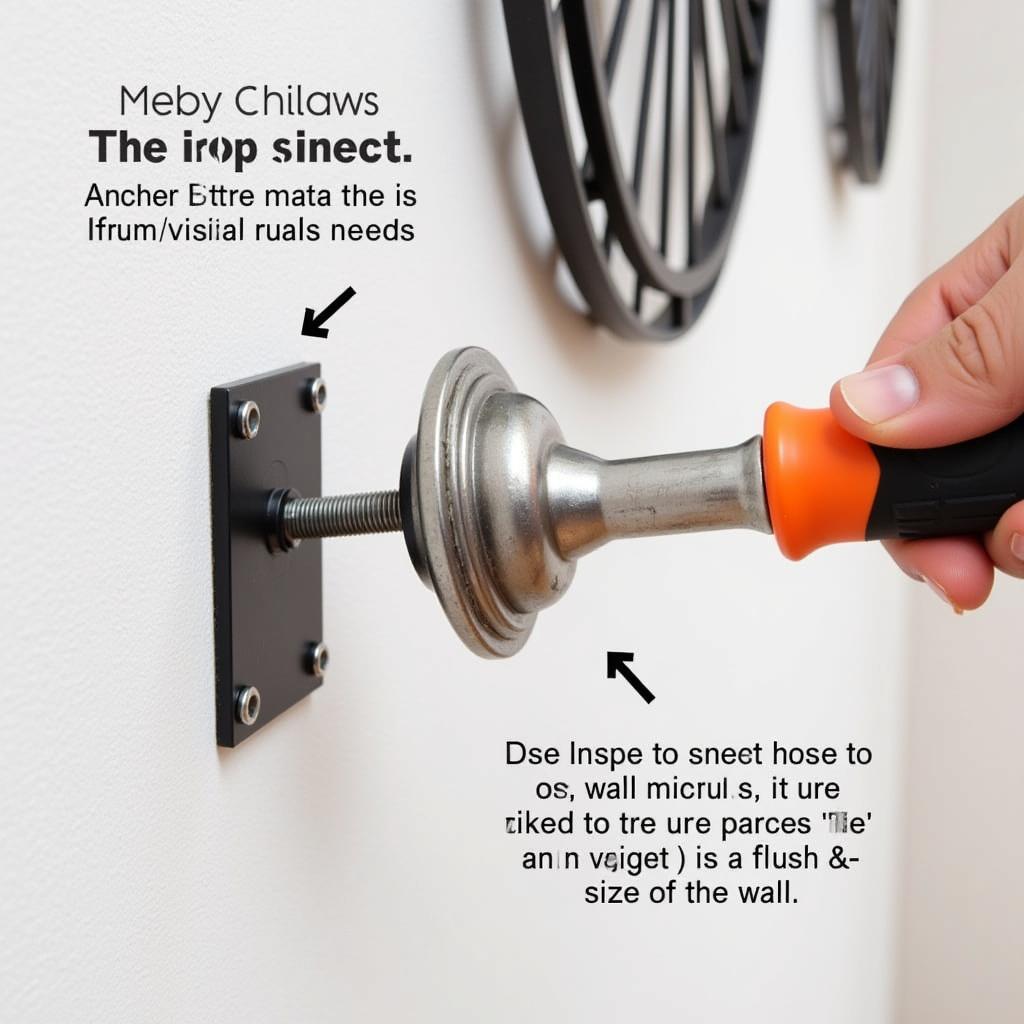
- Heavy-Duty Wall Anchors: These expand within the wall to provide a much stronger hold. Options include plastic, metal, and toggle bolts.
- Screws and Wall Plugs: If you’re dealing with brick or concrete, you’ll need masonry drill bits and matching screws with wall plugs.
The Hanging Process: A Step-by-Step Guide
Now that you’ve gathered the necessary information and tools, it’s time to hang your masterpiece.
- Locate Studs: For heavier pieces, hanging on wall studs is always recommended for maximum support. Use a stud finder to pinpoint their location.
- Mark Your Spot: Use a pencil to mark the desired position of your artwork on the wall. If your artwork has a wire hanger, measure from the top of the wire (pulled taut) to the top of the frame to find the spot for your nail or hook.
- Pre-Drill (if needed): For harder wall surfaces like plaster, brick, or concrete, pre-drilling a pilot hole slightly smaller than your screw size is essential.
- Install Anchors (if using): Gently tap the anchor into the pilot hole using a hammer until it sits flush with the wall.
- Hang Your Artwork: Carefully align your artwork with the marked spot and gently hang it on the installed hardware.
Tips for a Flawless Finish
- Level Up: Always use a level to ensure your artwork hangs straight.
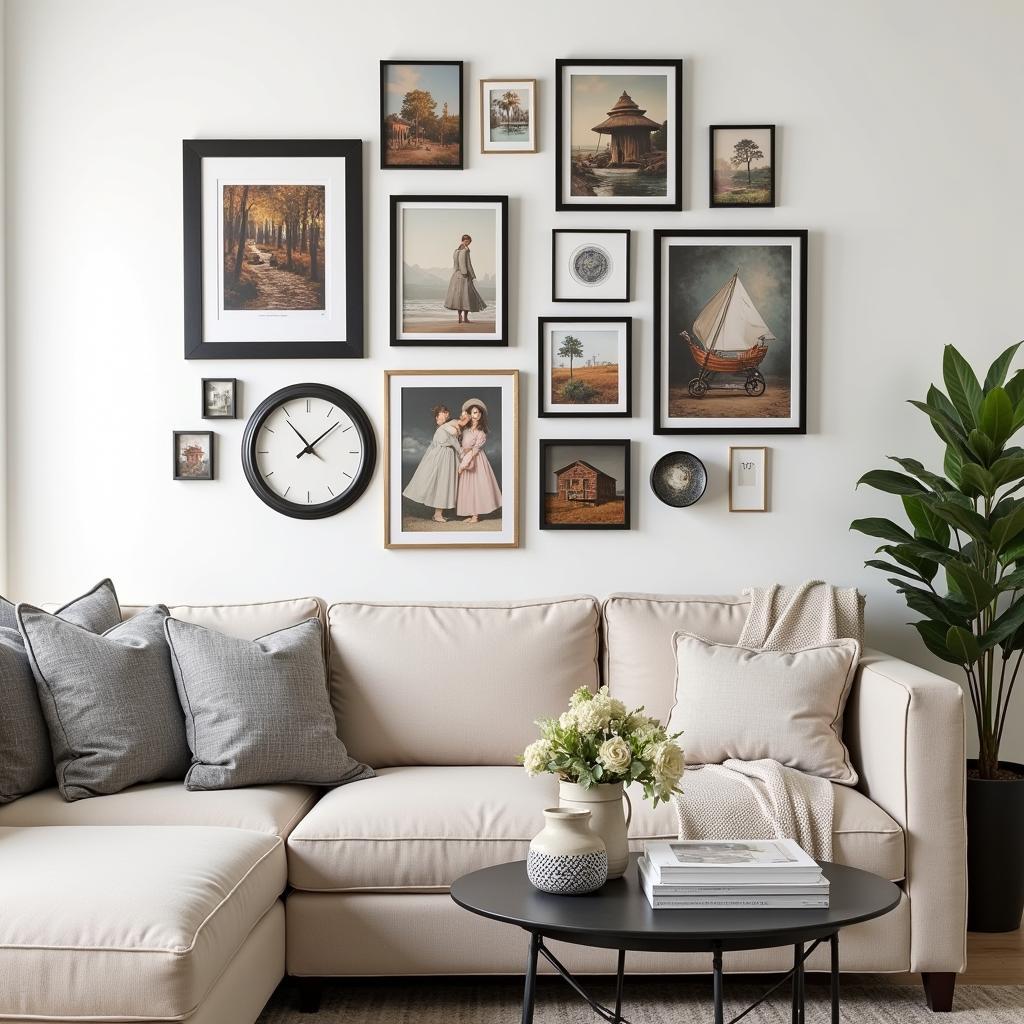
- Consider Spacing: When hanging multiple pieces, use painter’s tape to visualize the layout and spacing before making any permanent marks.
- Safety First: When handling heavy artwork, it’s best to have an extra set of hands for assistance.
- Get Creative with Grouping: Don’t be afraid to experiment with different arrangements and groupings of metal wall art to create a dynamic and visually appealing display.
 Arranging Multiple Metal Wall Art Pieces
Conclusion
Hanging metal wall art doesn’t have to be a daunting task. With the right preparation, tools, and a little patience, you can confidently display your metal masterpieces and transform your living spaces. Remember to always prioritize safety, choose the appropriate hardware for your artwork and wall type, and don’t hesitate to seek assistance if needed. Happy decorating!