Best Milk Pitcher For Latte Art: Your Guide to Steaming & Pouring Like a Pro
Crafting the perfect latte art goes beyond just pulling a great espresso shot; it requires the right tools, and a high-quality milk pitcher is non-negotiable. But with so many options available, choosing the Best Milk Pitcher For Latte Art can feel overwhelming. This guide is here to simplify things. We’ll delve into the key features to consider, explore popular styles, and ultimately help you find the perfect pitcher to elevate your coffee game from home barista to latte art aficionado.
Why Your Choice of Milk Pitcher Matters
You might be wondering, “Can’t any pitcher froth milk?” While technically any container can heat milk, achieving the velvety microfoam essential for latte art demands a specifically designed pitcher. Here’s why:
- Control over Temperature: The shape and material of a dedicated milk pitcher allow for even heat distribution, preventing scorching and ensuring the milk reaches the optimal temperature for steaming and pouring.
- Precision Pouring: The spout design directly impacts your ability to create intricate designs. A well-crafted spout provides the controlled, steady flow needed for delicate latte art.
- Microfoam Magic: Creating that silky smooth microfoam, the foundation of latte art, is significantly easier with a pitcher designed for the task.
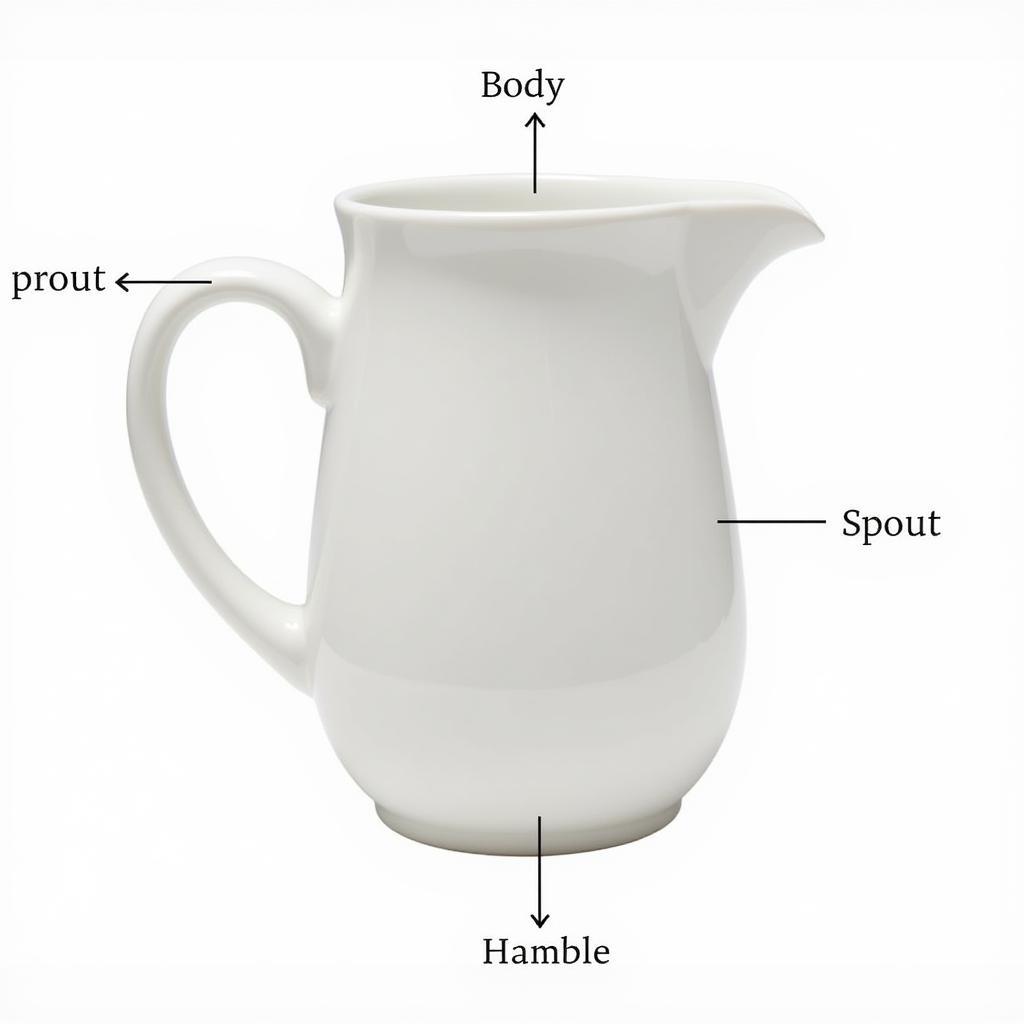
Anatomy of a Latte Art Pitcher
To choose the right pitcher, it’s helpful to understand its key components:
- Body: Typically made of stainless steel for its durability, heat retention, and ease of cleaning.
- Spout: This is where the magic happens! Look for a sharp, defined spout for precise pouring control.
- Handle: A comfortable, heat-resistant handle is crucial for ergonomic handling, especially when working with hot milk.
- Size: Pitcher sizes are measured in ounces or milliliters. Consider your usual drink size and the amount of milk you typically froth.
 Anatomy of a Milk Pitcher
Types of Milk Pitchers: Finding Your Perfect Fit
Milk pitchers come in a variety of styles, each with its pros and cons:
- Classic Pitcher: The most common type, featuring a simple, rounded body and a relatively wide spout. Great for beginners practicing basic latte art.
- Tulip Pitcher: Characterized by its wider base and tapered top, resembling a tulip. This design promotes better milk swirling and is favored by experienced baristas for intricate designs.
- Sharp Spout Pitcher: As the name suggests, these pitchers have a very sharp, pointed spout, allowing for maximum control and precision, ideal for advanced latte art.
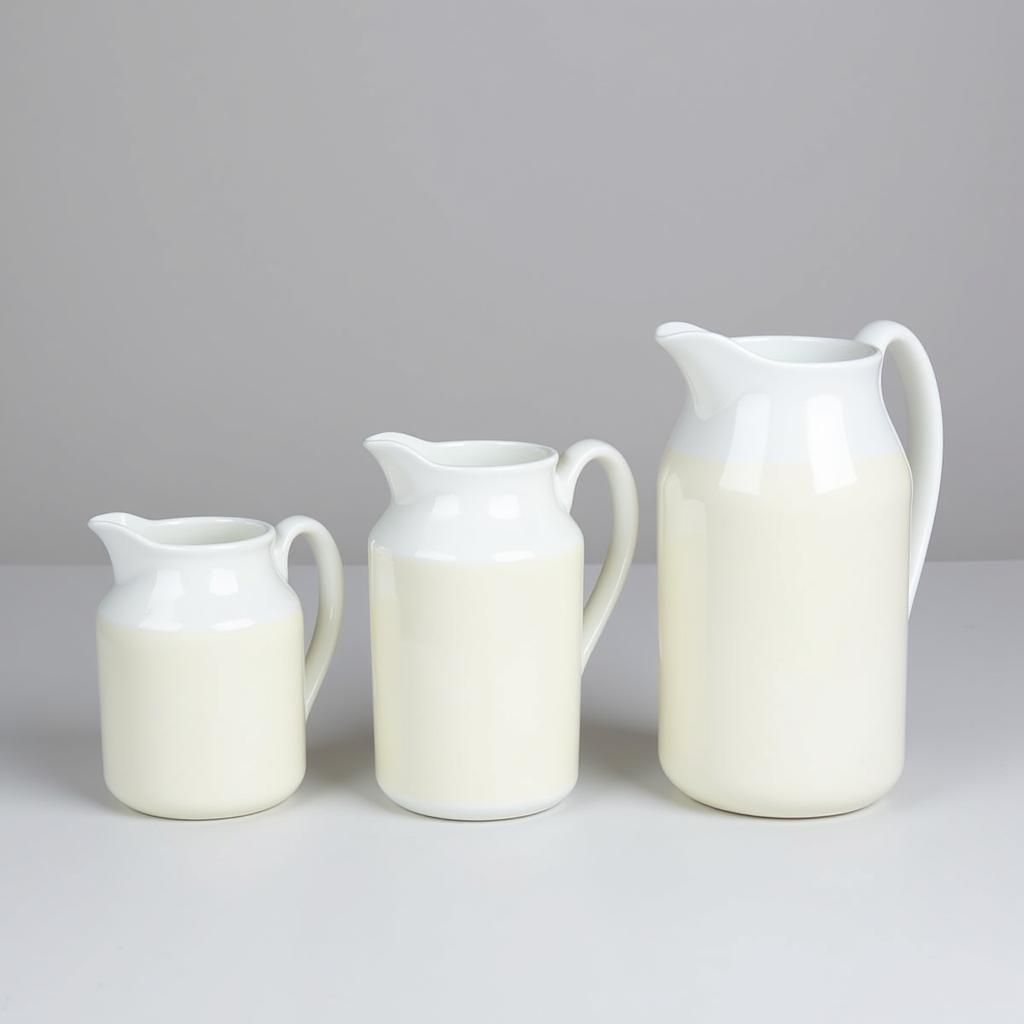
Choosing the Right Size: How Much Milk Do You Need?
Pitcher size is crucial and depends largely on your coffee habits:
- Small Pitchers (12-16 oz): Ideal for single servings of latte art or for steaming small amounts of milk for cappuccinos.
- Medium Pitchers (20 oz): A versatile choice for most home baristas, allowing you to make one large latte or two smaller drinks.
- Large Pitchers (32 oz and up): Best suited for commercial use or for households that regularly prepare multiple milk-based drinks.
 Milk Pitcher Sizes Comparison
Key Features to Consider
- Material: Stainless steel is the gold standard for its durability and heat retention.
- Spout Design: A sharp, well-defined spout is crucial for pouring control and intricate art.
- Handle Comfort: Look for an ergonomic, heat-resistant handle for comfortable and safe pouring.
- Weight and Balance: A well-balanced pitcher with a comfortable weight feels better in hand, especially during longer pouring sessions.
Mastering the Art of Steaming and Pouring
The right pitcher can significantly impact your latte art, but perfecting the technique of steaming and pouring is equally important:
- Start with Cold Milk: Begin with cold, fresh milk for optimal texture and flavor.
- Purge the Steam Wand: Before steaming, purge the steam wand of any condensed water.
- Aerate for Texture: Position the steam wand just below the surface of the milk to introduce air and create microfoam.
- Swirl for Consistency: Once the milk is warm, submerge the wand deeper and swirl the pitcher to create a smooth, velvety texture.
- Tap and Pour: Before pouring, tap the pitcher on the counter to remove any large bubbles. Then, start pouring from a height, gradually lowering the pitcher as you create your design.
FAQs: Your Milk Pitcher Questions Answered
Q: How do I clean my milk pitcher?
A: Rinse the pitcher immediately after use with hot water. For stubborn milk residue, use a gentle brush and mild dish soap.
Q: Can I use a regular pitcher for latte art?
A: While possible, it’s not recommended. A dedicated milk pitcher offers features specifically designed for optimal milk steaming and pouring.
Q: What is the best material for a milk pitcher?
A: Stainless steel is the preferred material for its durability, heat retention, and ease of cleaning.
Elevate Your Coffee Ritual with the Perfect Pitcher
Investing in the best milk pitcher for latte art is an investment in your coffee experience. With the right pitcher and a little practice, you’ll be pouring stunning latte art and impressing yourself and your guests in no time.
“The right milk pitcher can be a game-changer for your latte art,” says renowned barista, Emily Carter. “It’s about finding a tool that feels like an extension of your hand, allowing you to translate your creativity into beautiful designs.”
Ready to explore a curated selection of high-quality milk pitchers and coffee art sets? Visit our online store and embark on your journey to becoming a latte art maestro!
Need Help? Contact us at Phone Number: +84 24 6257 3573, Email: [email protected] or visit us at Savico Megamall, 7-9 Nguyen Van Linh Street, Gia Thuy Ward, Long Bien District, Hanoi 10000, Vietnam. Our customer service team is available 24/7 to assist you.


