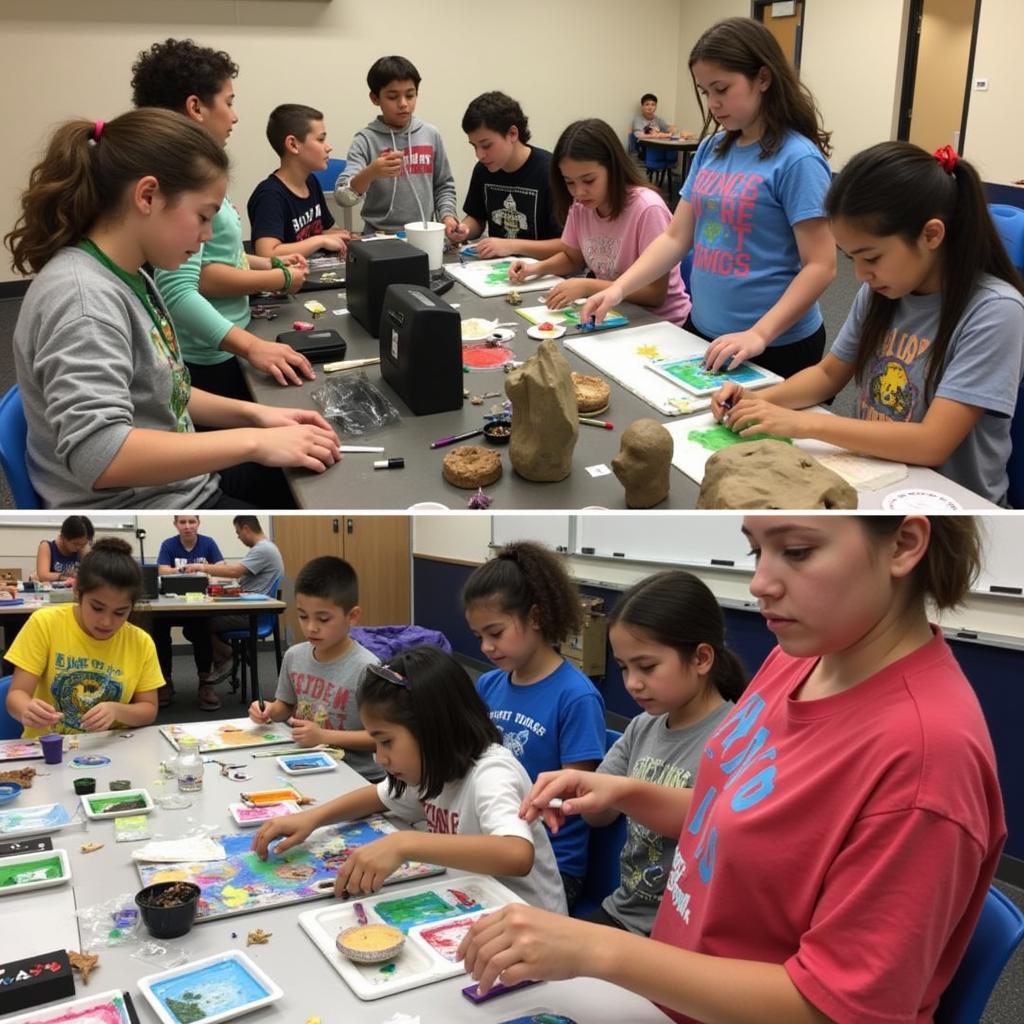
String Art Tree: The Perfect Blend of Art and Geometry
String art, a captivating craft that unites straight lines to form stunning curves and shapes, has taken the art world by storm. And at the heart of this trend lies the alluring String Art Tree, a testament to the beauty found in simplicity and precision. This article delves into the captivating world of string art trees, exploring its history, techniques, and providing a step-by-step guide to crafting your own masterpiece.
A Walk Through Time: The Origins of String Art
While the exact origins of string art remain shrouded in mystery, its roots can be traced back to mathematical curves explored by Mary Everest Boole in the late 19th century. She used threads and nails to demonstrate geometric concepts to children, inadvertently birthing an art form. Fast forward to the mid-20th century, and string art found its footing as a popular craft, adorning homes with its unique blend of geometry and art.
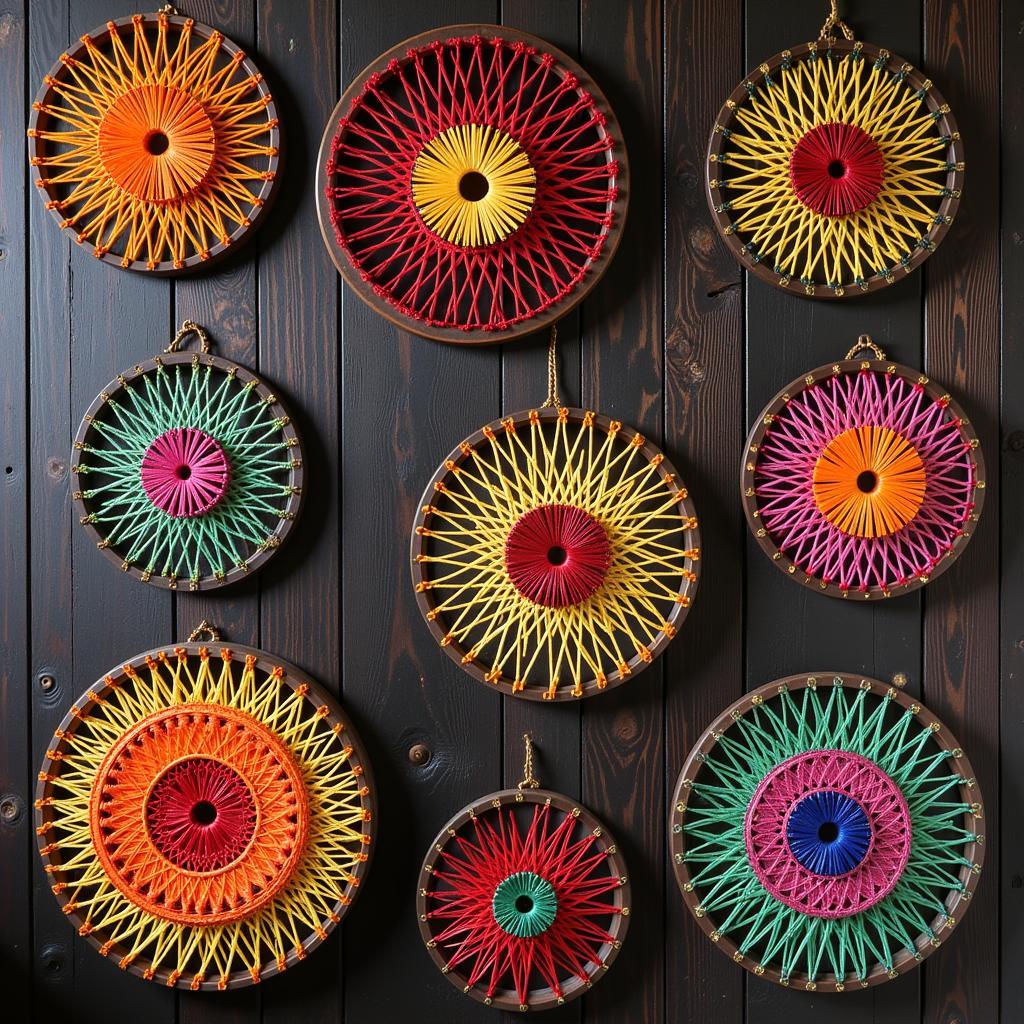 String Art History
More Than Just Lines: Exploring the Allure of String Art Trees
String art trees, with their intricate network of threads mimicking the organic flow of branches, hold a universal appeal. They symbolize growth, resilience, and the interconnectedness of life. But what truly elevates them is their versatility. Whether you prefer a minimalist silhouette against a stark white canvas or a vibrant, multi-colored creation bursting with life, string art trees offer a canvas for personal expression.
Crafting Your Own String Art Tree: A Step-by-Step Guide
Ready to embark on your string art journey? Let’s create a stunning string art tree that reflects your unique style.
Materials You’ll Need:
- Wooden Board: Choose a size and shape that suits your design.
- Nails: Opt for small nails with heads that will hold the thread securely.
- Embroidery Thread: Select colors that resonate with your artistic vision.
- Hammer: For securing the nails onto the board.
- Scissors: For trimming the thread.
- Pencil: For lightly sketching your tree design.
- Optional: Pattern template, ruler, masking tape.
Step 1: Design and Preparation
Begin by sketching your desired tree design directly onto the wooden board. For beginners, using a christmas tree string art template can be incredibly helpful. Consider the size, shape, and level of detail you want to achieve.
Step 2: Placing the Nails
Once you’re satisfied with your design, carefully hammer nails along the outline of the tree. Maintain an even spacing between the nails for a polished look. This step forms the foundation of your string art piece.
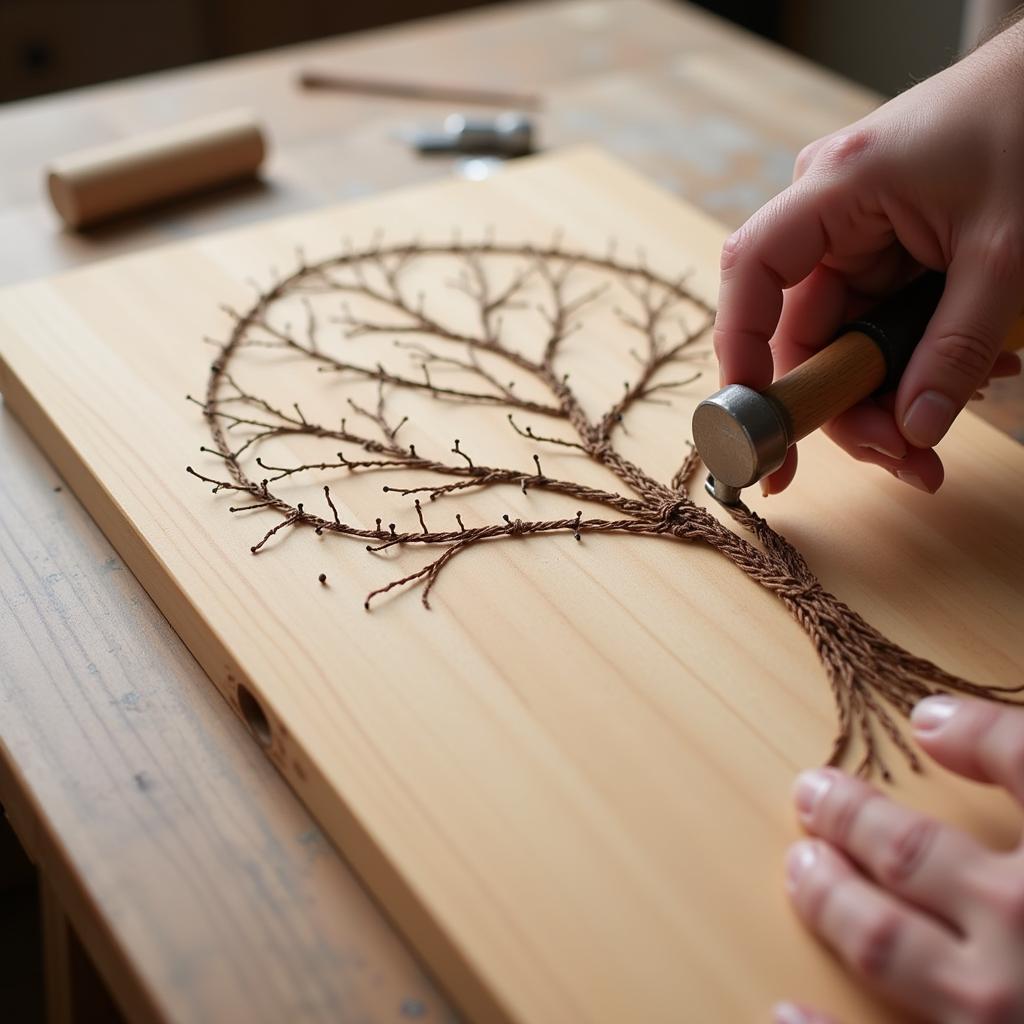 String Art Tree Creation Process
Step 3: Weaving the Magic
Now comes the most exciting part – weaving the thread! Tie the end of your chosen thread to a nail at the base of the tree. From here, start connecting the nails with the thread, creating a web-like effect. You can follow a specific pattern or let your creativity guide you.
Step 4: Experiment and Explore
Don’t be afraid to experiment with different thread colors, thicknesses, and weaving techniques. Layer colors to create depth, or try using a gradient effect for a softer look. Remember, string art is all about exploring the interplay of lines and colors.
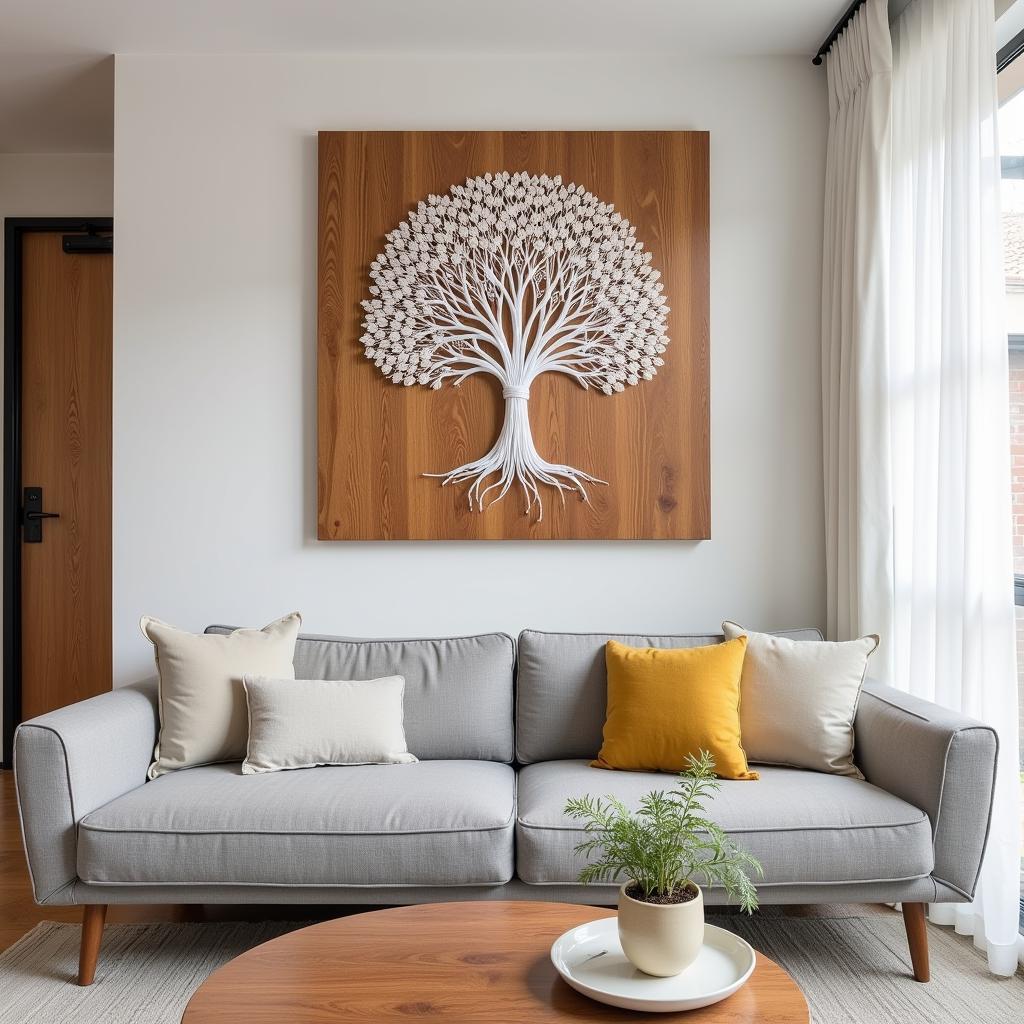 Completed String Art Tree on Wall
String Art Trees: Beyond the Basics
Want to take your string art trees to the next level? Consider these creative ideas:
- Seasonal String Art: Craft a christmas tree string art adorned with festive colors and patterns.
- Personalized Designs: Incorporate initials, dates, or meaningful symbols within your tree design.
- Illuminated Creations: Add fairy lights or LED strips behind your string art to create a mesmerizing glow.
Conclusion
String art trees, with their blend of simplicity and intricacy, offer a rewarding creative outlet for artists of all levels. The process is as engaging as the final product, allowing you to de-stress while creating a visually stunning piece. So gather your materials, unleash your inner artist, and experience the joy of crafting your own string art tree – a timeless piece that will add a touch of handcrafted elegance to your space.
Frequently Asked Questions about String Art Trees
1. What type of wood is best for string art?
Plywood and balsa wood are popular choices due to their smooth surfaces and affordability.2. Can I use regular sewing thread for string art?
Embroidery thread is recommended for its durability and vibrant colors.3. How do I transfer a pattern onto a dark-colored board?
Use white carbon paper or lightly rub chalk on the back of the pattern before tracing it onto the board.4. What kind of nails should I use for string art?
Small nails with heads, such as brads or panel pins, are ideal.5. How do I prevent the thread from tangling while working?
Keep the thread taut while wrapping and avoid letting the spool roll freely.6. What are some other string art ideas for beginners?
You can try simple geometric shapes, animals, or even create a beautiful [bedroom wall art love](https://danteum.com/bedroom-wall-art-love/) piece.7. Where can I find more string art inspiration?
Online platforms like Pinterest and Instagram are treasure troves of string art inspiration, featuring countless designs and tutorials.For any assistance or inquiries, feel free to contact us at Phone Number: 02462573573, Email: danteum@gmail.com or visit our address: Savico Megamall, 7-9 Đ. Nguyễn Văn Linh, Gia Thụy, Long Biên, Hà Nội 10000, Việt Nam. Our customer support team is available 24/7 to assist you.
