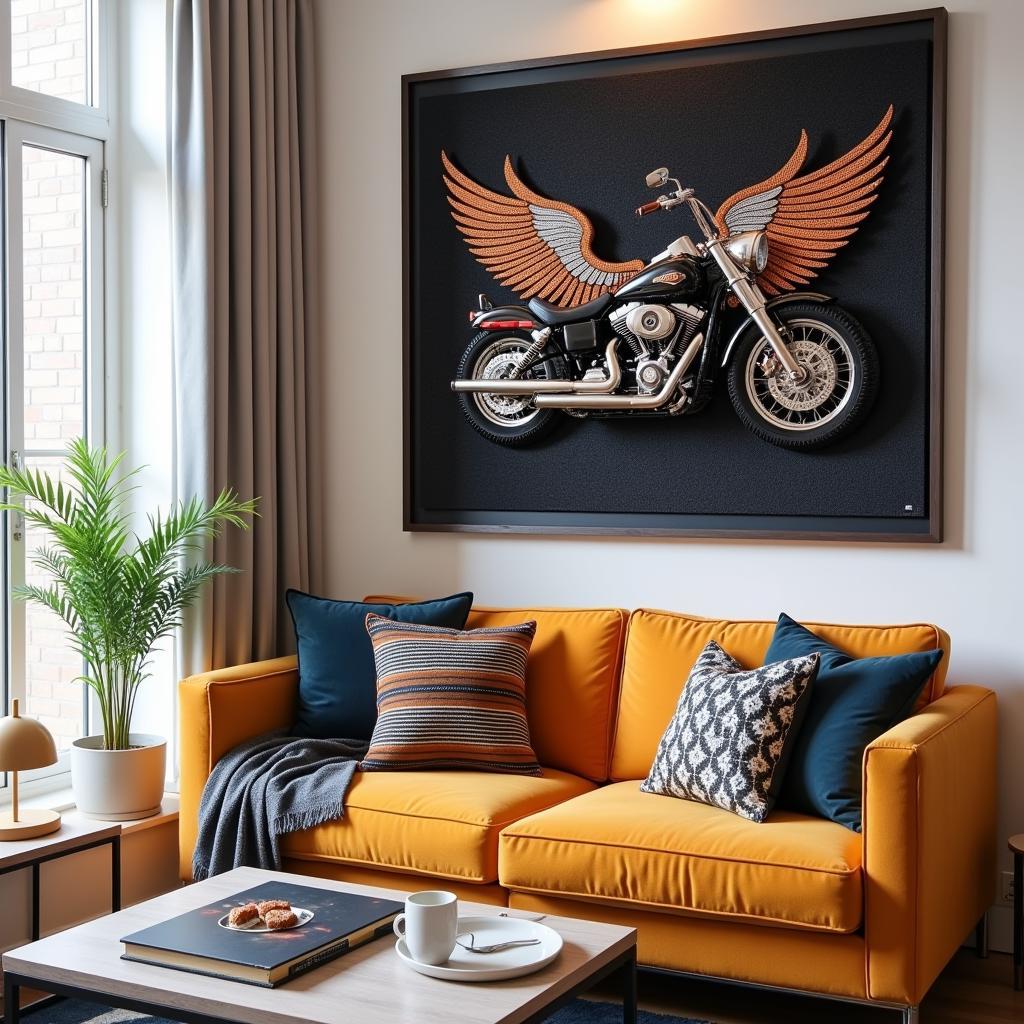
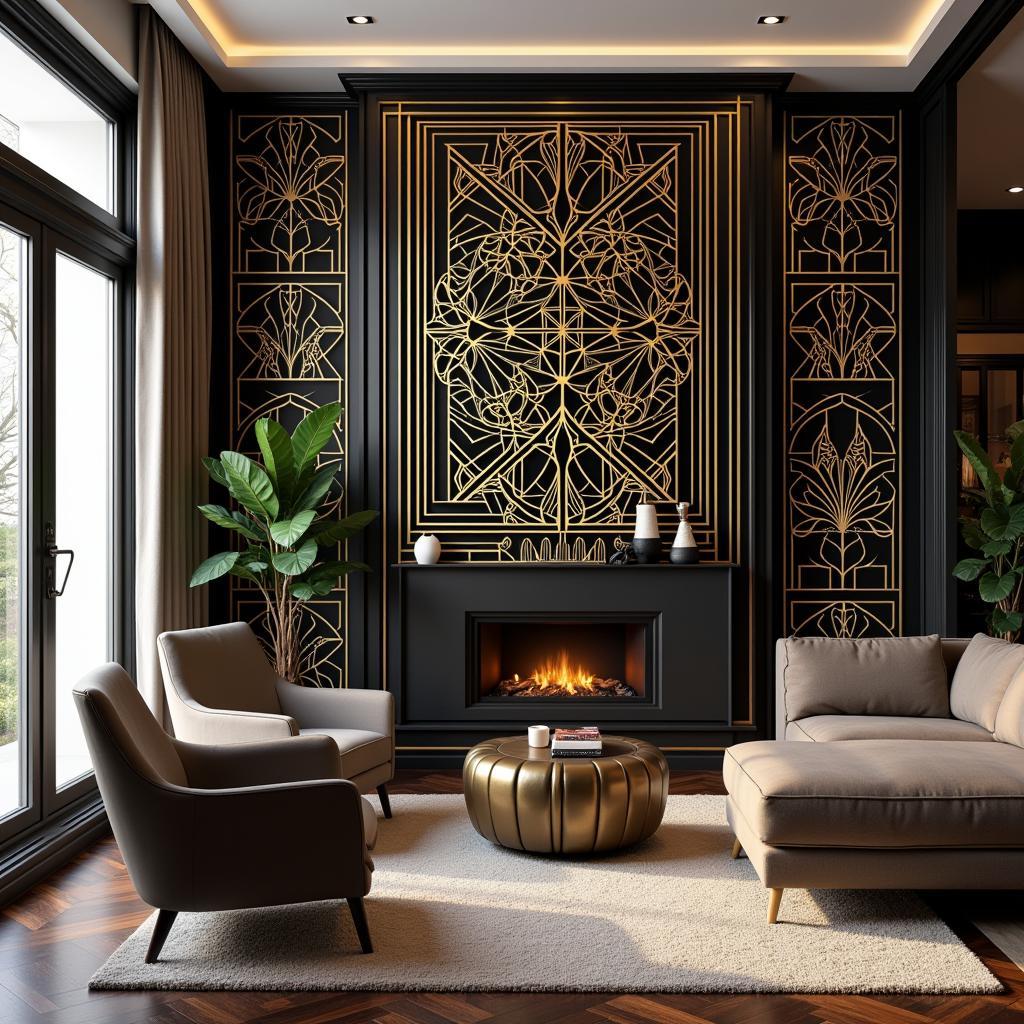
Unleash Your Creativity with Punched Tin Art
Punched Tin Art, a captivating blend of traditional craft and modern expression, offers endless possibilities for transforming simple materials into intricate masterpieces. Whether you’re drawn to its historical significance or its contemporary appeal, punched tin art provides a unique avenue to explore your artistic side while adding a touch of handmade charm to your surroundings.
A Journey Through Time: The Enduring Allure of Punched Tin Art
Punched tin art boasts a rich history dating back centuries, with roots in various cultures across the globe. From its humble beginnings as a practical and decorative element in homes and buildings, it has evolved into a celebrated art form embraced by both seasoned artisans and enthusiastic hobbyists.
Exploring the Craft: What Exactly is Punched Tin Art?
Punched tin art involves using a variety of specialized tools, primarily punches in different shapes and sizes, to create intricate patterns and designs on thin sheets of metal, typically tin. By carefully striking the punches with a mallet, artists gradually transform flat metal surfaces into dimensional works of art.
Why Choose Punched Tin Art? A World of Creative Possibilities
Punched tin art offers a unique combination of accessibility and versatility, making it an ideal creative outlet for individuals of all skill levels.
- Beginner-friendly: The fundamental techniques are easy to grasp, allowing beginners to quickly experience the joy of creating.
- Versatile Medium: Punched tin art transcends traditional boundaries, lending itself to diverse applications, from home decor accents to jewelry making and mixed media projects.
- Budget-friendly: Compared to many other art forms, punched tin art requires minimal investment in tools and materials, making it an accessible hobby for those on a budget.
Getting Started: Essential Tools and Materials
Embarking on your punched tin art journey requires gathering a few essential tools and materials:
- Tin Snips: Used for cutting and shaping the tin sheets according to your desired project dimensions.
- Tin Punches: Available in a wide array of sizes and designs, these punches are the heart of the craft, allowing you to create the distinctive patterns that define punched tin art.
- Rubber Mallet: Used in conjunction with the punches to create clean, precise impressions on the tin without causing excessive noise or damage to the tools.
- Soft Work Surface: A self-healing cutting mat or a piece of thick rubber provides a stable and forgiving surface to protect both your tools and your work surface from damage.
- Metal Ruler and Pencil: Essential for accurate measuring and marking of your designs on the tin sheets before punching.
- Tin Sheets: The foundation of your creations, tin sheets are available in various thicknesses and finishes to suit different project requirements.
Mastering the Basics: Essential Punched Tin Art Techniques
- Straight Line Punching: Achieved by aligning the punch perpendicular to the tin sheet and striking it firmly with the mallet, creating a continuous line of evenly spaced holes.
- Curved Line Punching: Requires gently rocking the punch back and forth while maintaining consistent pressure, resulting in smooth, flowing curves.
- Overlapping Punching: Creates depth and dimension by strategically overlapping punched holes, adding visual interest and complexity to your designs.
- Embossing: Involves using specific punches designed to raise or depress the tin without piercing it, adding subtle texture and relief to your artwork.
From Inspiration to Creation: Bringing Your Punched Tin Art Vision to Life
- Find Your Inspiration: Explore various sources like nature, architecture, textiles, and other art forms to spark your creativity and develop a vision for your project.
- Sketch Your Design: Translate your inspiration into a tangible plan by sketching your desired pattern or design on paper.
- Transfer Your Design: Use transfer paper or lightly trace your design onto the tin sheet using a pencil.
- Start Punching: Secure your tin sheet to your work surface and begin punching your design, following your marked lines and employing the appropriate techniques.
- Finishing Touches: Once your design is complete, carefully smooth any rough edges and consider adding finishing touches like paint, patina, or sealant to enhance and protect your creation.
Beyond the Basics: Exploring Advanced Techniques and Creative Applications
As you gain confidence and experience, delve into advanced techniques like:
- Chasing and Repoussé: Create raised or recessed designs by hammering the tin from both the front and back, adding a sculptural element to your work.
- Piercing and Sawing: Use specialized tools to cut intricate shapes and patterns into the tin, expanding your design possibilities.
- Soldering: Join multiple pieces of punched tin together to create larger, more complex structures and installations.
Punched Tin Art: A Timeless Craft for Modern Makers
Punched tin art offers a unique blend of traditional charm and contemporary appeal, allowing you to create stunning, handcrafted pieces that reflect your personal style. Whether you’re drawn to its historical significance, its therapeutic process, or its endless creative possibilities, punched tin art provides a rewarding and accessible outlet for artistic expression. Embrace the timeless allure of this captivating craft and embark on a journey of creativity, transforming simple materials into extraordinary works of art.


