Creating Stunning Deer String Art: A Step-by-Step Guide
Deer String Art has become a popular way to add a touch of rustic charm and woodland elegance to homes. This captivating art form involves intricately weaving thread or yarn around strategically placed nails on a wooden board to form stunning visual representations of deer silhouettes. Whether you’re an experienced crafter or a beginner looking for a new creative outlet, deer string art offers a rewarding experience with its blend of simplicity and intricate beauty. Let’s explore the captivating world of deer string art, exploring the materials needed, step-by-step instructions, and inspiring design ideas.
Gathering Your Deer String Art Supplies
Before you begin your deer string art journey, gather the essential tools and materials to bring your creative vision to life.
- Wooden Board: The foundation of your artwork, choose a smooth, sturdy board in the size and shape that suits your desired deer design.
- Nails: Opt for small, evenly sized nails that complement the scale of your design.
- String or Yarn: Select a type and color that resonates with your artistic vision. Embroidery floss, crochet thread, or even thin yarn can be used effectively.
- Hammer: A must-have for driving those nails securely into the wood.
- Scissors: Essential for precise string cutting.
- Pattern or Template: While freehanding is possible, using a pre-designed pattern or template, especially for beginners, can be immensely helpful in achieving a polished look.
- Pencil or Marking Tool: This helps transfer your chosen deer design onto the wooden board accurately.
- Optional: Paint or Stain: Consider adding a background color or stain to your wooden board to create a visually appealing contrast with your string art.
Bringing Your Deer to Life: A Step-by-Step Guide
Now that you have your materials ready, it’s time to embark on the exciting journey of crafting your very own deer string art masterpiece.
-
Prepare Your Design: Select or create a deer silhouette or design that you want to recreate. Print or draw your chosen design to the desired size, ensuring it fits comfortably within the boundaries of your wooden board.
-
Transfer the Design: Place your deer pattern on top of the wooden board and use a pencil or marking tool to lightly trace the outline onto the board’s surface.
-
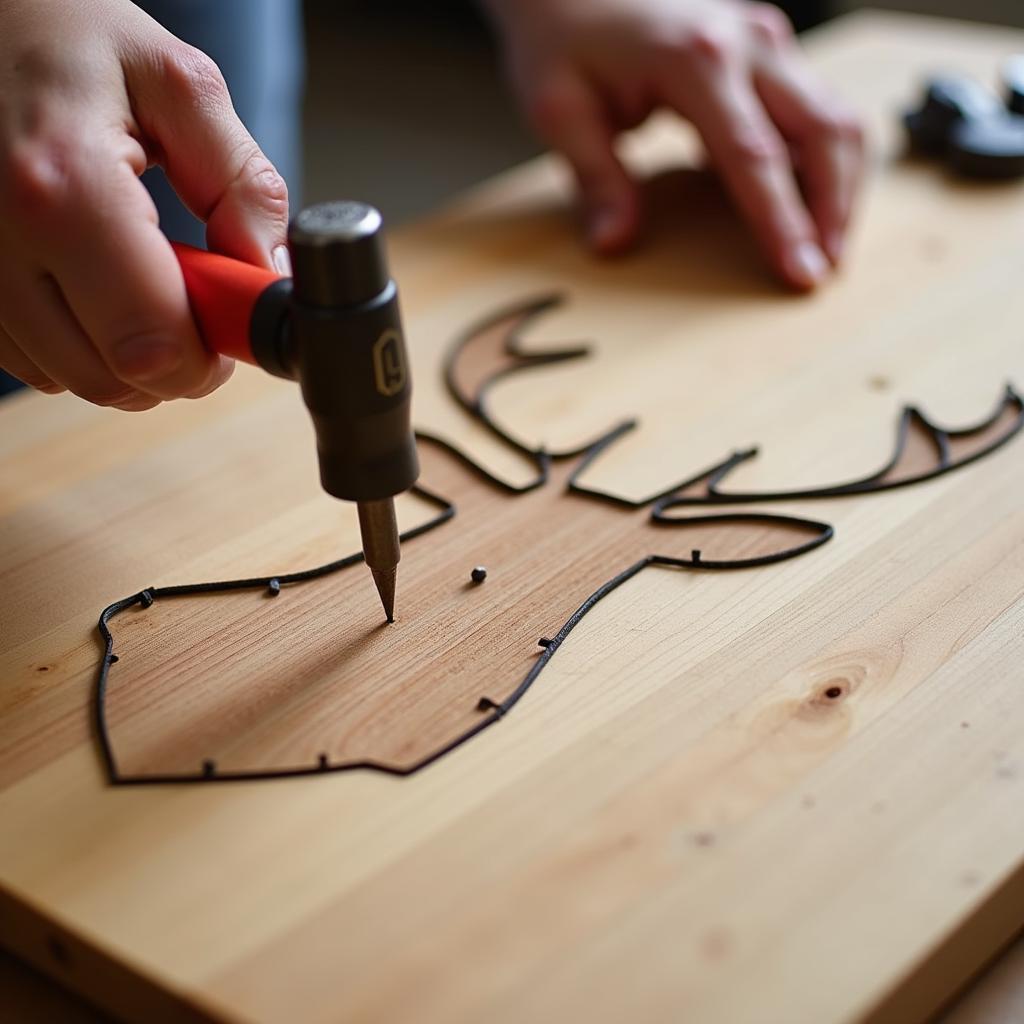
Place the Nails: Following the traced outline, carefully hammer nails along the lines of your deer design. Ensure the nails are hammered in straight and at an even depth, maintaining a consistent distance between each nail.
 Placing Nails for Deer String Art
-
Start Stringing: Tie a secure knot with your chosen string or yarn around one of the nails. This will be your starting point.
-
Create the Outline: Begin by connecting the string to adjacent nails, following the outline of your deer design. You can create a continuous outline or experiment with different stringing techniques to achieve unique effects.
-
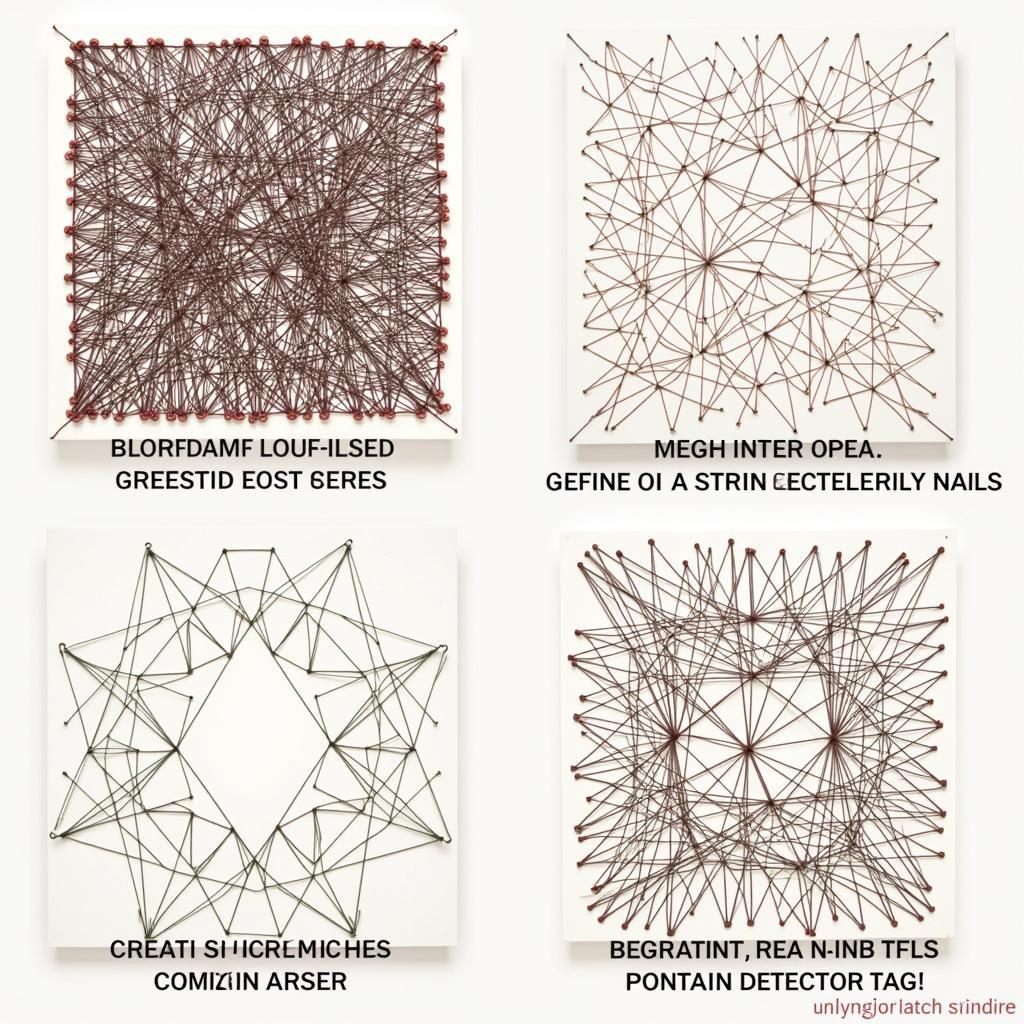
Fill in the Design: Once the outline is complete, begin filling in the body of the deer. There are countless stringing techniques to explore. You can create a dense, filled-in look by stringing back and forth between nails or opt for a more open and airy feel with wider string spacing.
 Exploring String Art Techniques
-
Experiment and Get Creative: Don’t hesitate to experiment with different string colors, thicknesses, or even add beads or other embellishments to personalize your artwork.
-
Finishing Touches: Once you’ve filled in your design, tie off the string securely on a discreet nail at the back of the board. Trim any excess string ends for a polished finish.
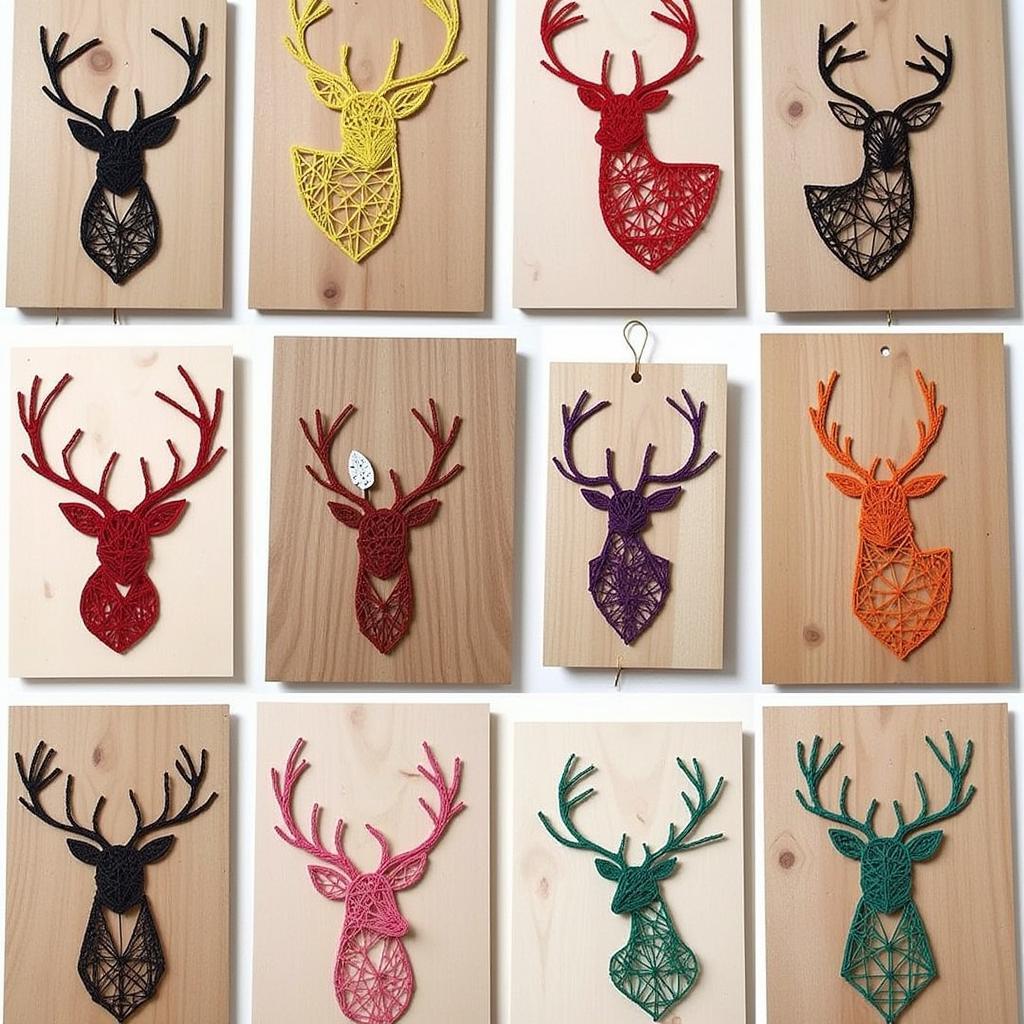
Deer String Art Design Inspirations
- Classic Silhouette: Capture the elegance of a deer’s profile with a simple yet striking silhouette.
- Geometric Deer: Combine modern aesthetics with rustic charm by creating a deer design using geometric shapes and lines.
- Stag with Antlers: Add a touch of majesty to your artwork with a stag design that showcases intricate antlers.
- Doe and Fawn: Celebrate the bond between a mother doe and her fawn with a heartwarming dual-silhouette design.
 Deer String Art Design Inspirations
Tips for String Art Success
- Practice Makes Perfect: Like any art form, string art takes practice. Don’t be afraid to experiment and try new techniques.
- Use Even Tension: Maintain consistent tension on the string as you work to prevent sagging or unevenness in your design.
- Choose the Right Nails: Select nails that are proportionate to the size of your design. Smaller nails work well for intricate details, while larger nails are suitable for bolder outlines.
Conclusion
Creating deer string art is a captivating journey that combines creativity, patience, and a touch of rustic charm. With these step-by-step instructions and inspirational design ideas, you’ll be well on your way to crafting your own stunning deer string art masterpieces that will bring the beauty of the natural world into your home. So, gather your supplies, unleash your inner artist, and embark on the rewarding experience of creating your very own deer string art.
Need assistance? Contact our 24/7 Customer Service:
Phone: 02462573573
Email: danteum@gmail.com
Address: Savico Megamall, 7-9 Đ. Nguyễn Văn Linh, Gia Thụy, Long Biên, Hà Nội 10000, Việt Nam.


